
What is Zapier?
Zapier is a way of connecting thousands of different web apps together to easily perform automated tasks.
You can connect two or more apps to automate repetitive tasks without coding or relying on developers to build the integration.
In BOMA you can use a Zapier integration to post content to your blog, or in future you’ll be able to push new contacts into your BOMA account from other external services, such as contact or lead capture forms on your website.
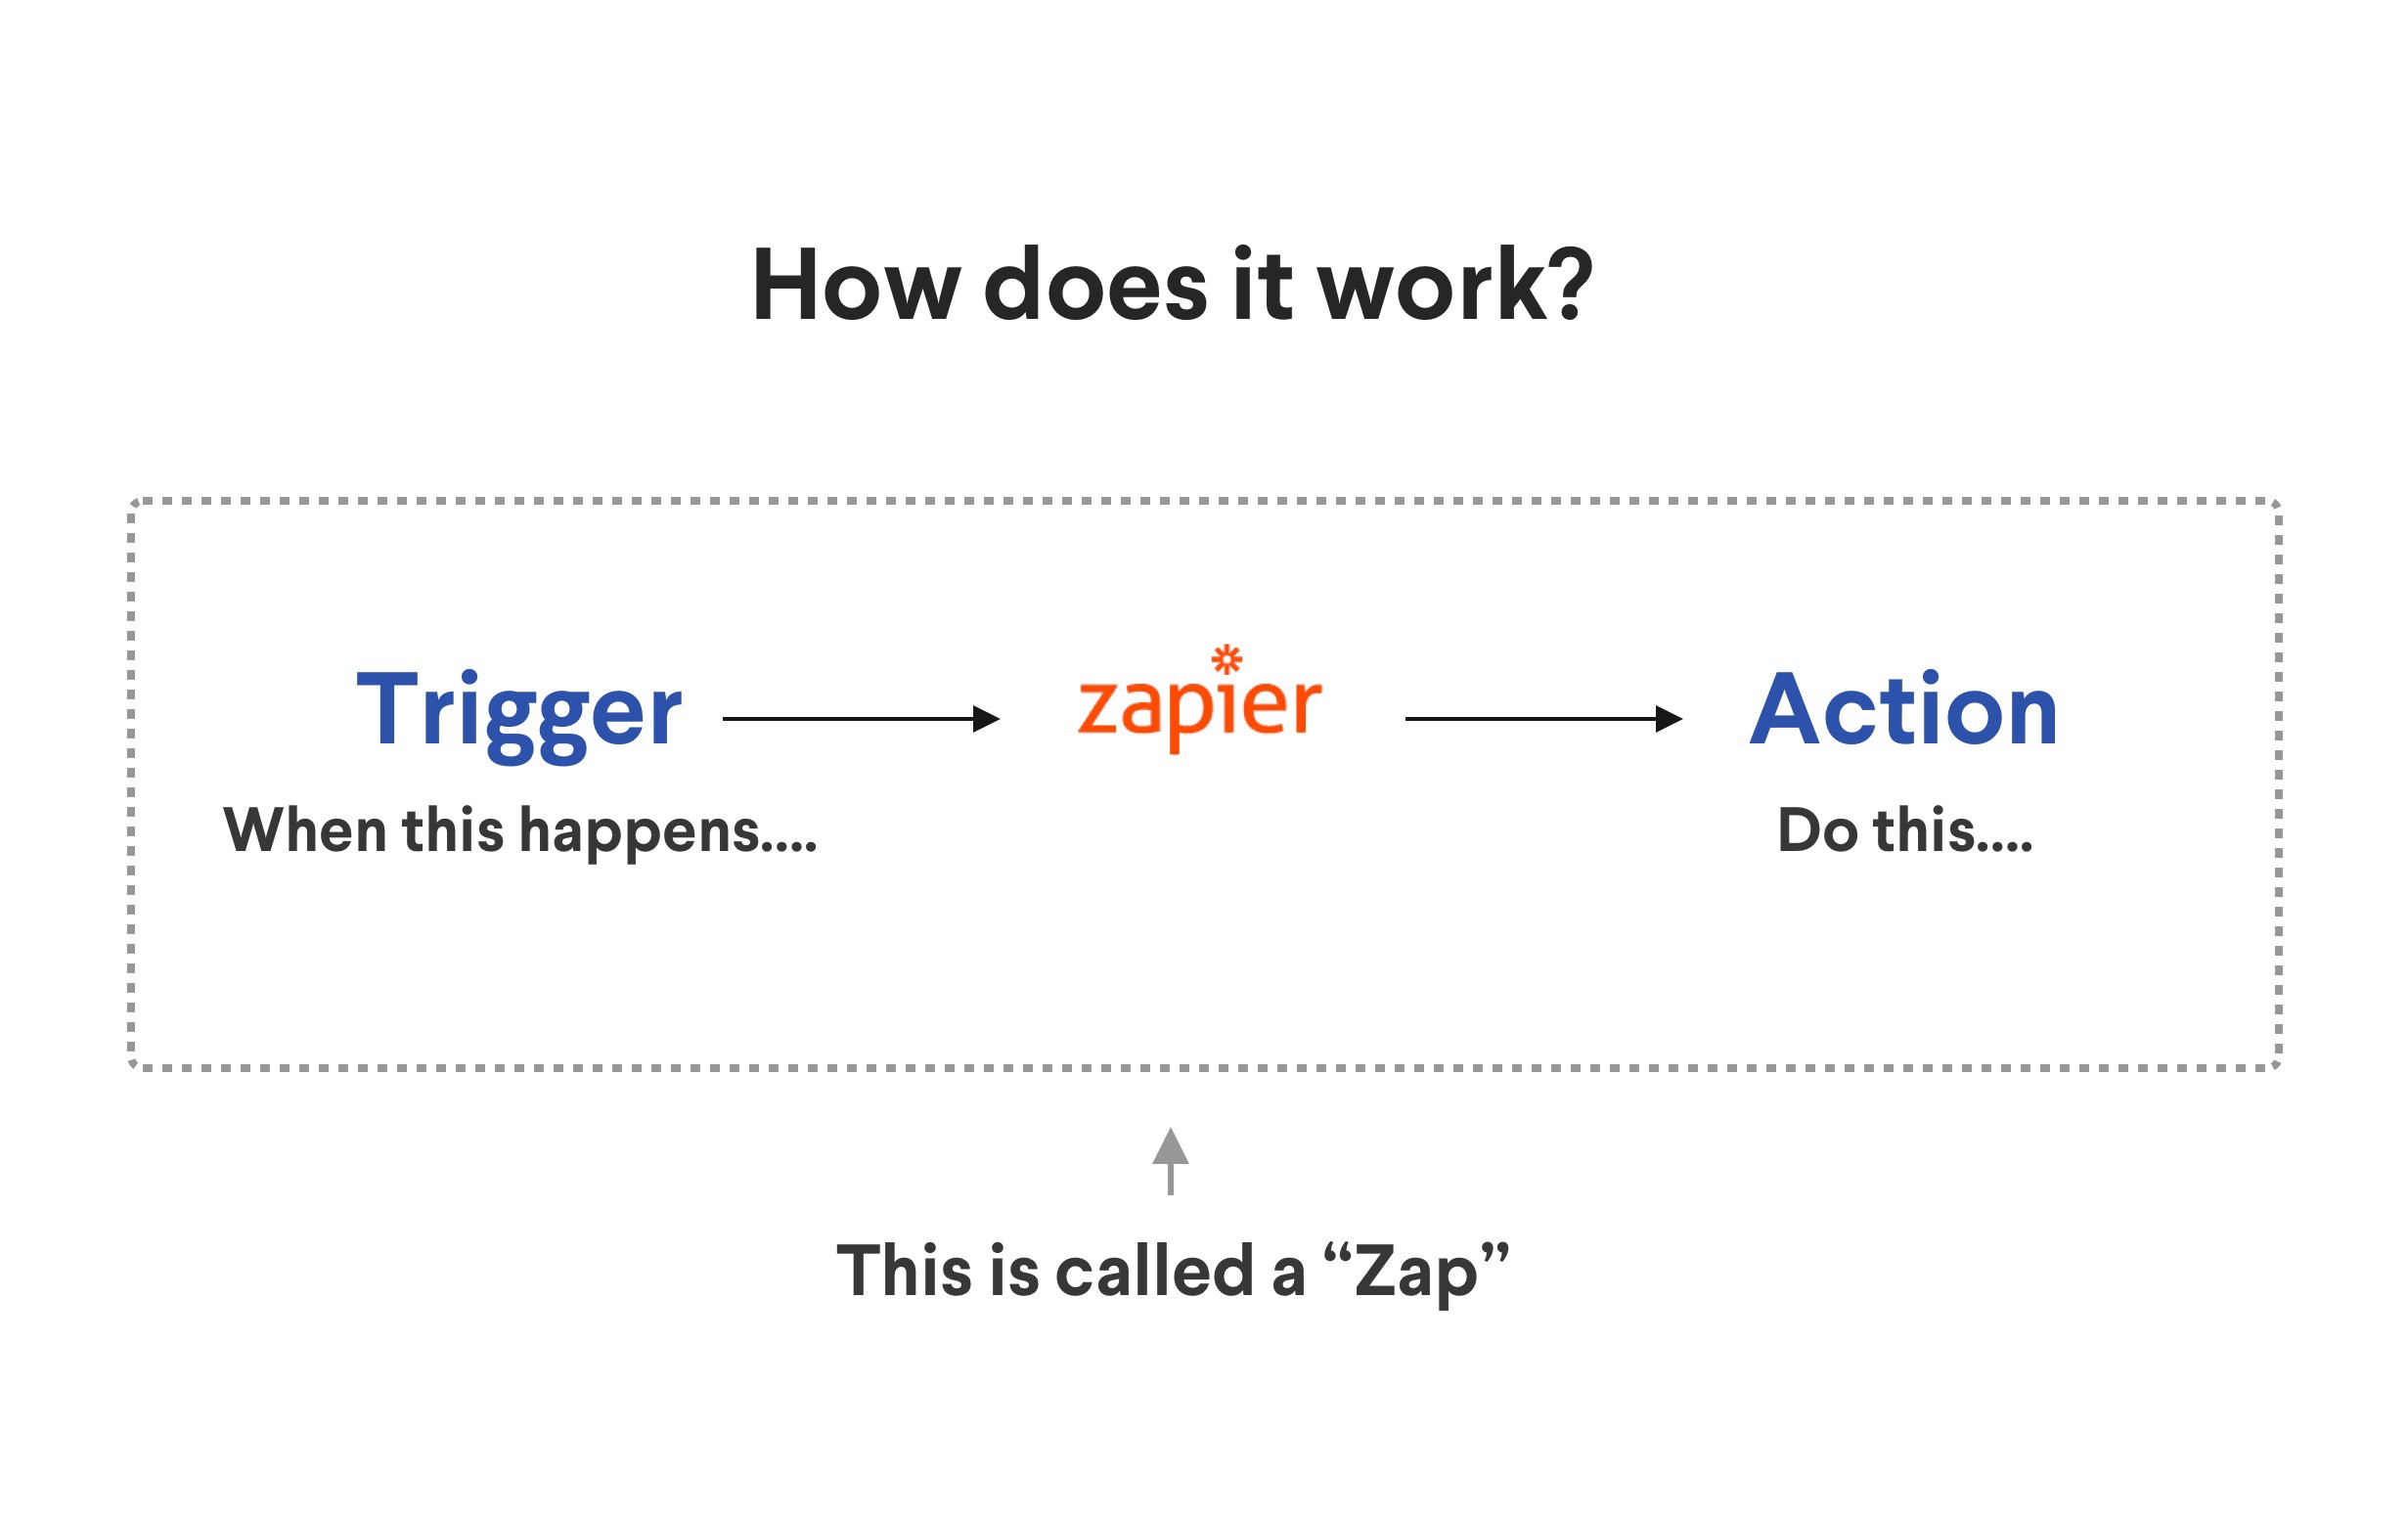
A "Zap" is a workflow between two connected apps.
A Zap always starts with a "Trigger" and ends with an "Action"
A Zap runs in the background, so once you've set it up, it will run continuously so you can focus on more important work.
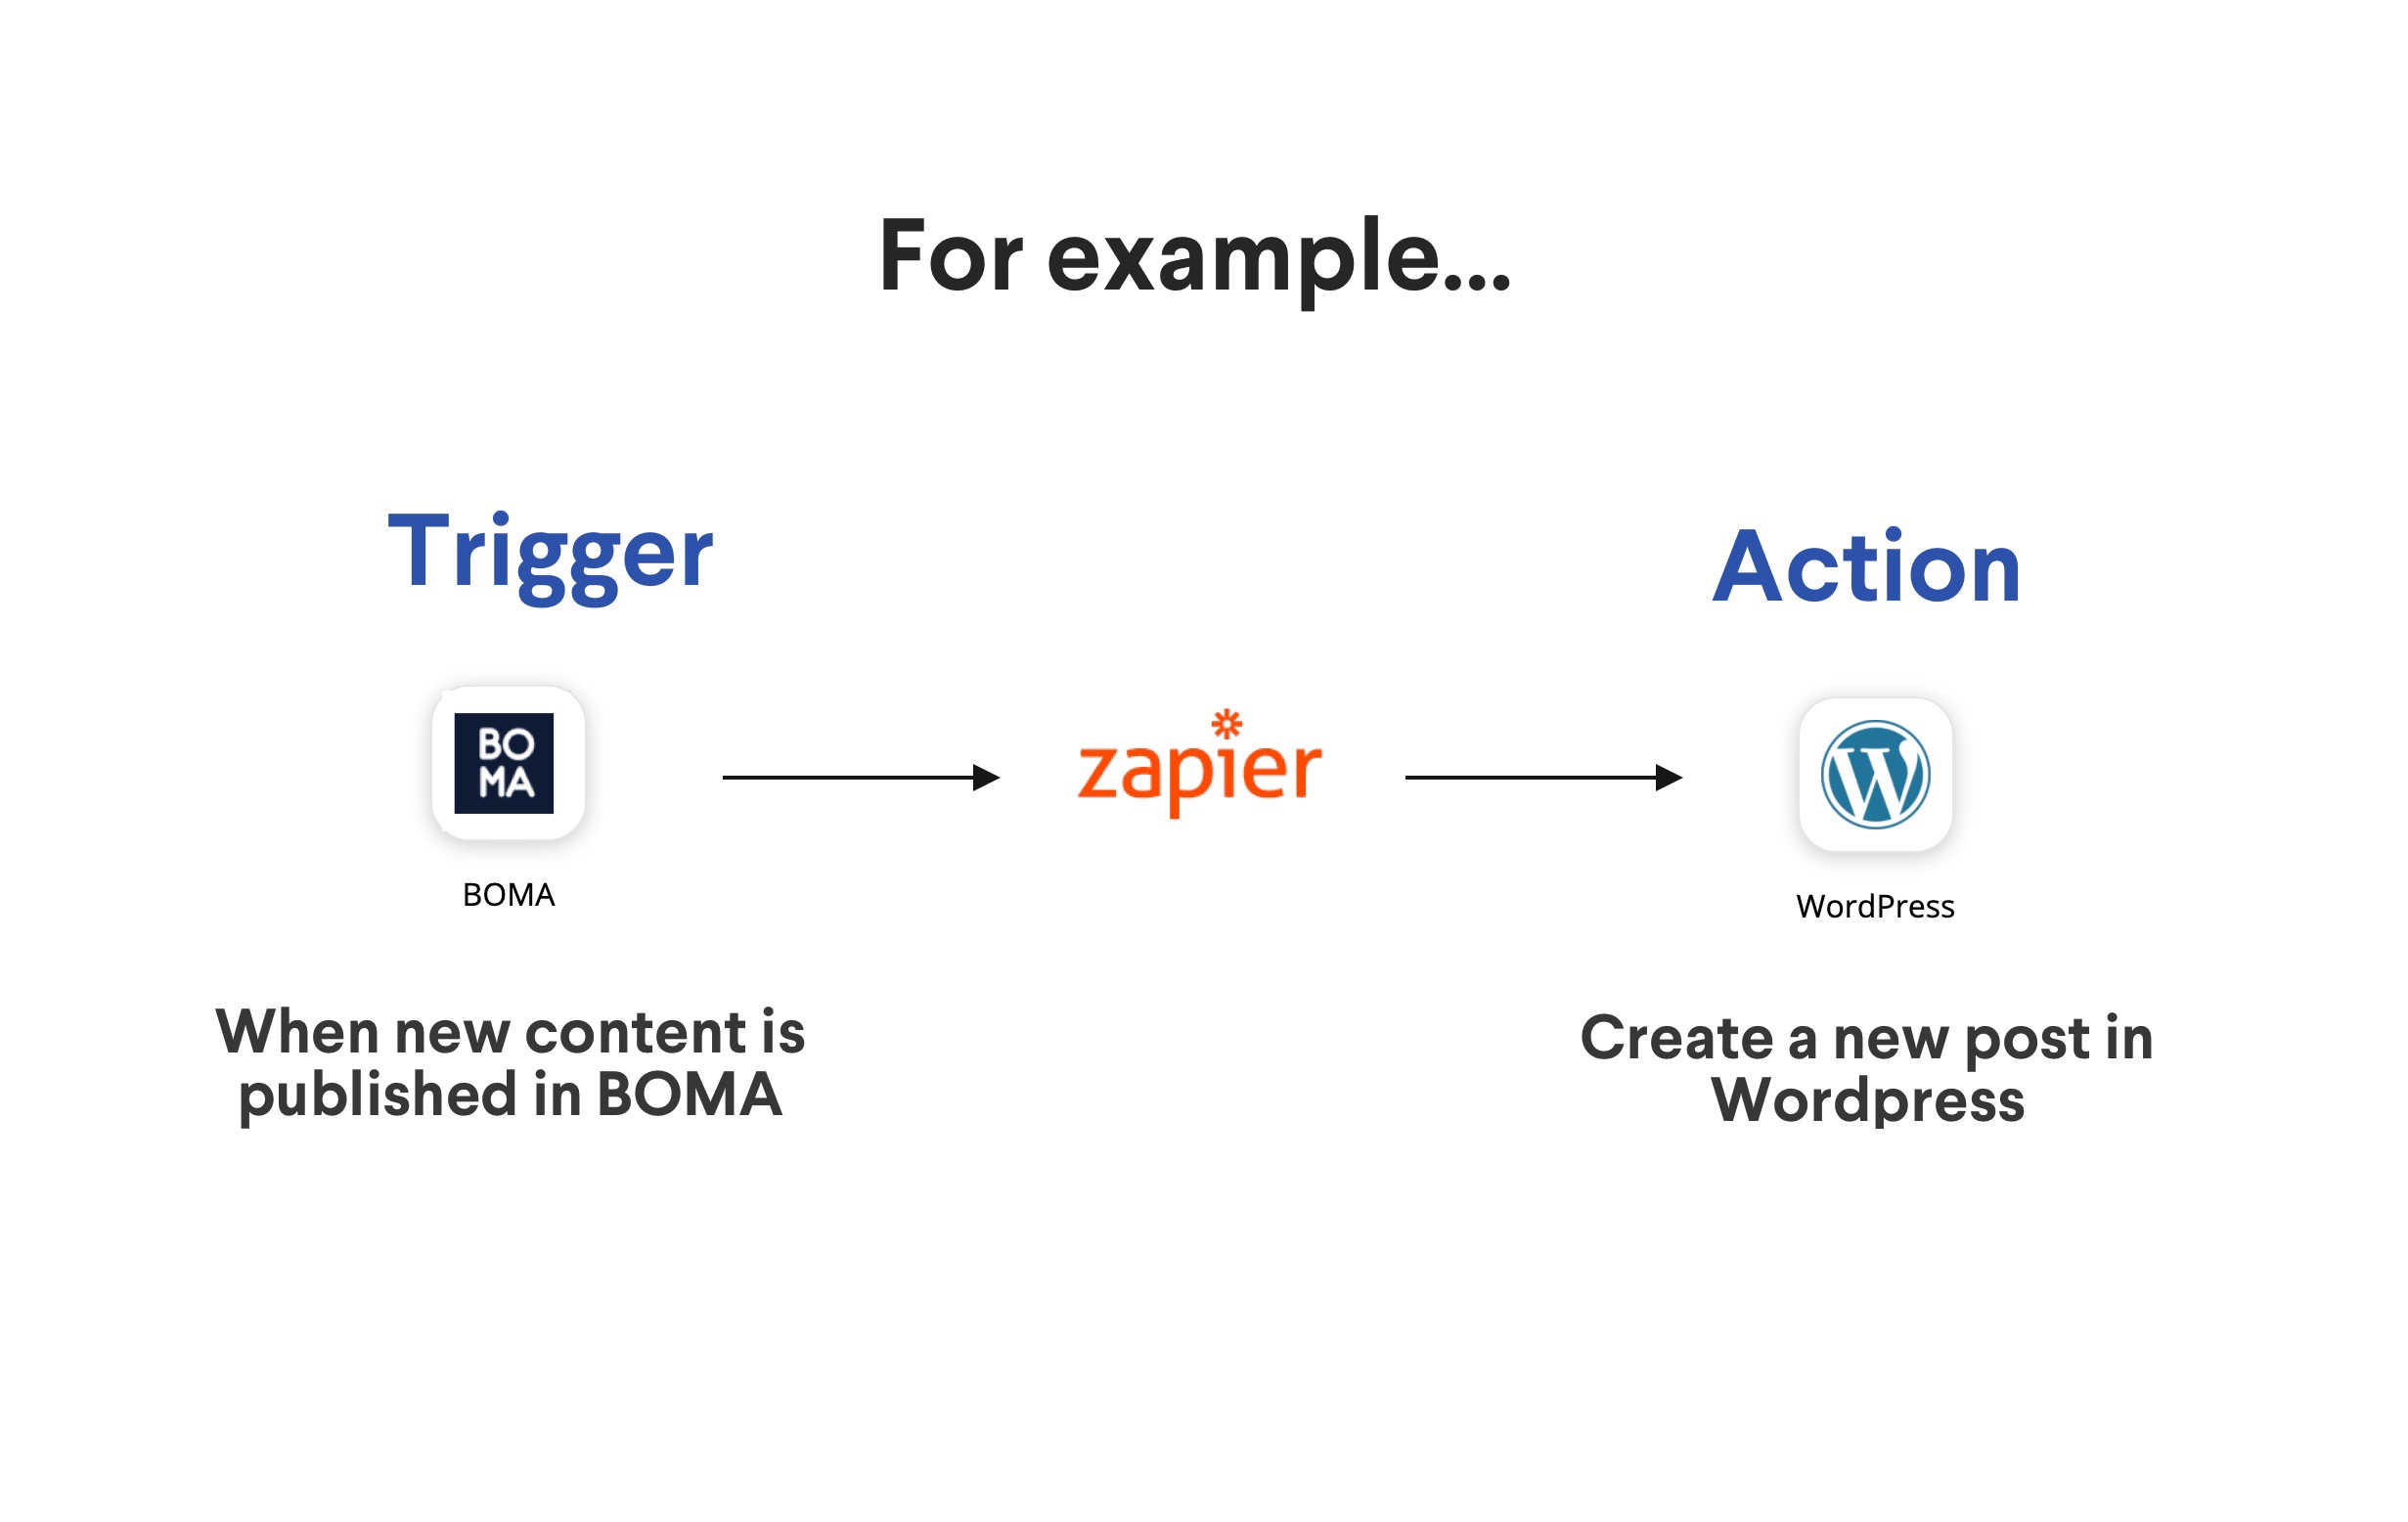
For example, ‘when a new piece of content is published inside BOMA, I want to deliver that content somewhere else, like a WordPress website’.
BOMA Settings
First we'll visit the BOMA settings, where you'll see a Zapier Integration section. Click the GENERATE NEW KEY button to create a new API key.
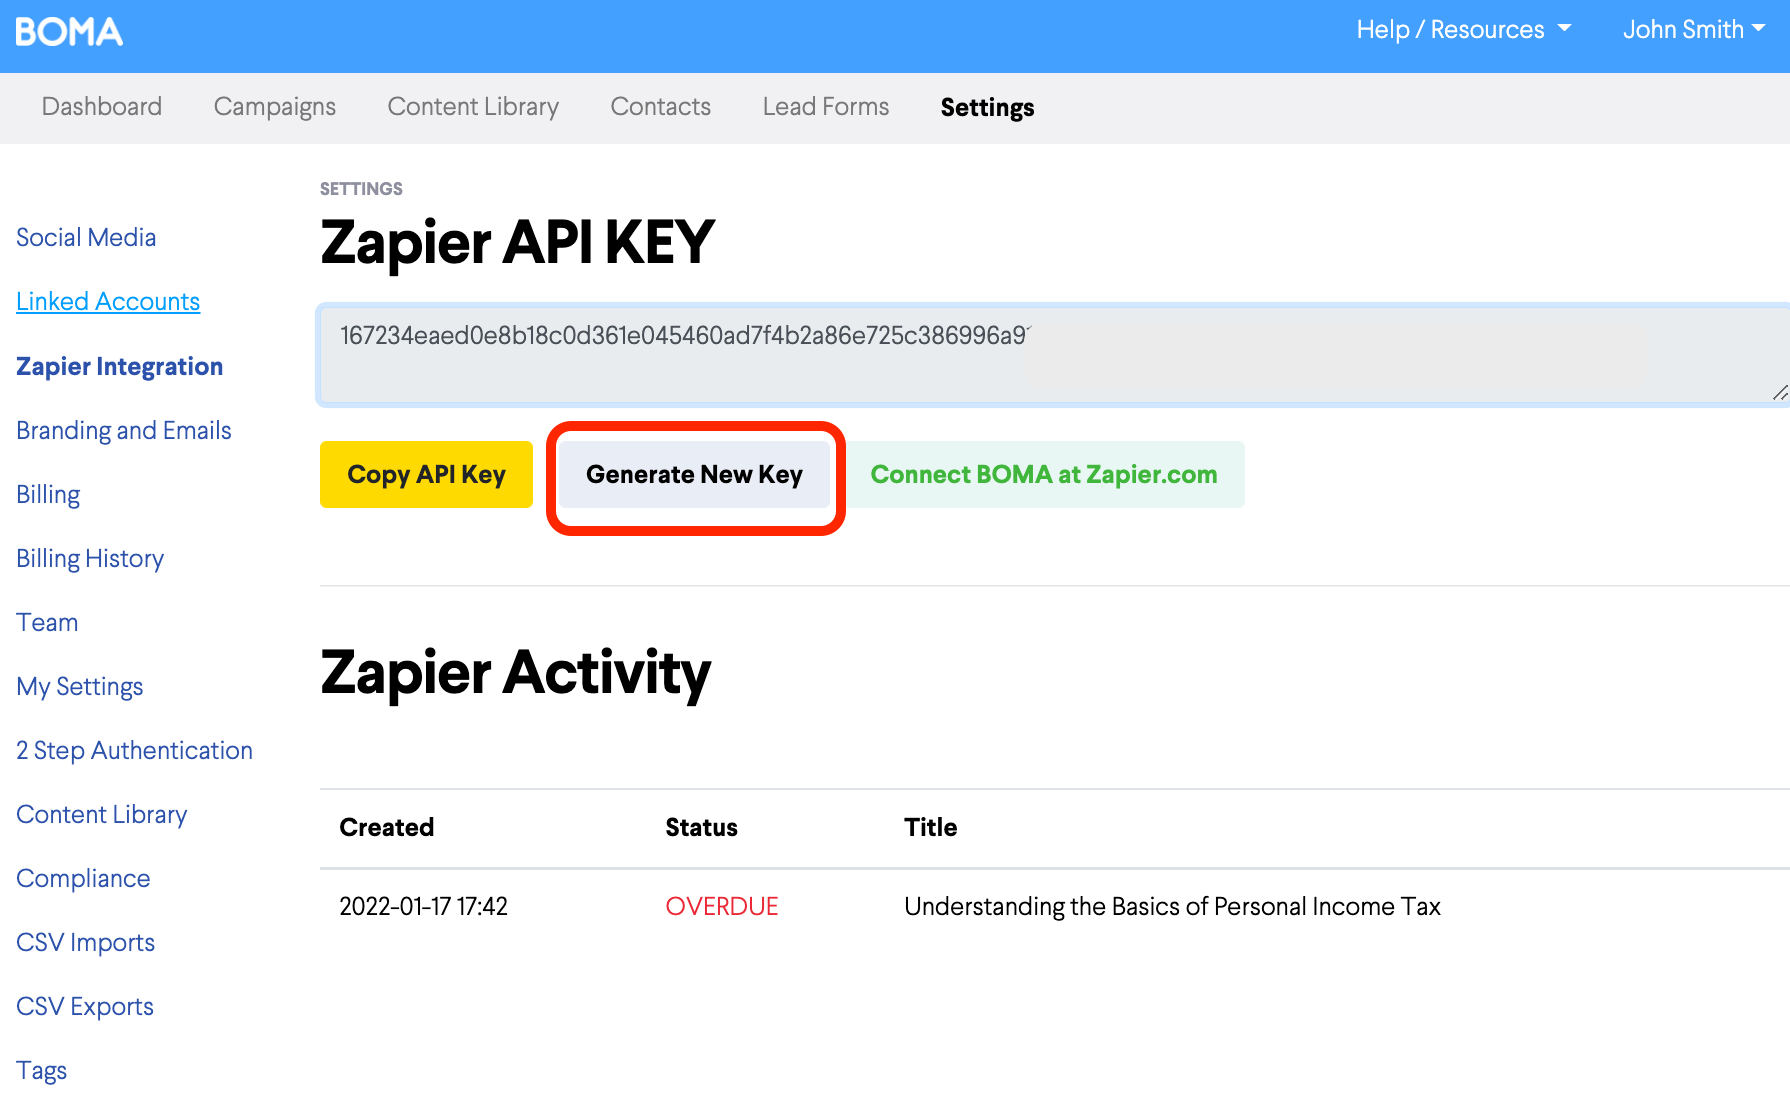
Once you have created a new key, you'll see a button to Connect BOMA at Zapier.com. Click on this, and you will be taken to Zapier.
If you already have a Zapier account you can sign in on this page, otherwise click SIGN UP and complete sign up on the next step.
You get a 14 day trial when you sign up. Once your trial has ended you may find the free plan suitable which gives you 100 tasks per month. A task occurs each time your Zap runs, so when you apply this to the BOMA content use case, this means you could publish content 100 times per month on the free plan allowances.
After sign up you should find yourself on the "You have been invited" page below. If not, you can return to the BOMA settings and click the Connect BOMA at Zapier.com button again.
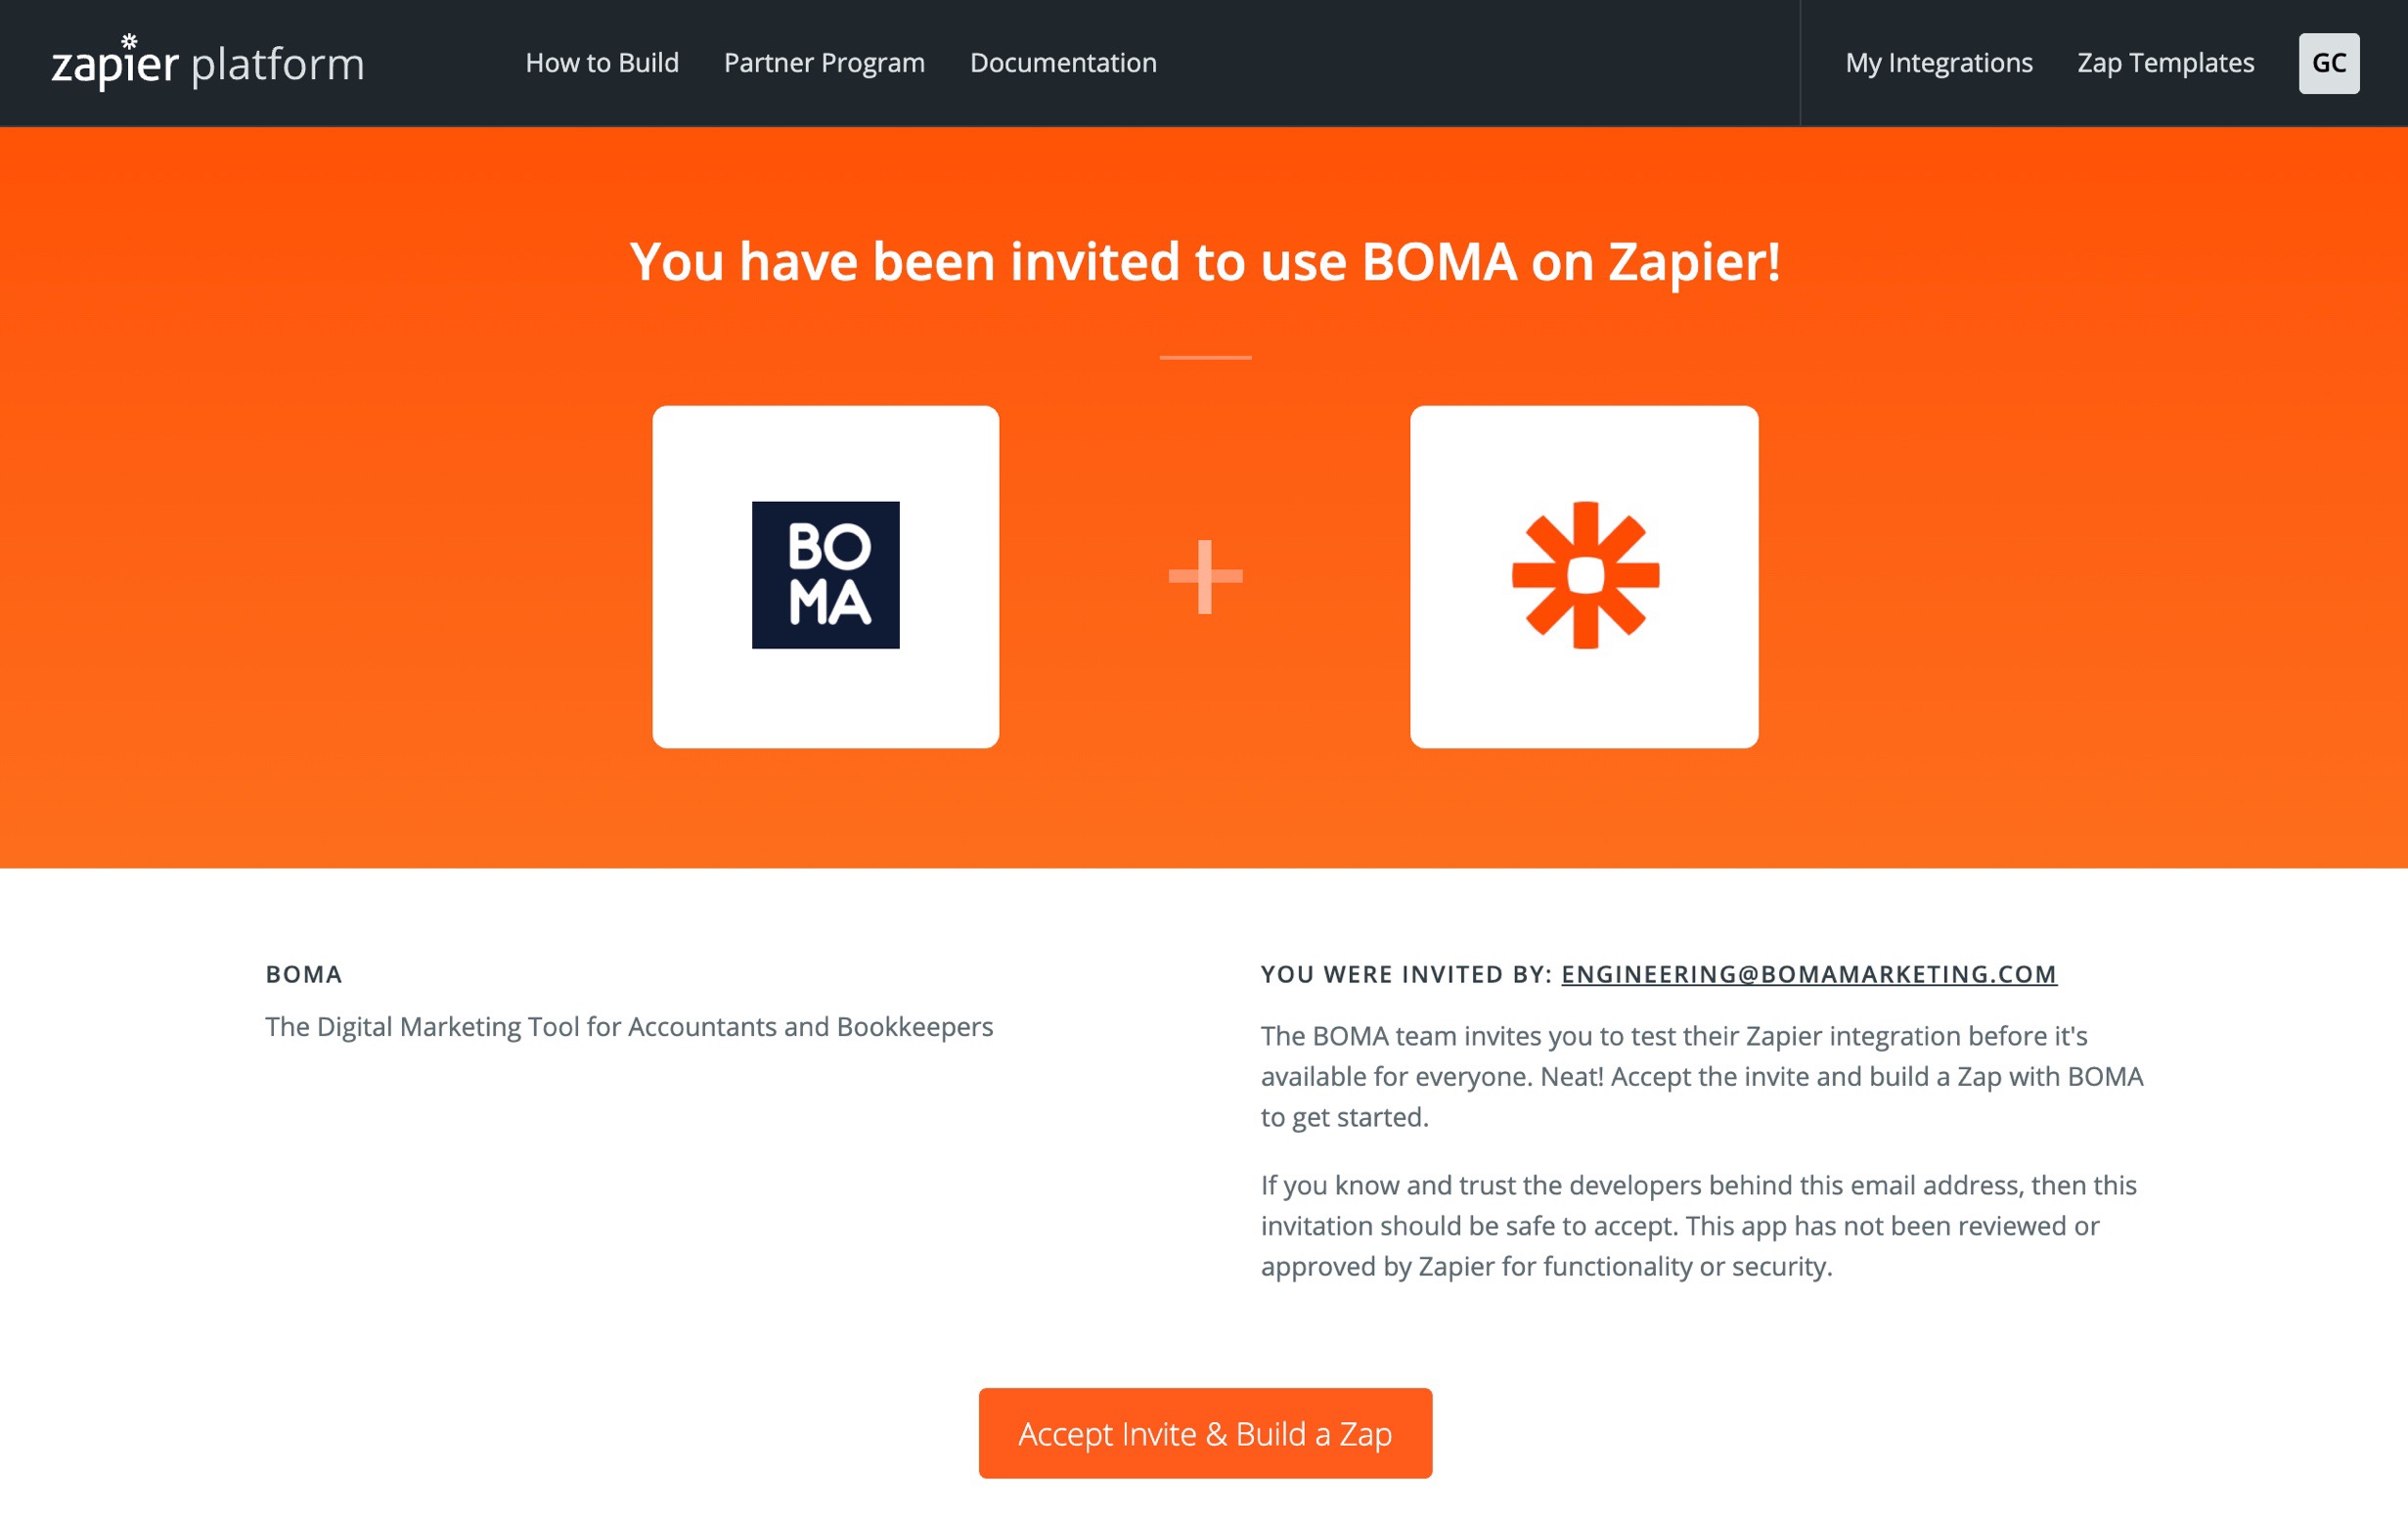
Click Accept Invite & Build a Zap and you'll find yourself on the Zapier dashboard.
From here click on MAKE A ZAP, near the top left of the page.
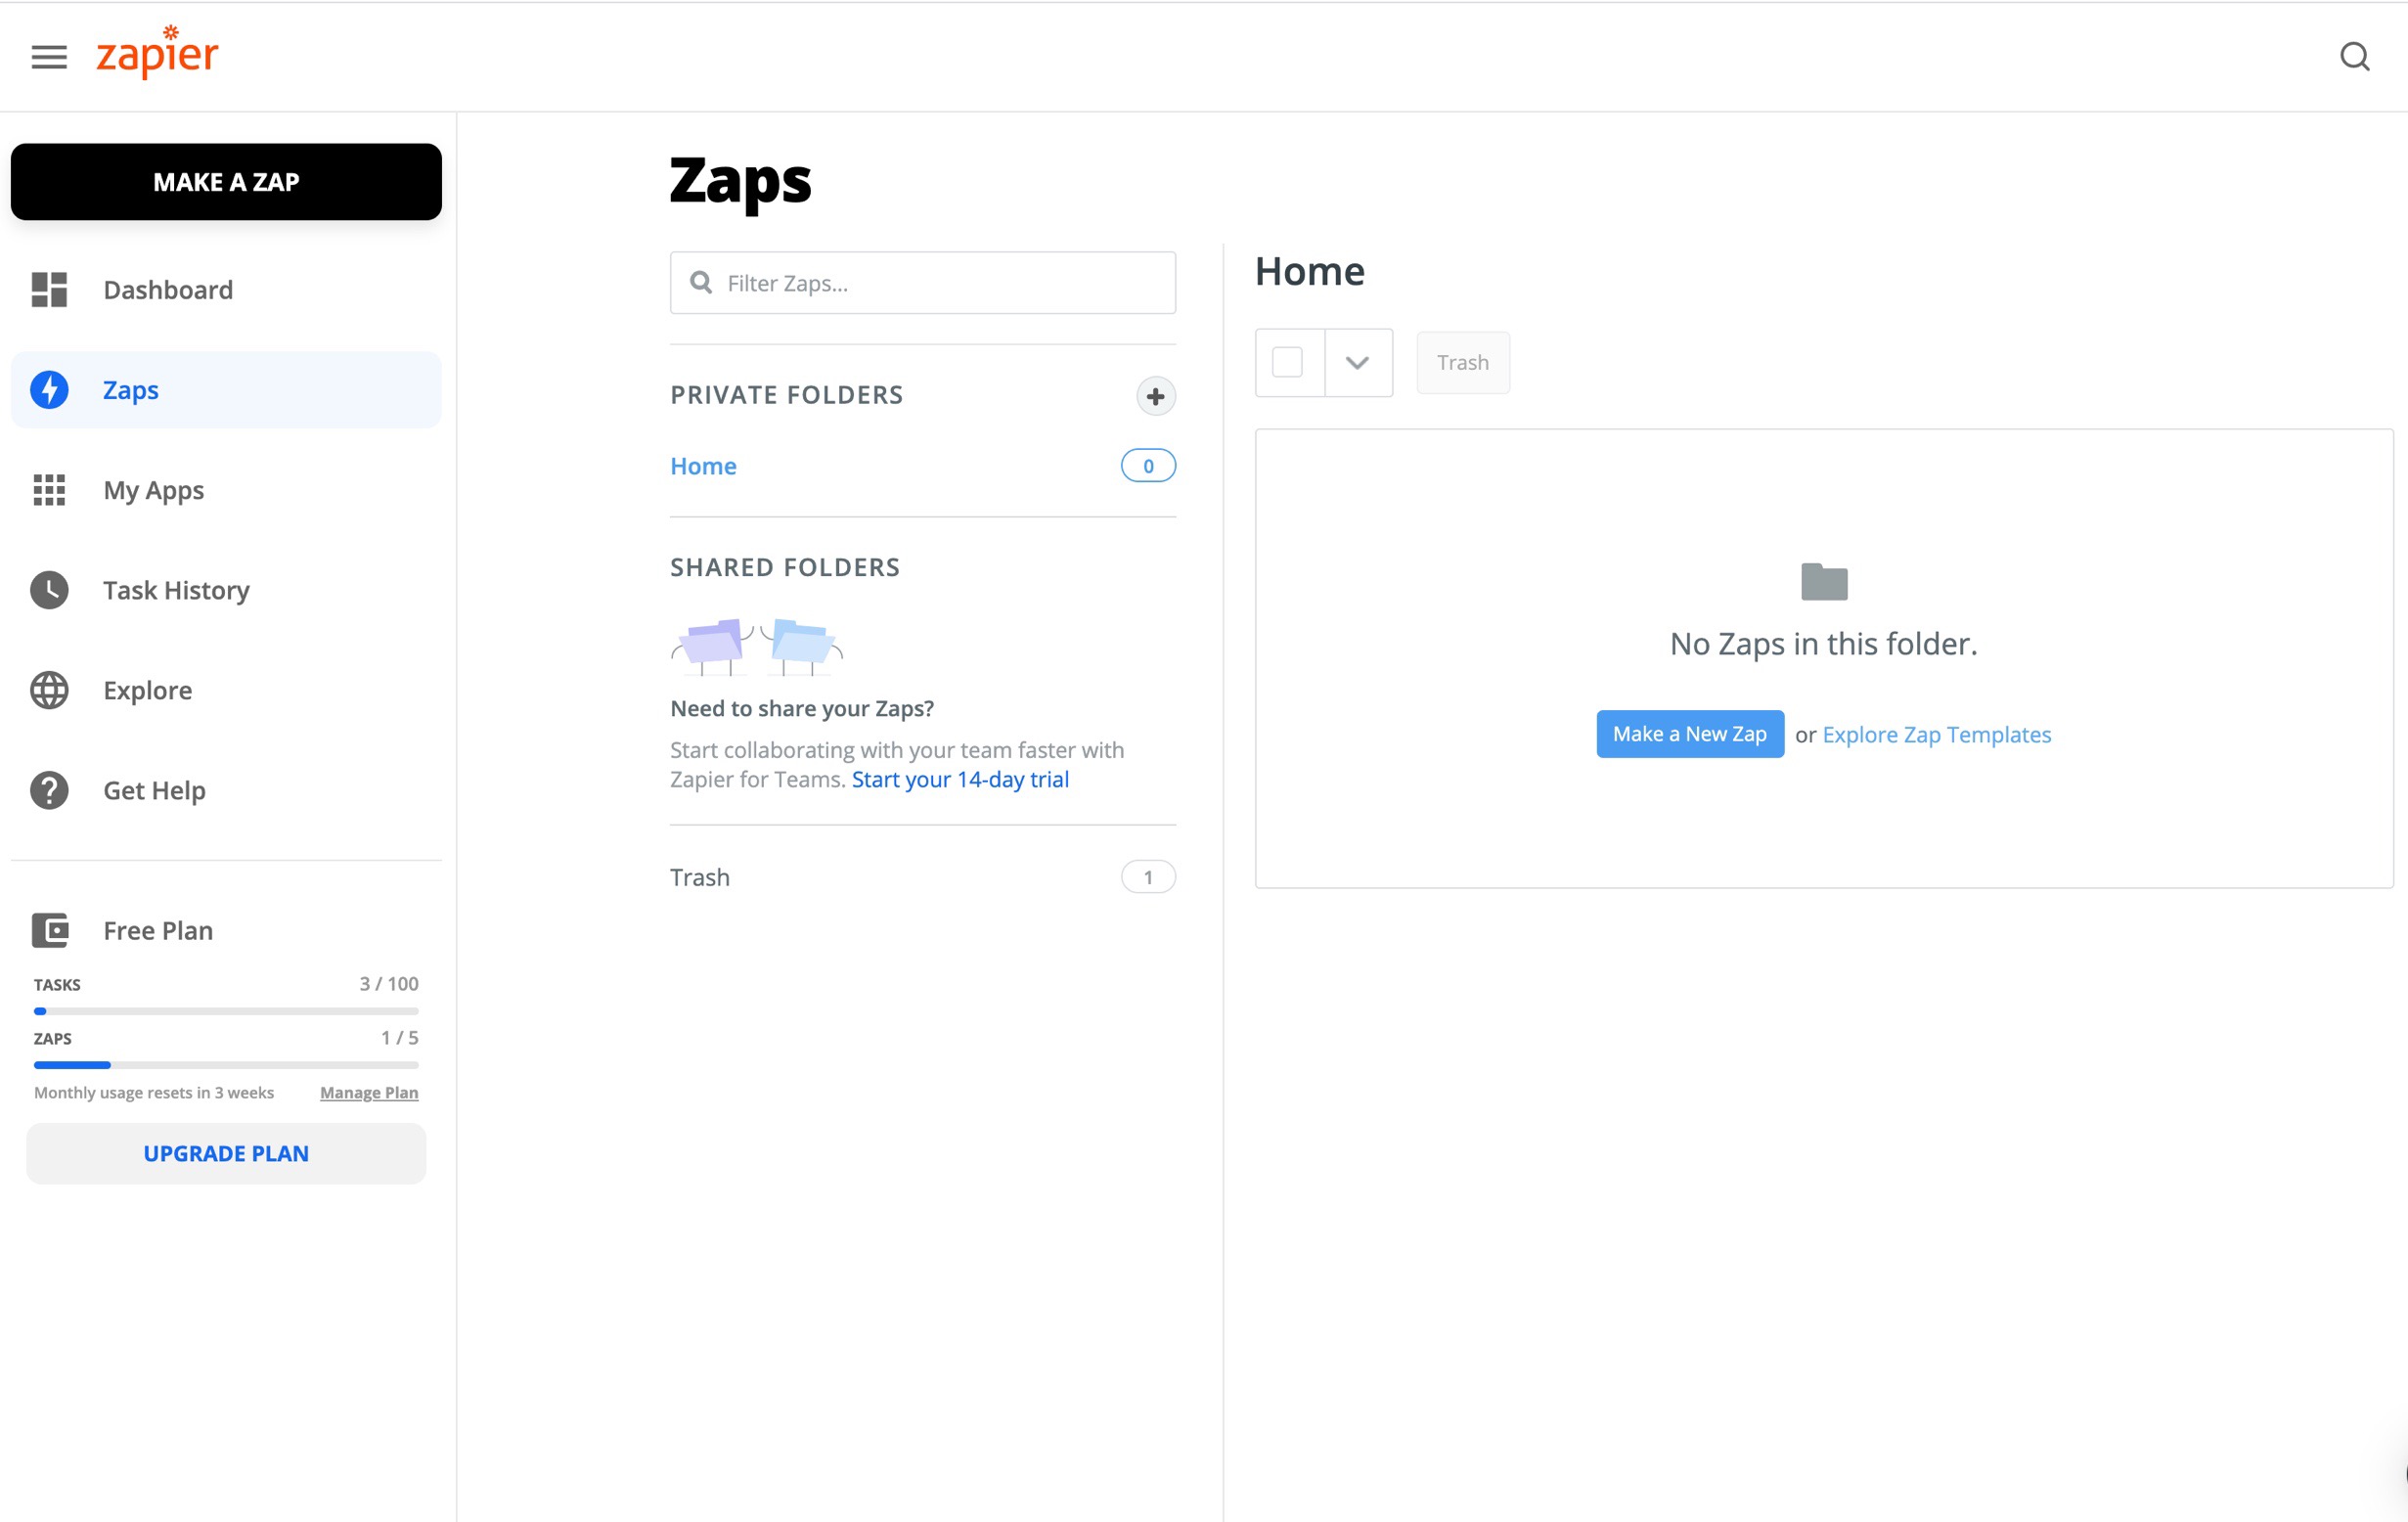
Now you'll see the editing screen for setting up your Zap.
You can give the Zap a title in the top left. eg. "Boma Content to WordPress"
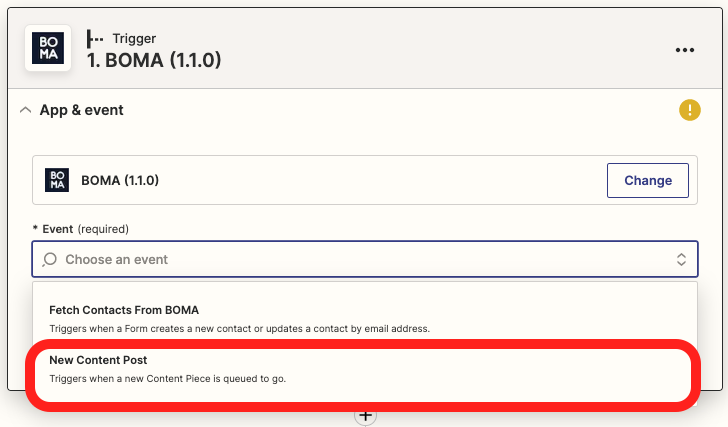
Now you need to assign the BOMA app as the trigger for this app, so search for ‘BOMA’ in the list and select it.

Next we'll select a trigger event, which will be "New Content Post"
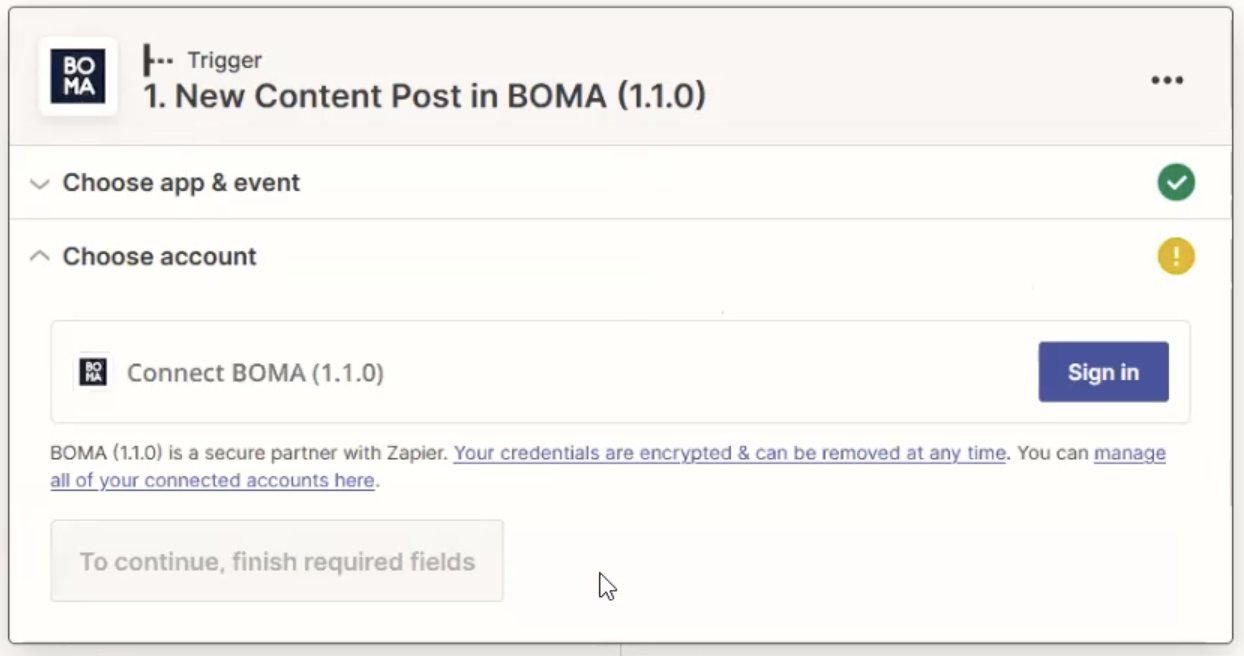
Here's where you enter your BOMA credentials to connect to your BOMA account.
-
Click SIGN IN TO BOMA
-
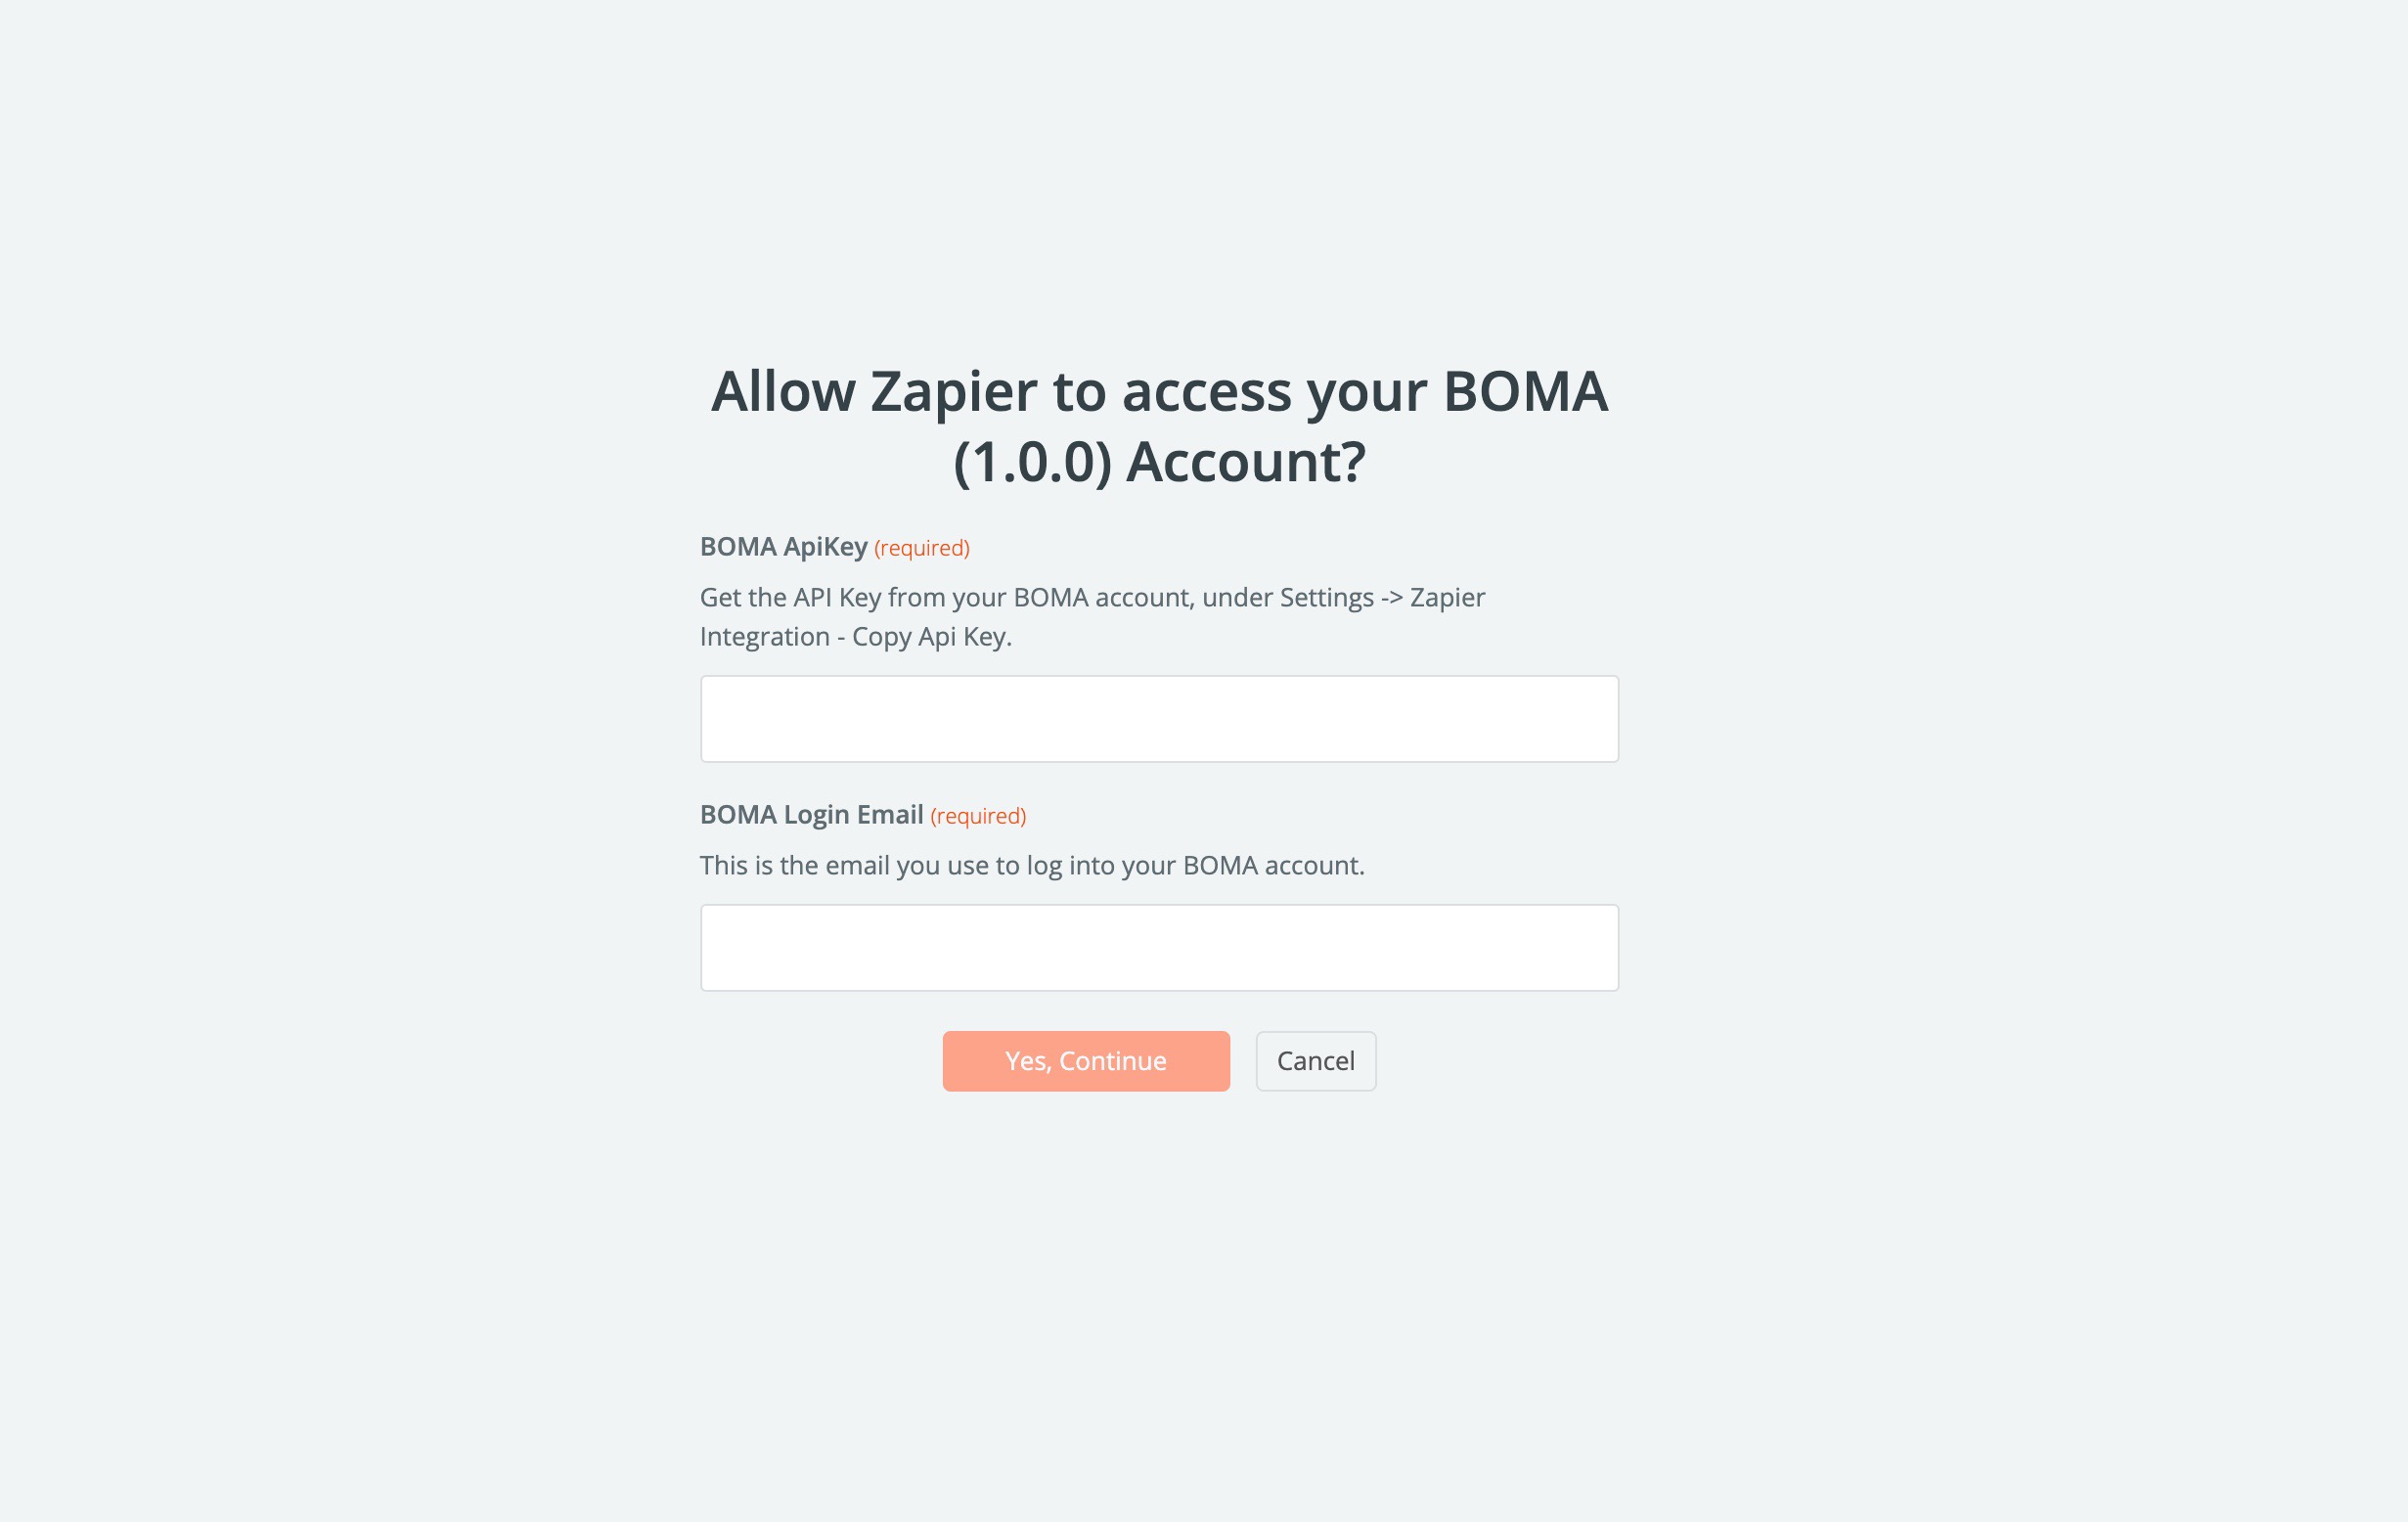
Enter the BOMA API key copied from your BOMA settings.
-
Enter the email address that you use to login to BOMA and then save the form.
Once you've saved these settings, click the YES, CONTINUE button
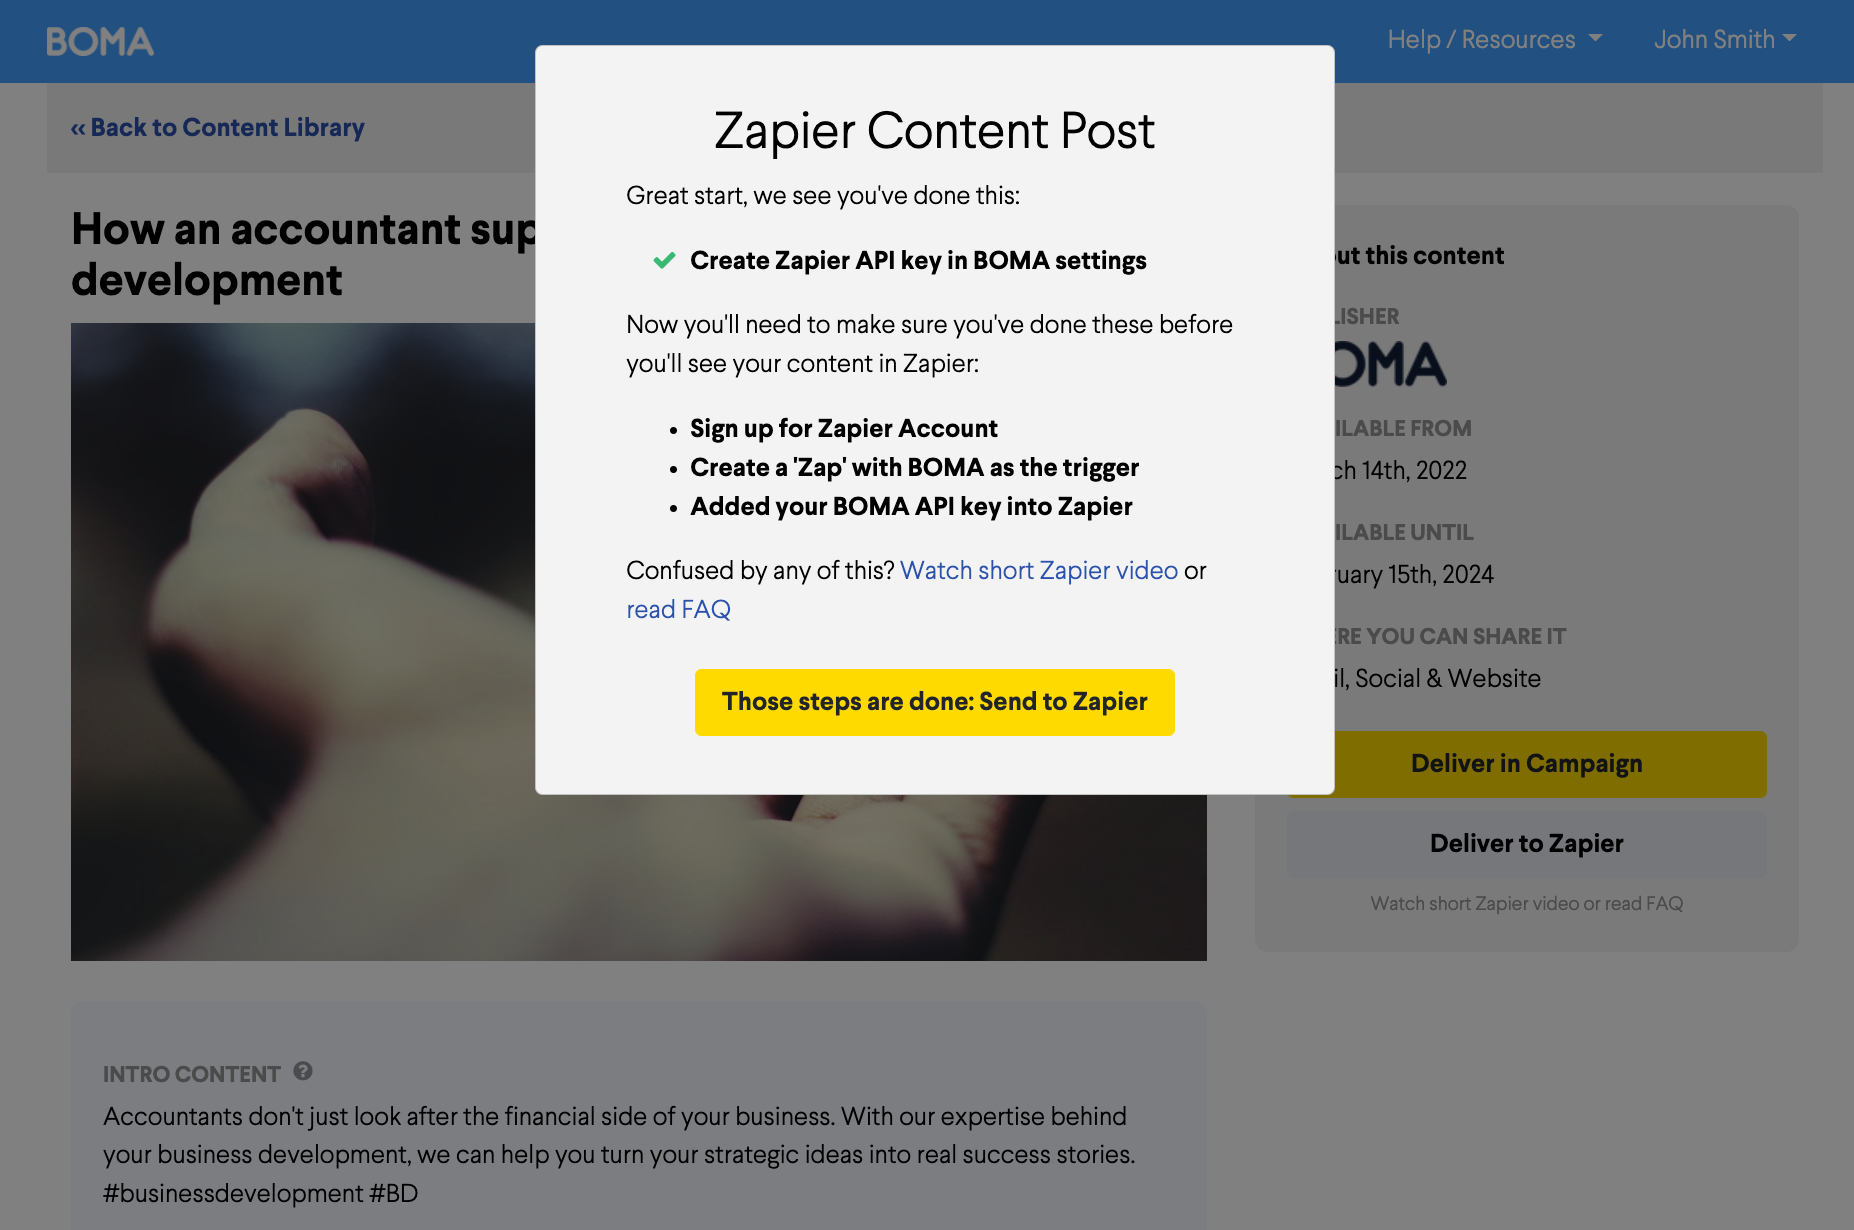
Next you will see an option to test the trigger. You’ll need to have a piece of content pushed from BOMA so return to the BOMA content library and click on DELIVER TO ZAPIER on a piece of content in the content library. (Note: not all content can be shared to your website. Choose from the BOMA content)
You'll be shown some information in a pop up about steps you've just completed, (in this case you have done them), so simply submit the content to Zapier.
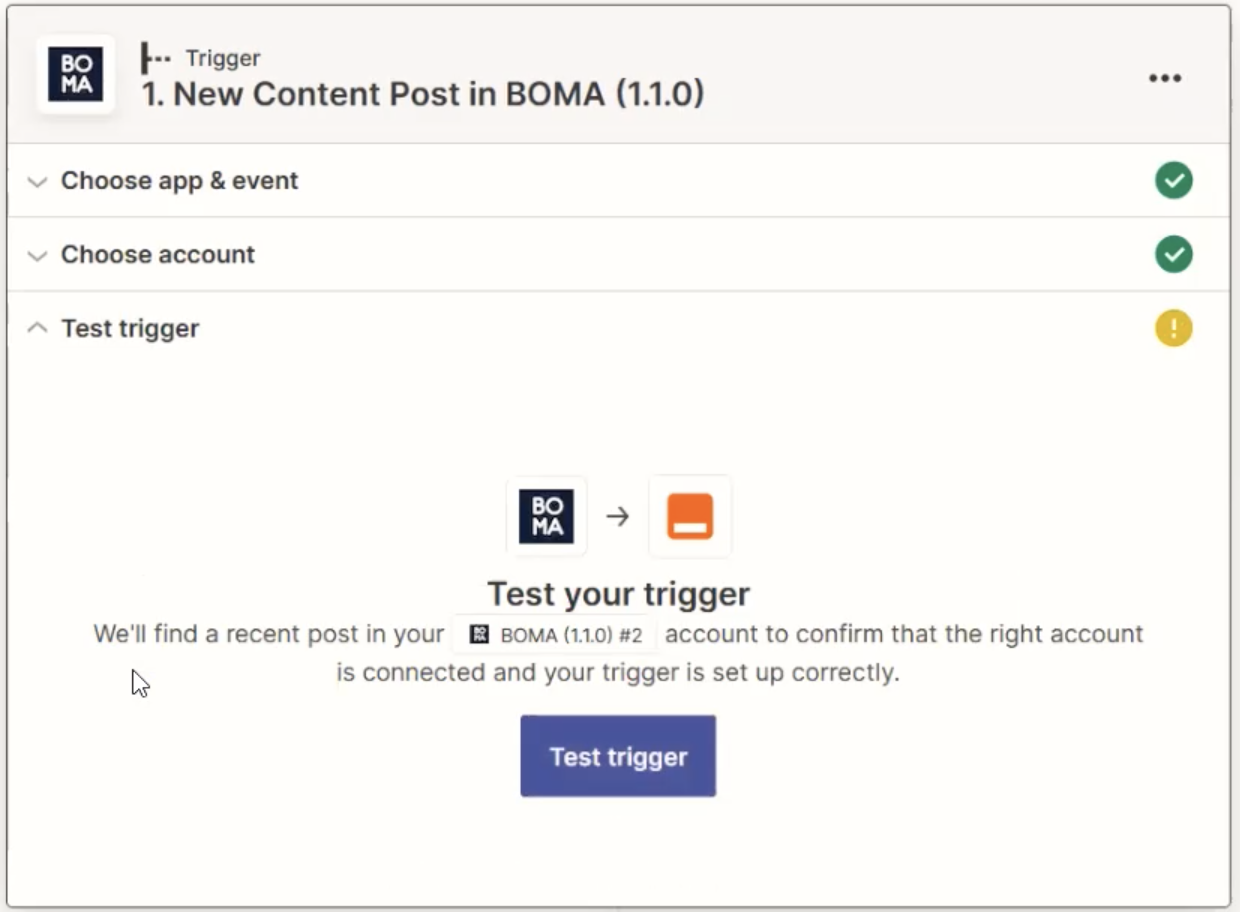
Now return to Zapier, and click TEST TRIGGER.
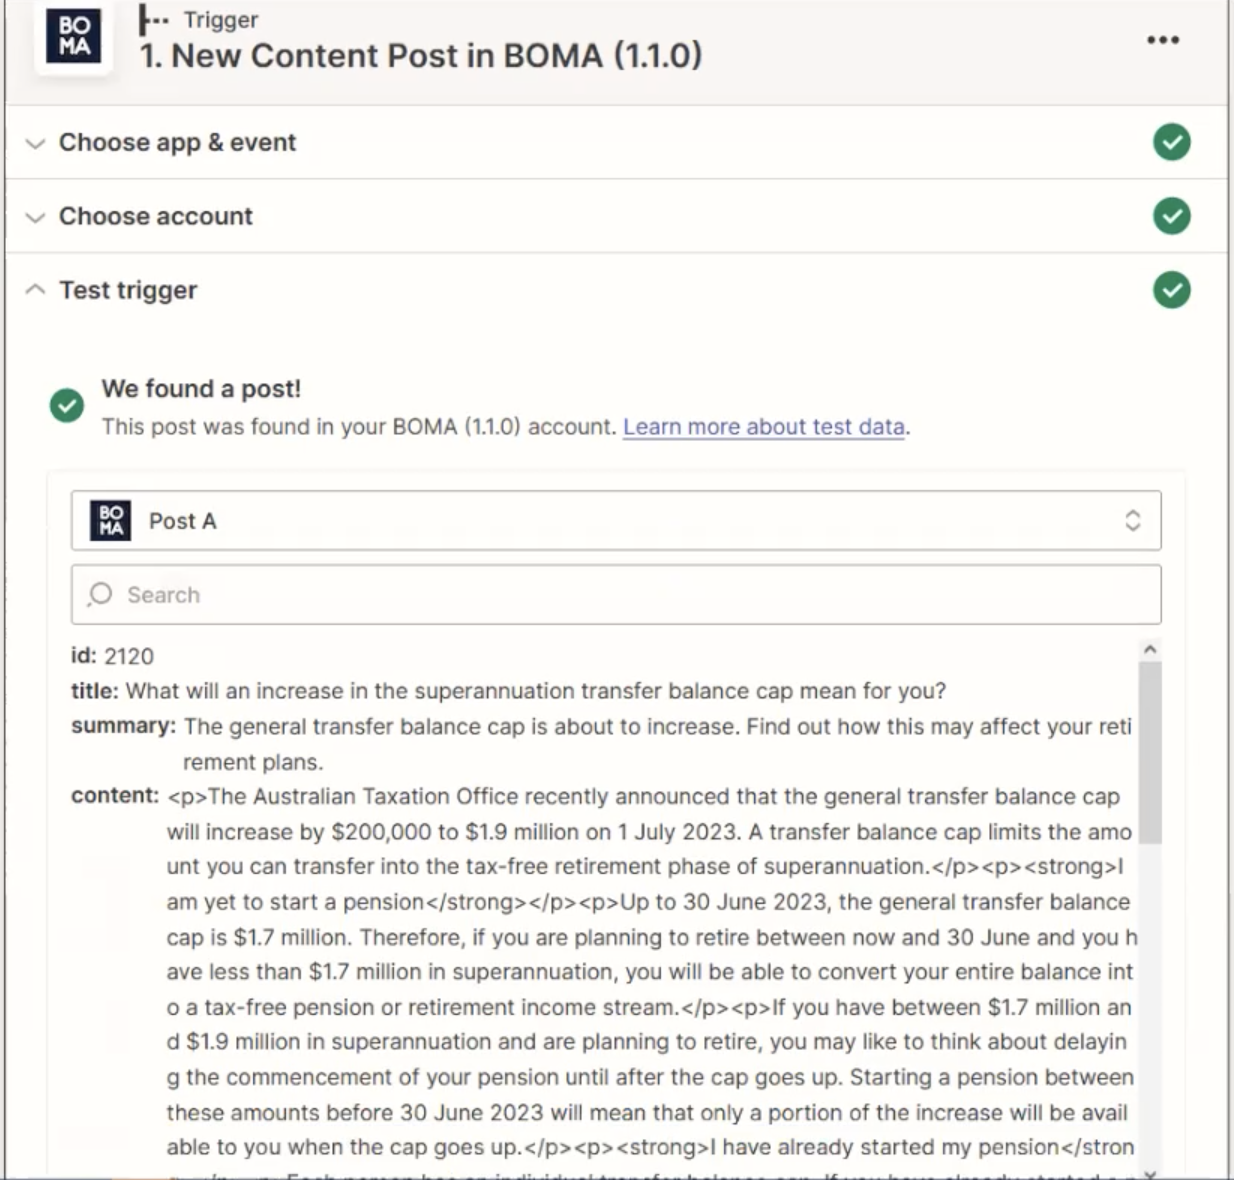
This will now load the test content you just published in your BOMA account. You should see the content you posted along with all information that came with it.
When you click CONTINUE here you'll be taken to the ACTION step which is where you decide what to do with this content.
Deliver to WordPress
Before you choose the app and event in Zapier you’ll need to install the Zapier plugin on your WordPress site.
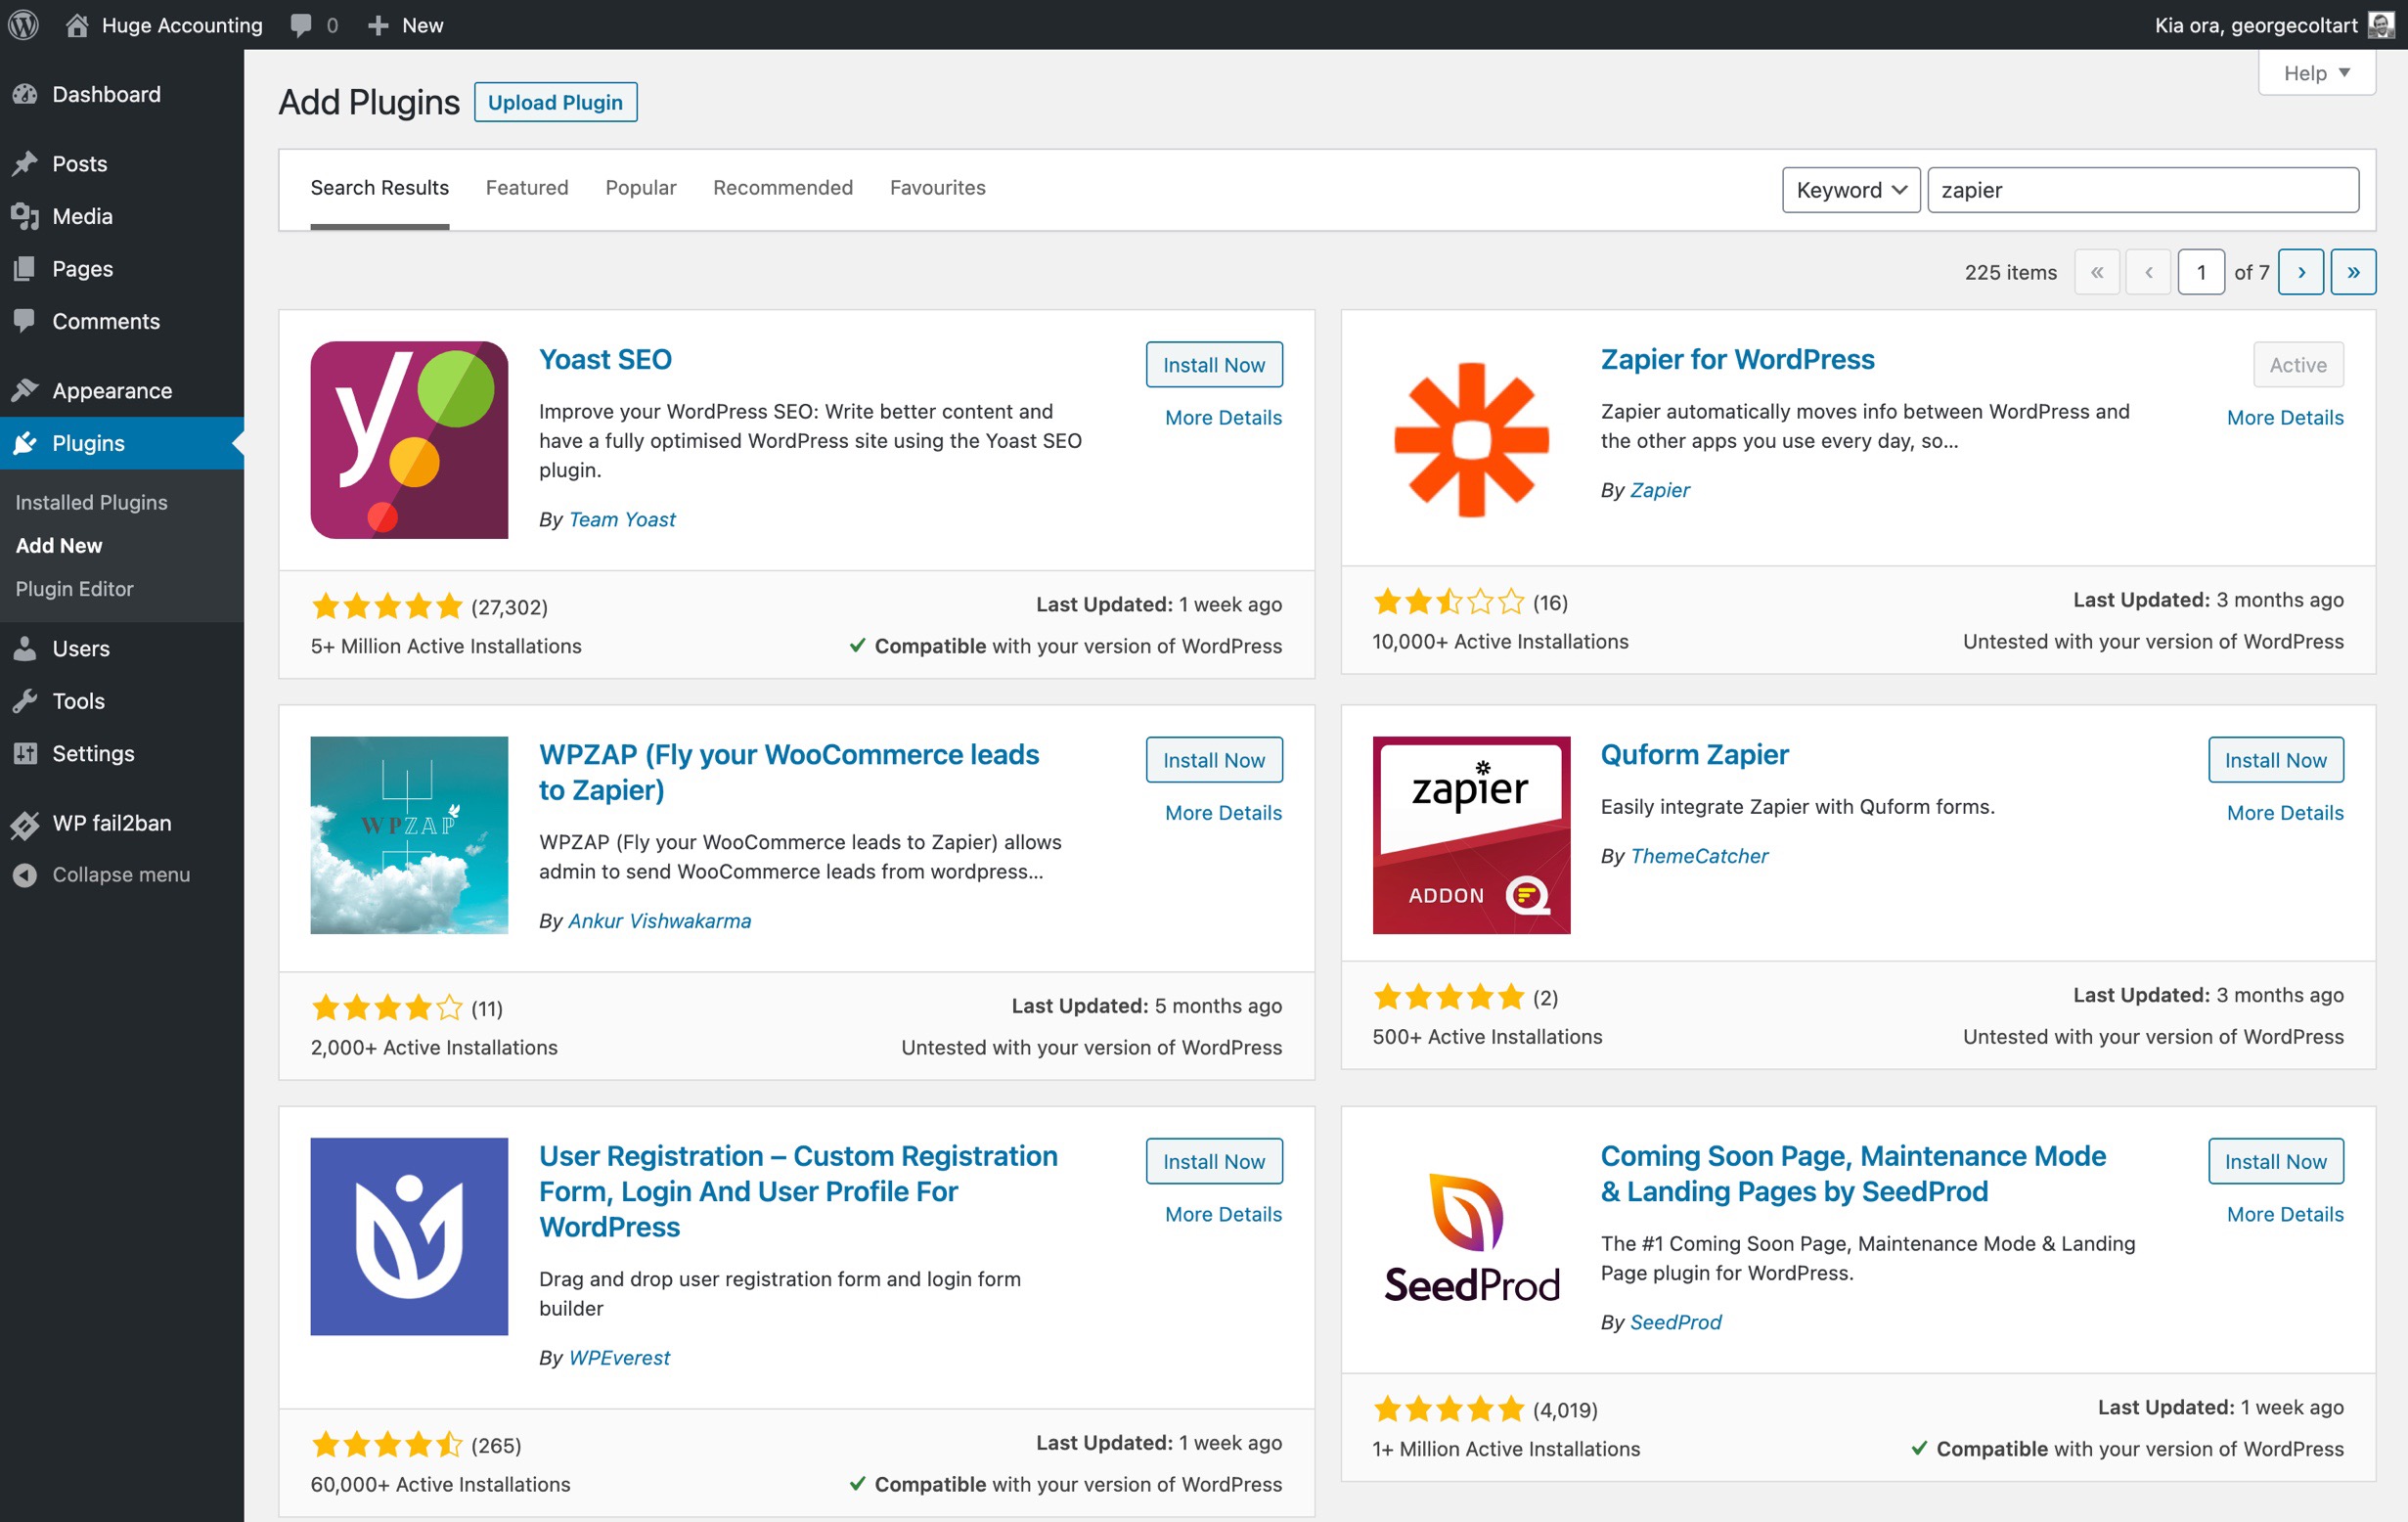
First you'll need to log into your WordPress admin and install the Zapier plugin. Once you are logged in, you can find this on the sidebar in Plugins > Add New then search for "Zapier".
Find the Zapier for WordPress plugin and click Install Now, then Activate (same button) once the install has finished.
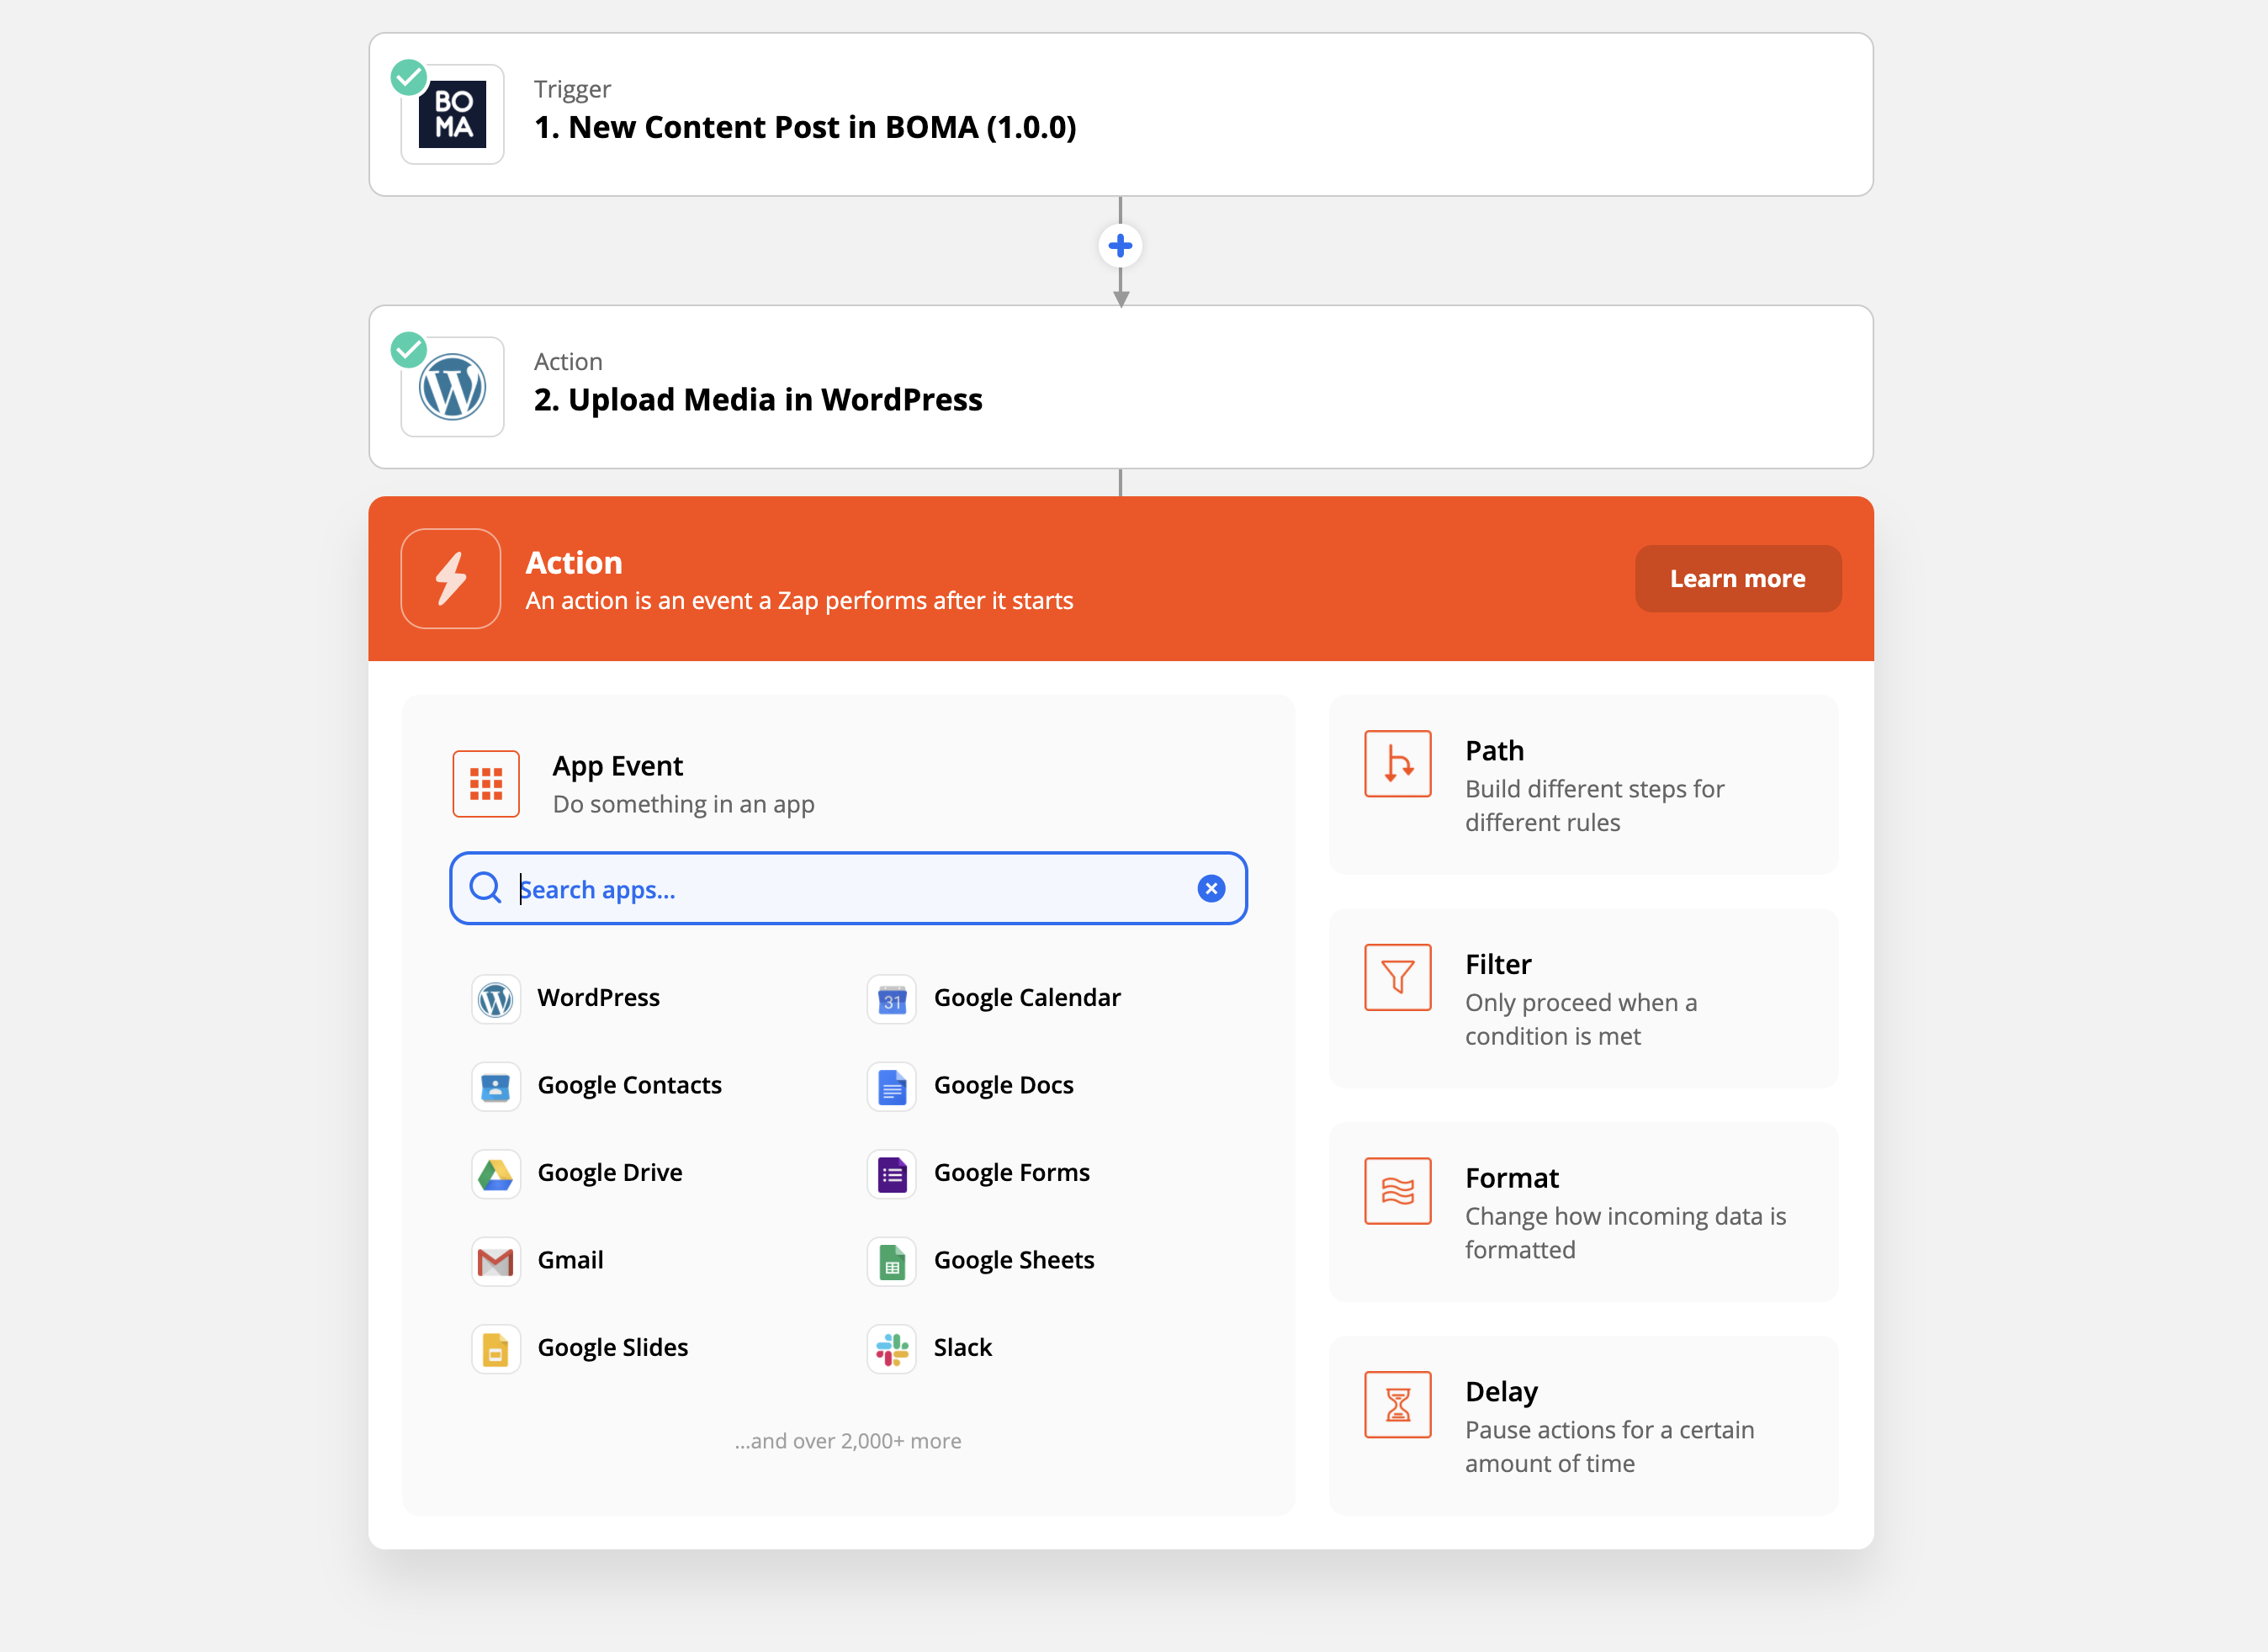
Now return to Zapier to the ACTION section and search for 'WordPress' in the Search Apps field.
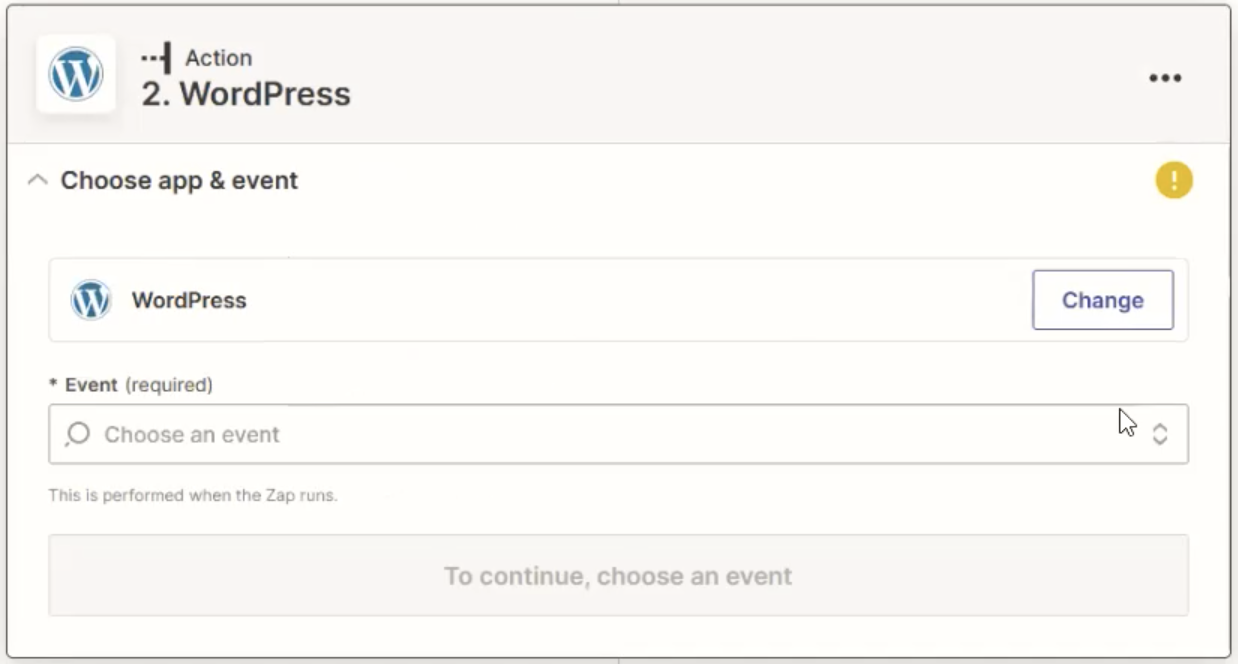
You'll need to set up two actions, one to upload the image into the WordPress media library, and the other to create the WordPress post.
In the Action Event dropdown choose Upload Media then click Continue.
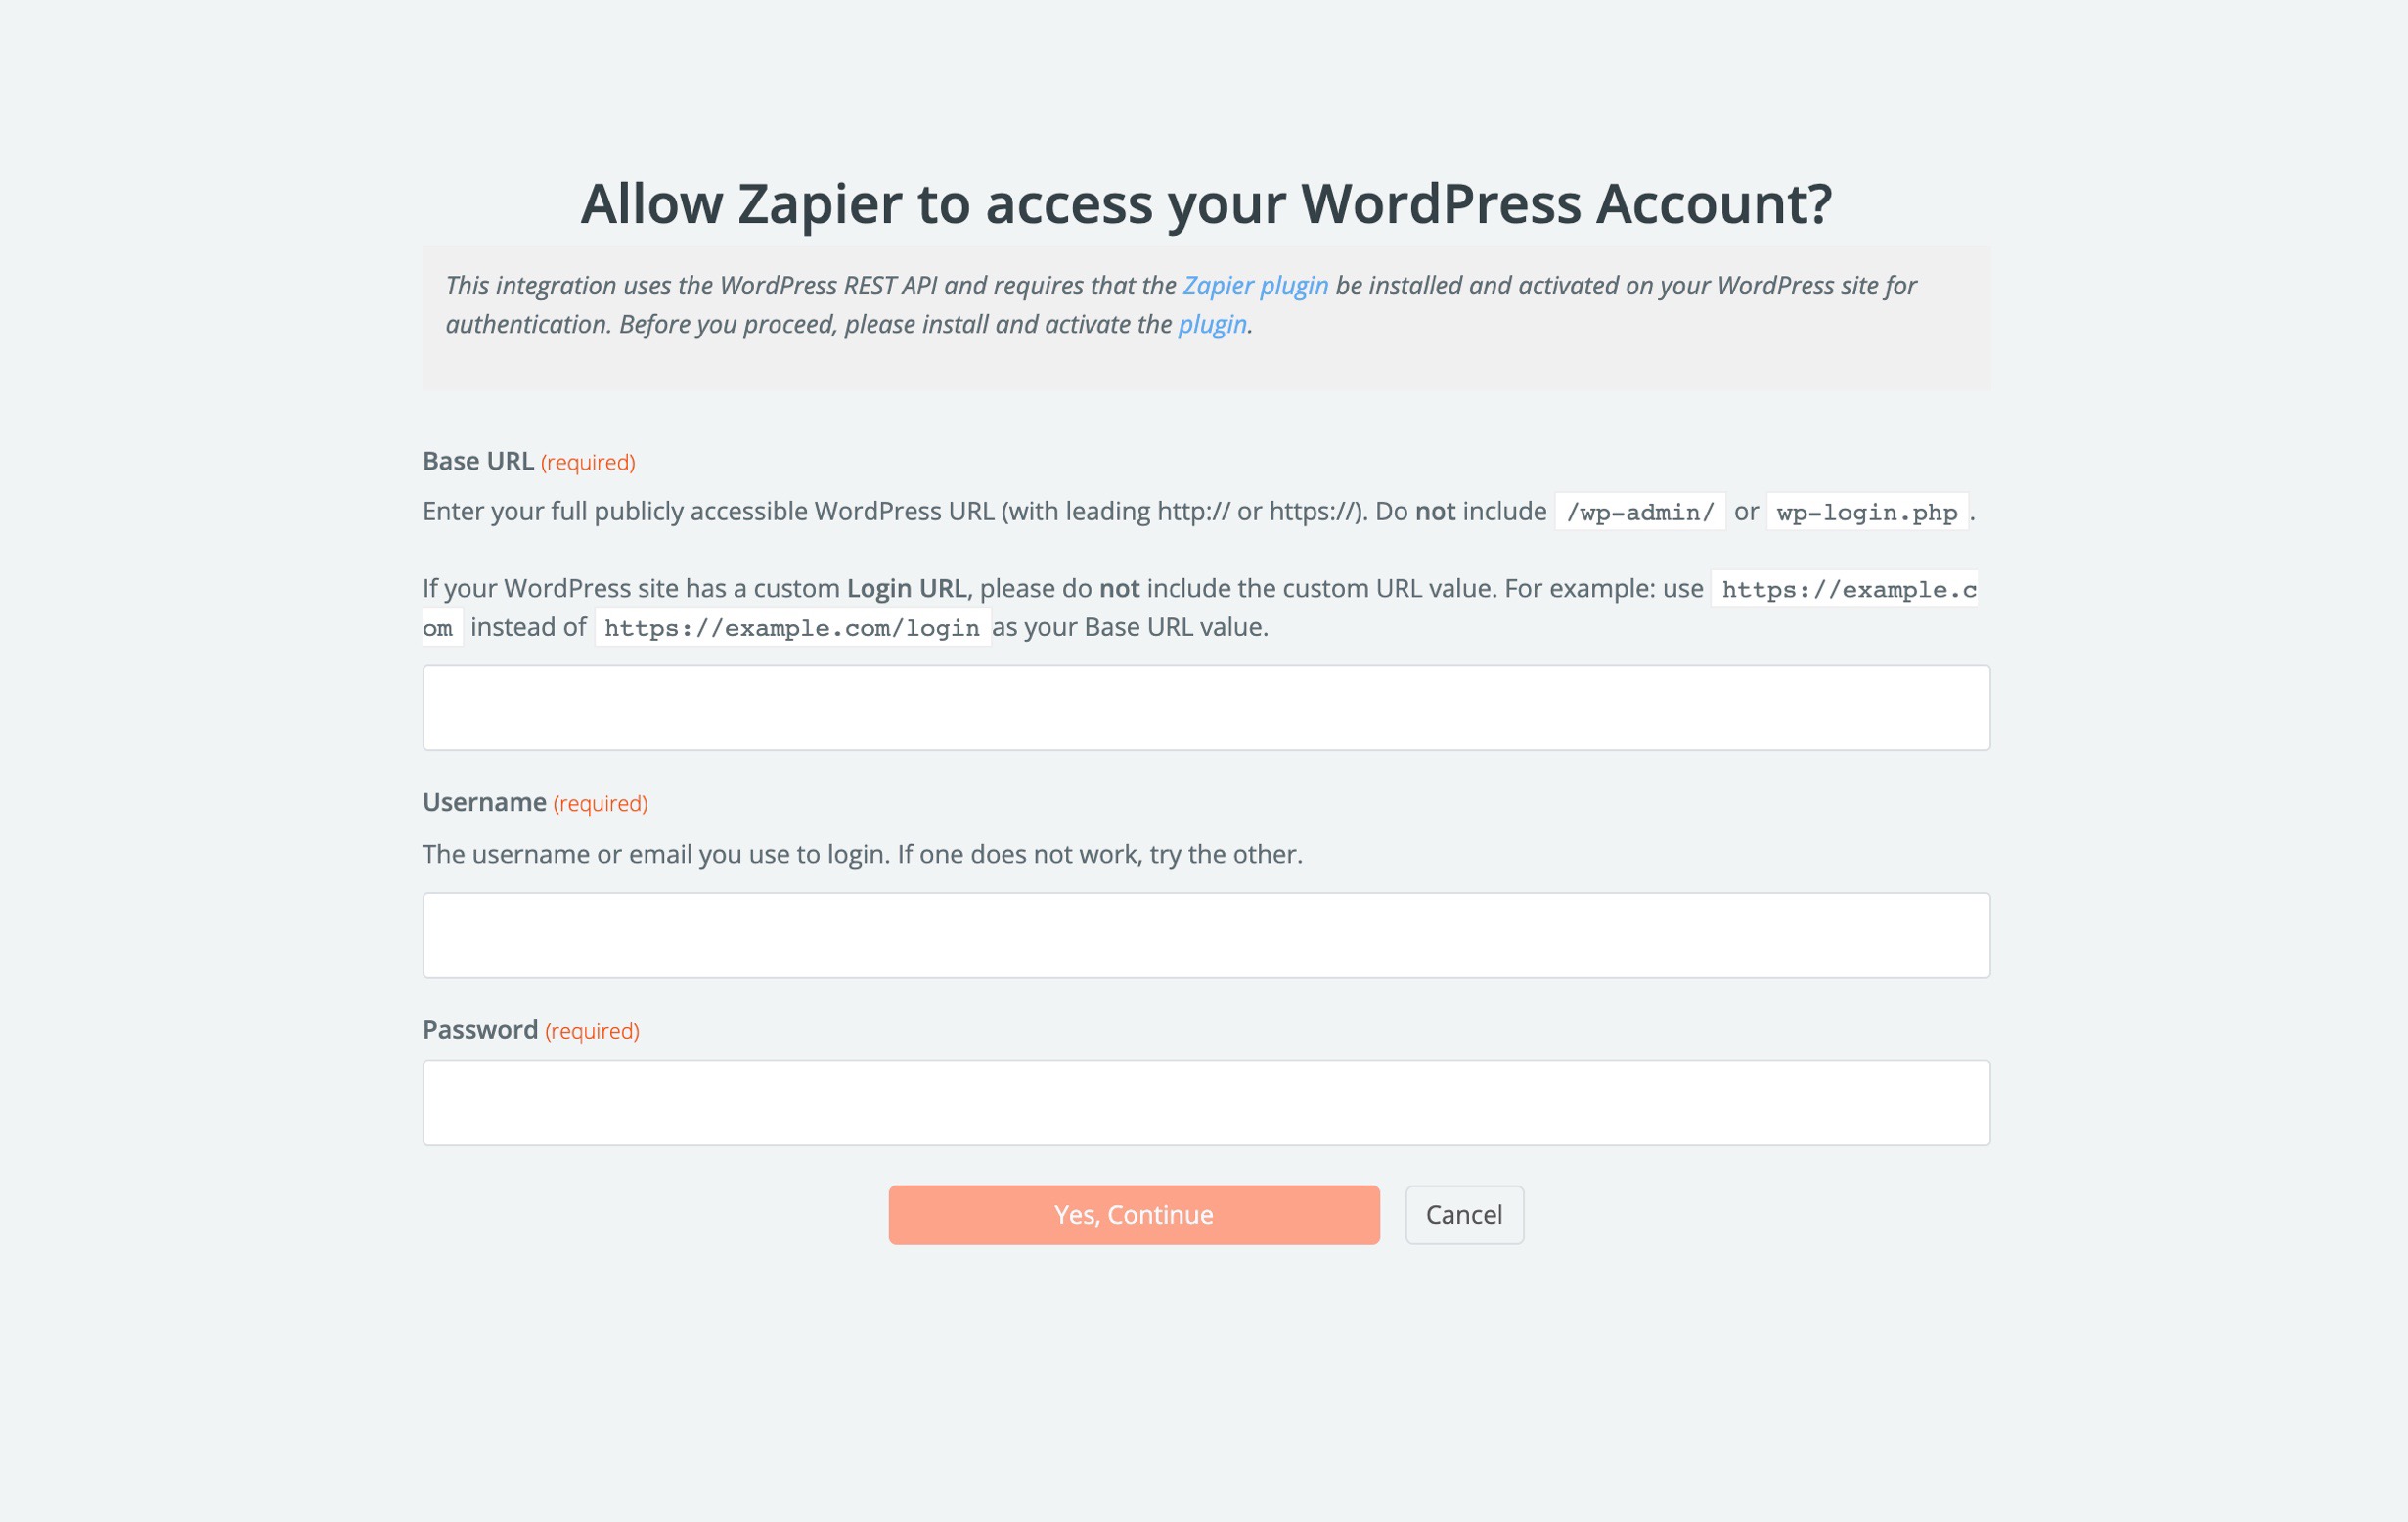
Now you need to add your WordPress details. Click Sign in to WordPress.
Here you'll need to enter 3 pieces of information:
• The root domain of your website (your homepage address)
• The username or email you use to login to WordPress.
• The password you use to login to WordPress.
Once you have submitted this information click Yes, Continue.
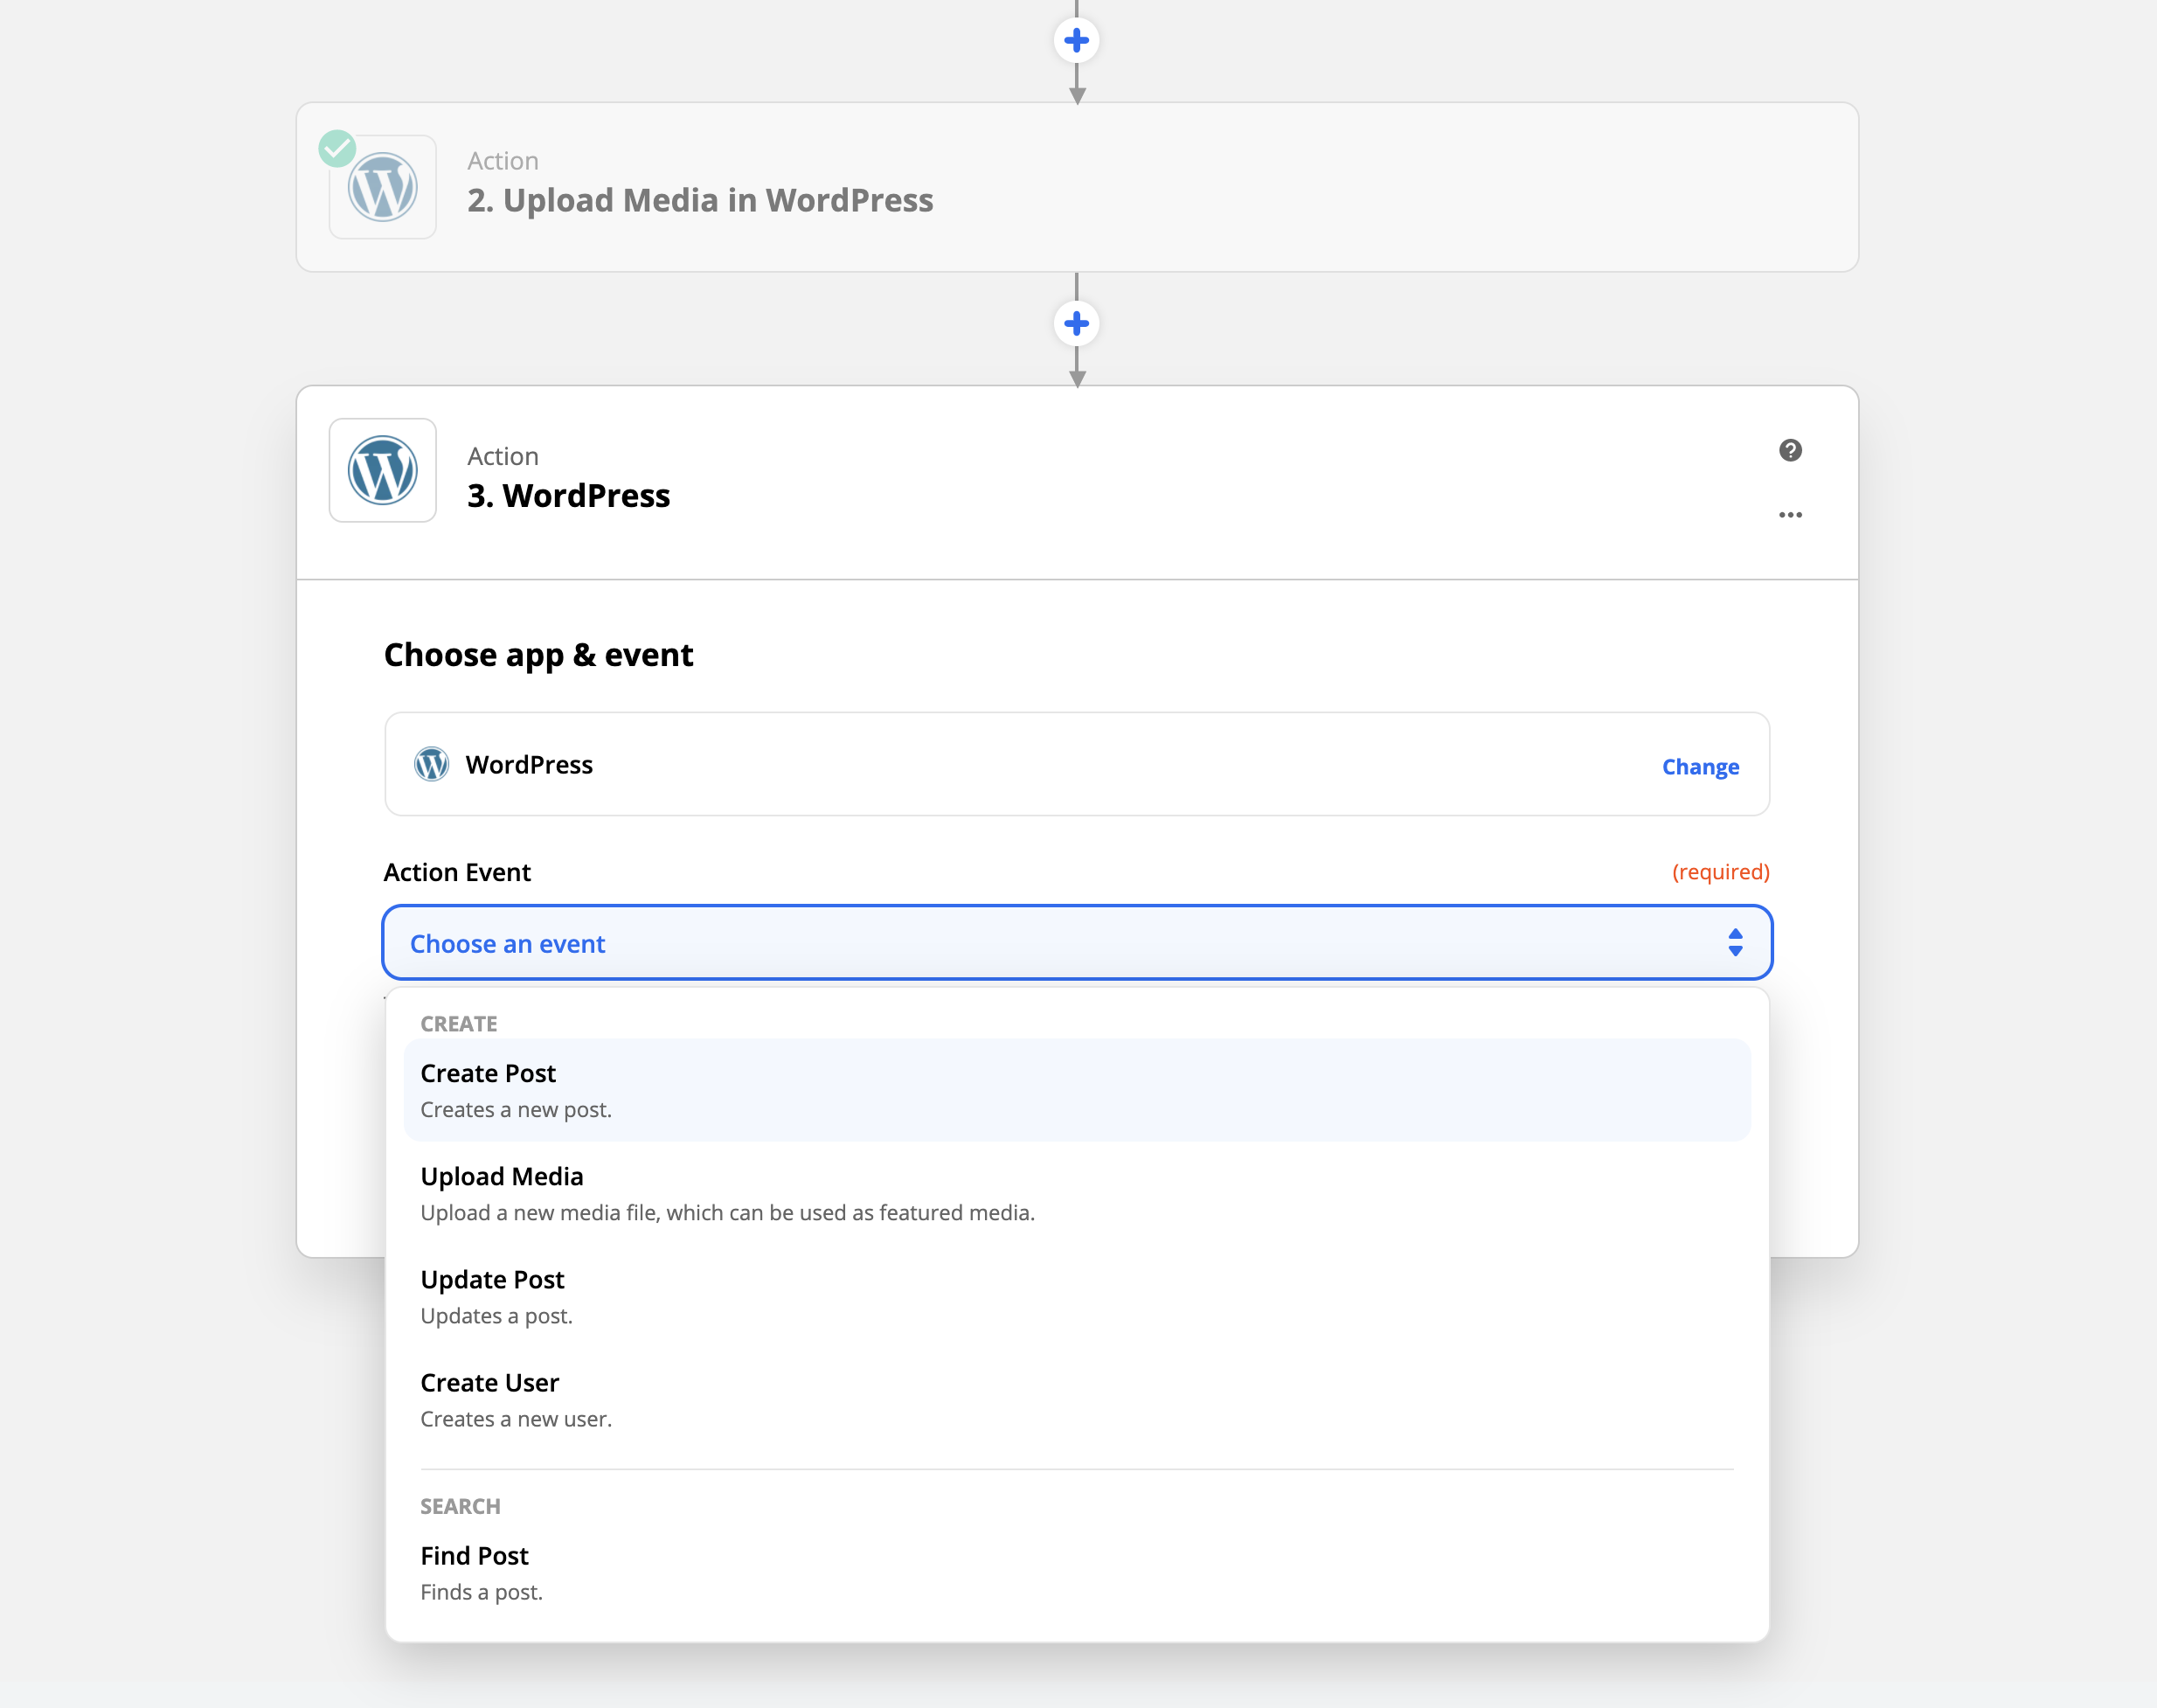
In the Action Event dropdown choose Create Post then click Continue.
In the Choose Account screen, select the account you just created from the dropdown and click Continue.
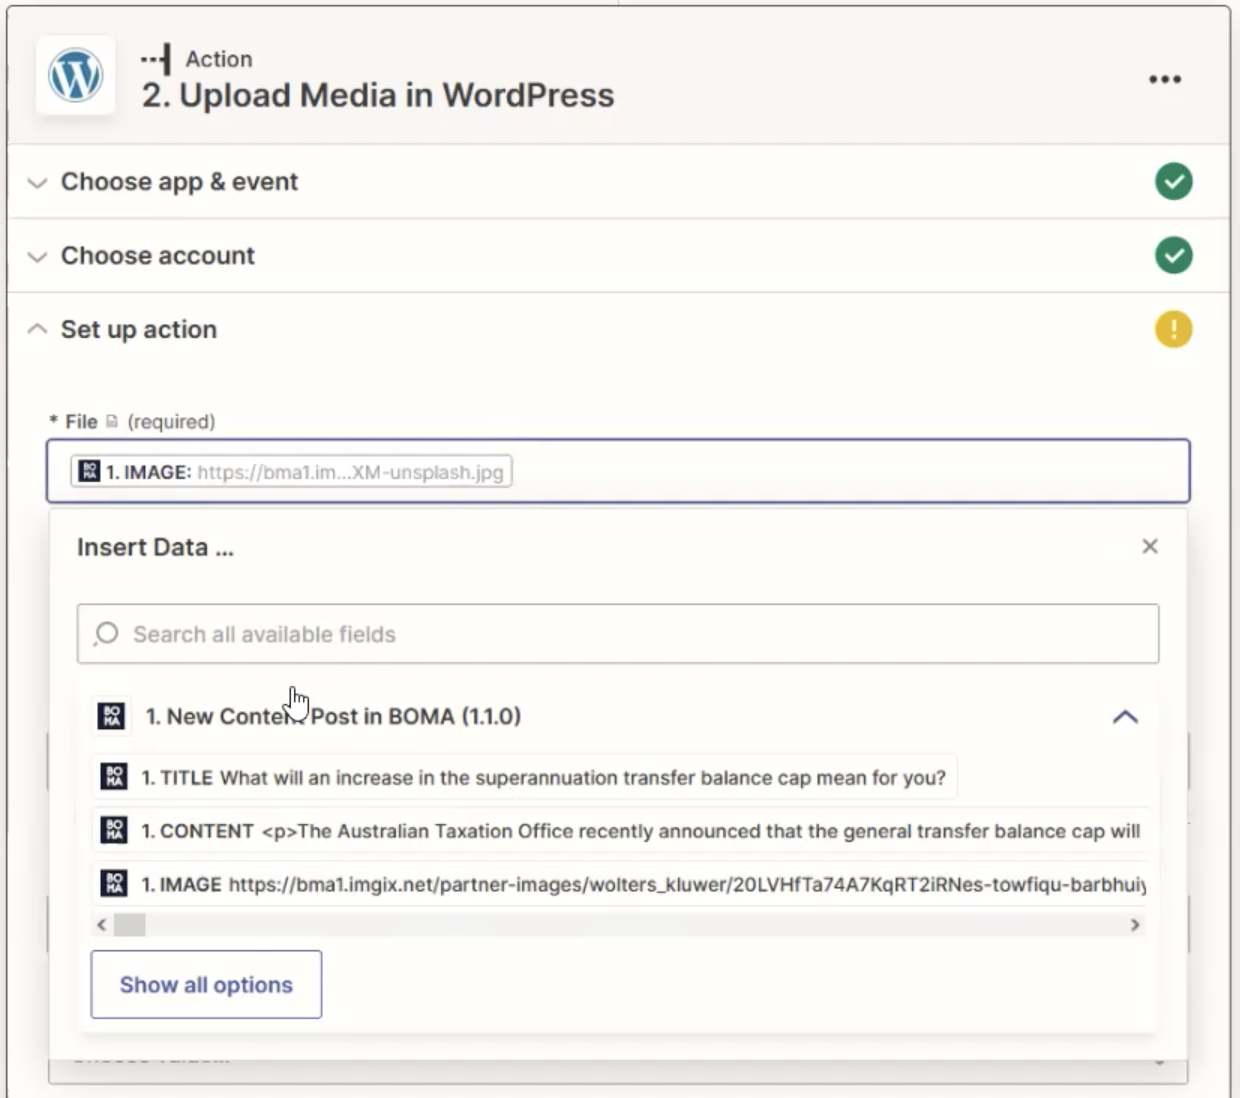
In the following Set up action step choose the File dropdown, choose the Image field from the BOMA post. (You may need to click Show all options in the menu)
The remaining fields in this section are optional but not required. You may wish to add extra metadata to the media such as title and description however they are not required for the Zap to run.
Click Continue at the bottom of the Set up action step.
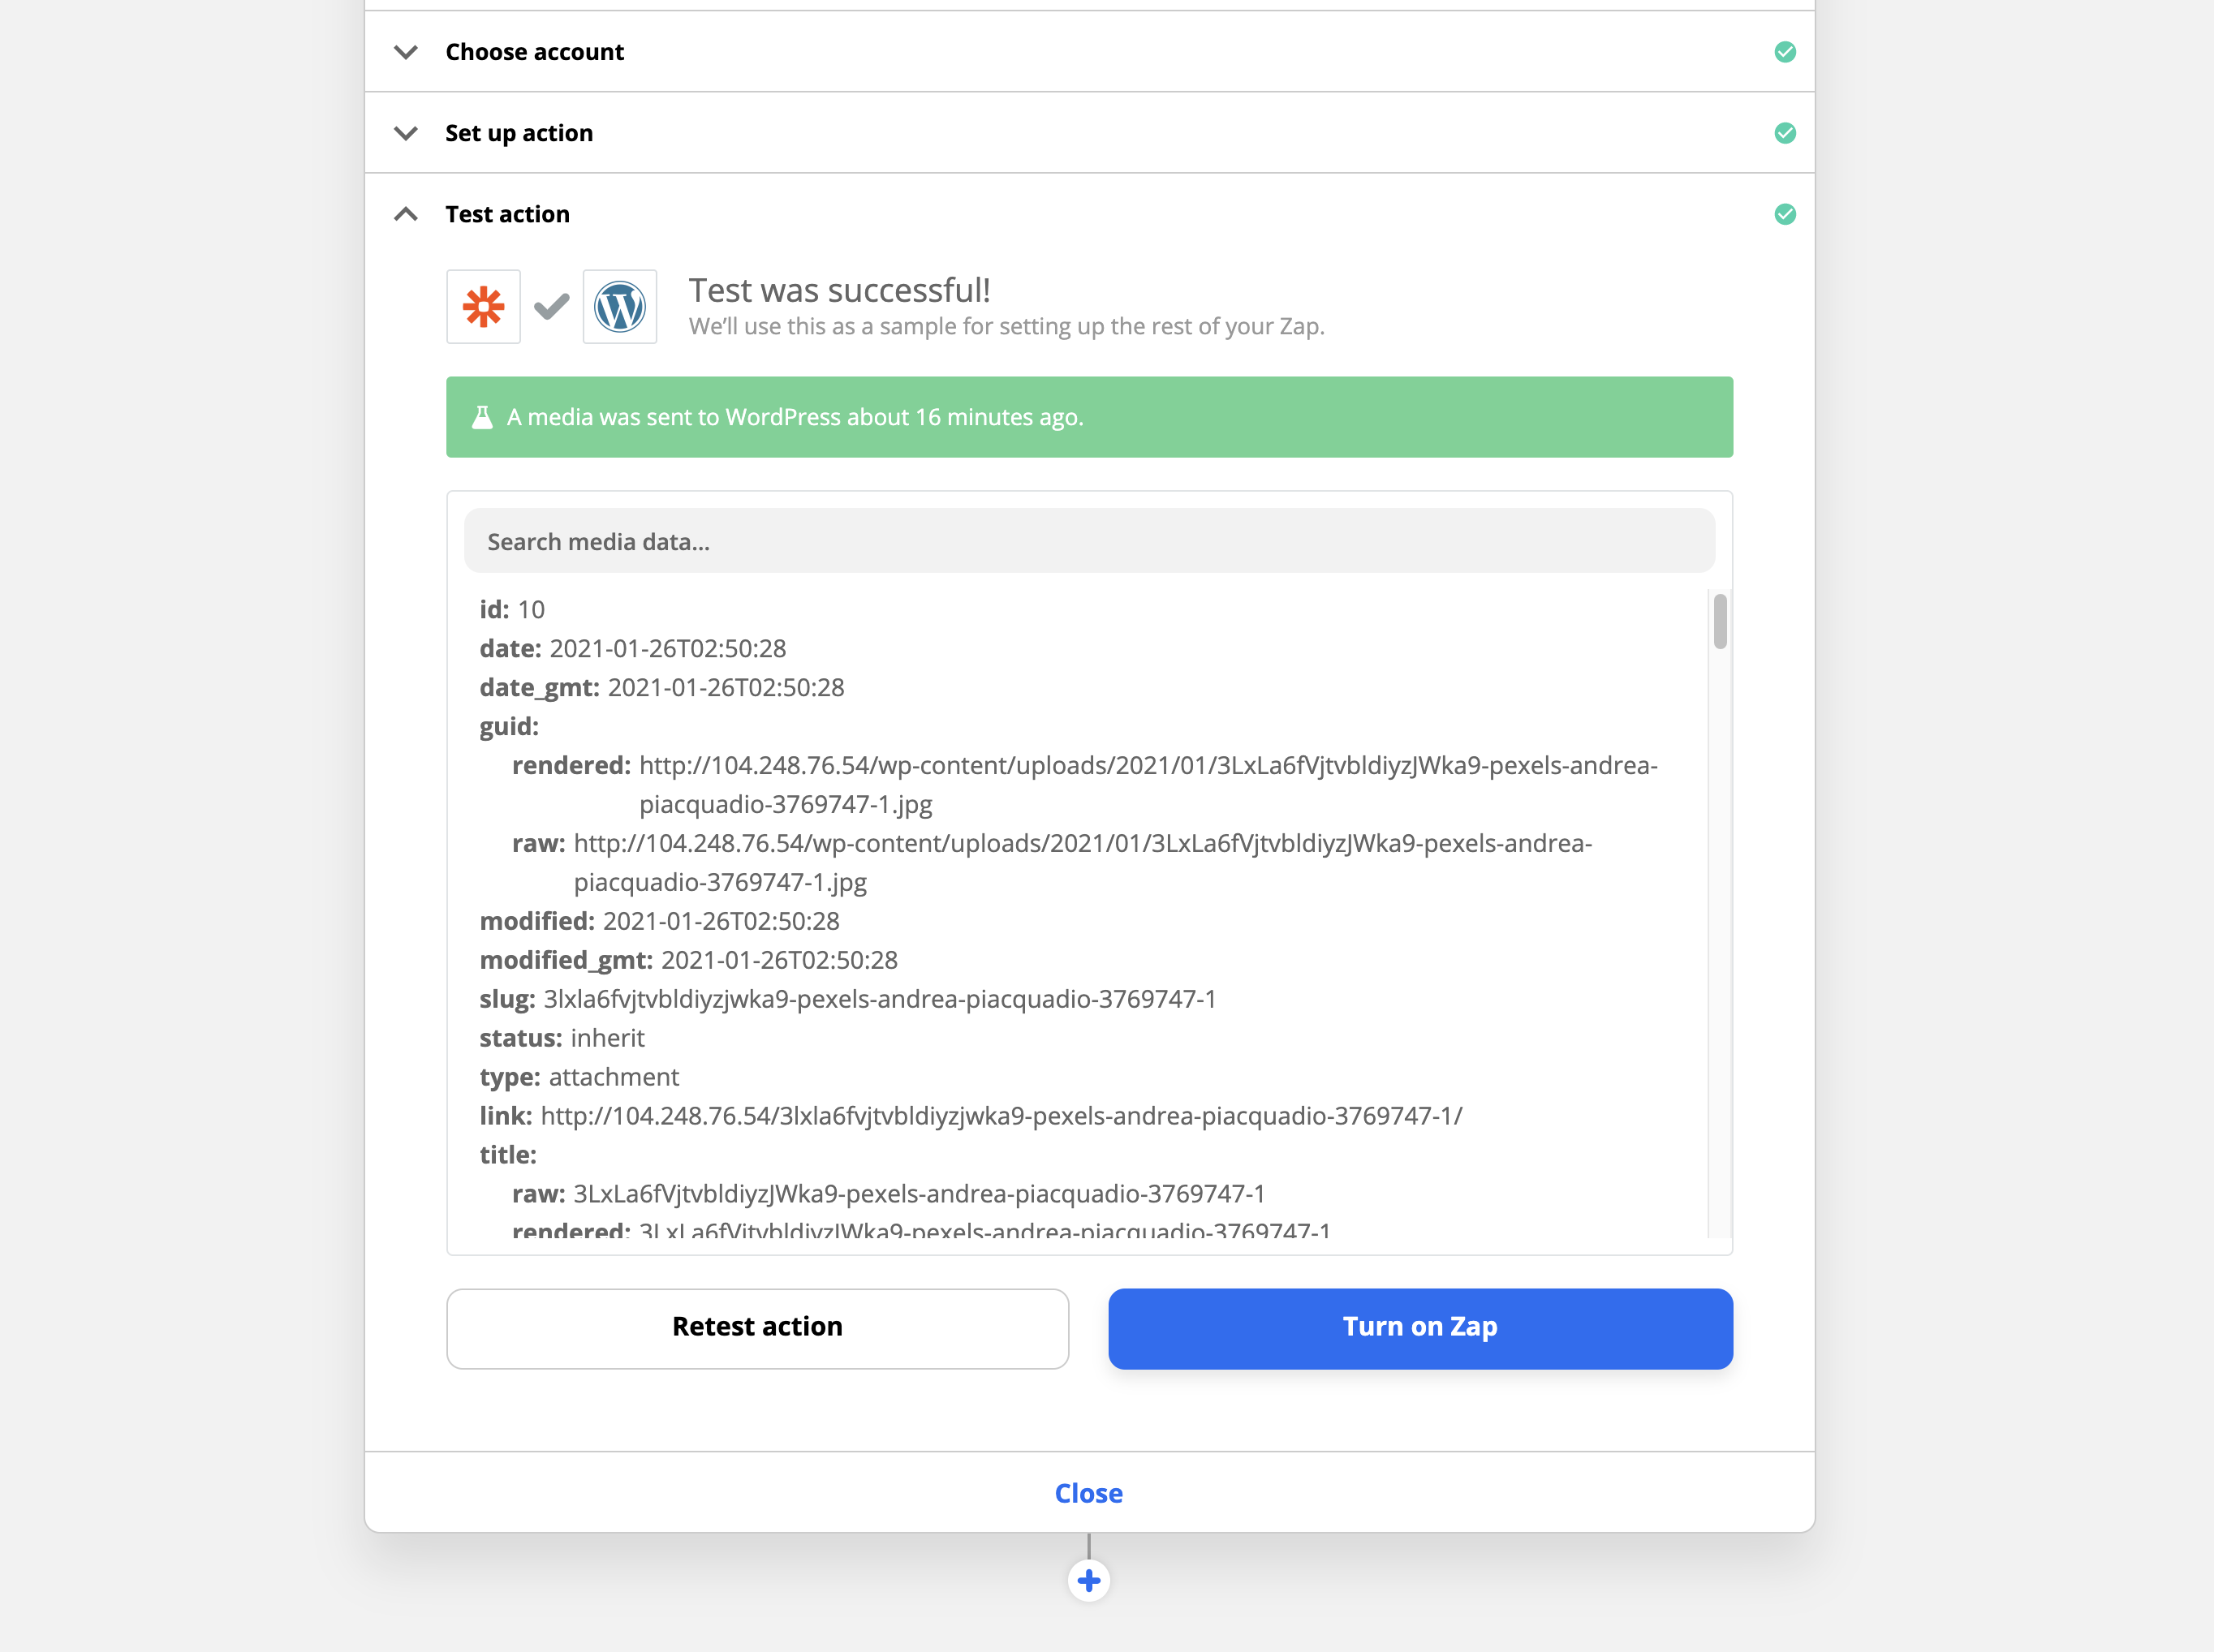
Click Test & Review at the bottom of the page. This will now upload the image from the BOMA content post to WordPress. It may take 5-10 seconds to complete and then you should see a green message box saying "A media was sent to WordPress about X seconds ago."
Now that we've successfully completed the upload step, we can add the Create Post action step.
Click the CLOSE button at the bottom of the page to close the Upload Media action.
Now click the small PLUS icon below the Upload Media step to add a new action.
Search for and select the WordPress app again.
From the Choose Account screen, choose the WordPress account you used earlier.

In the Action Event dropdown choose Create Post then click Continue.
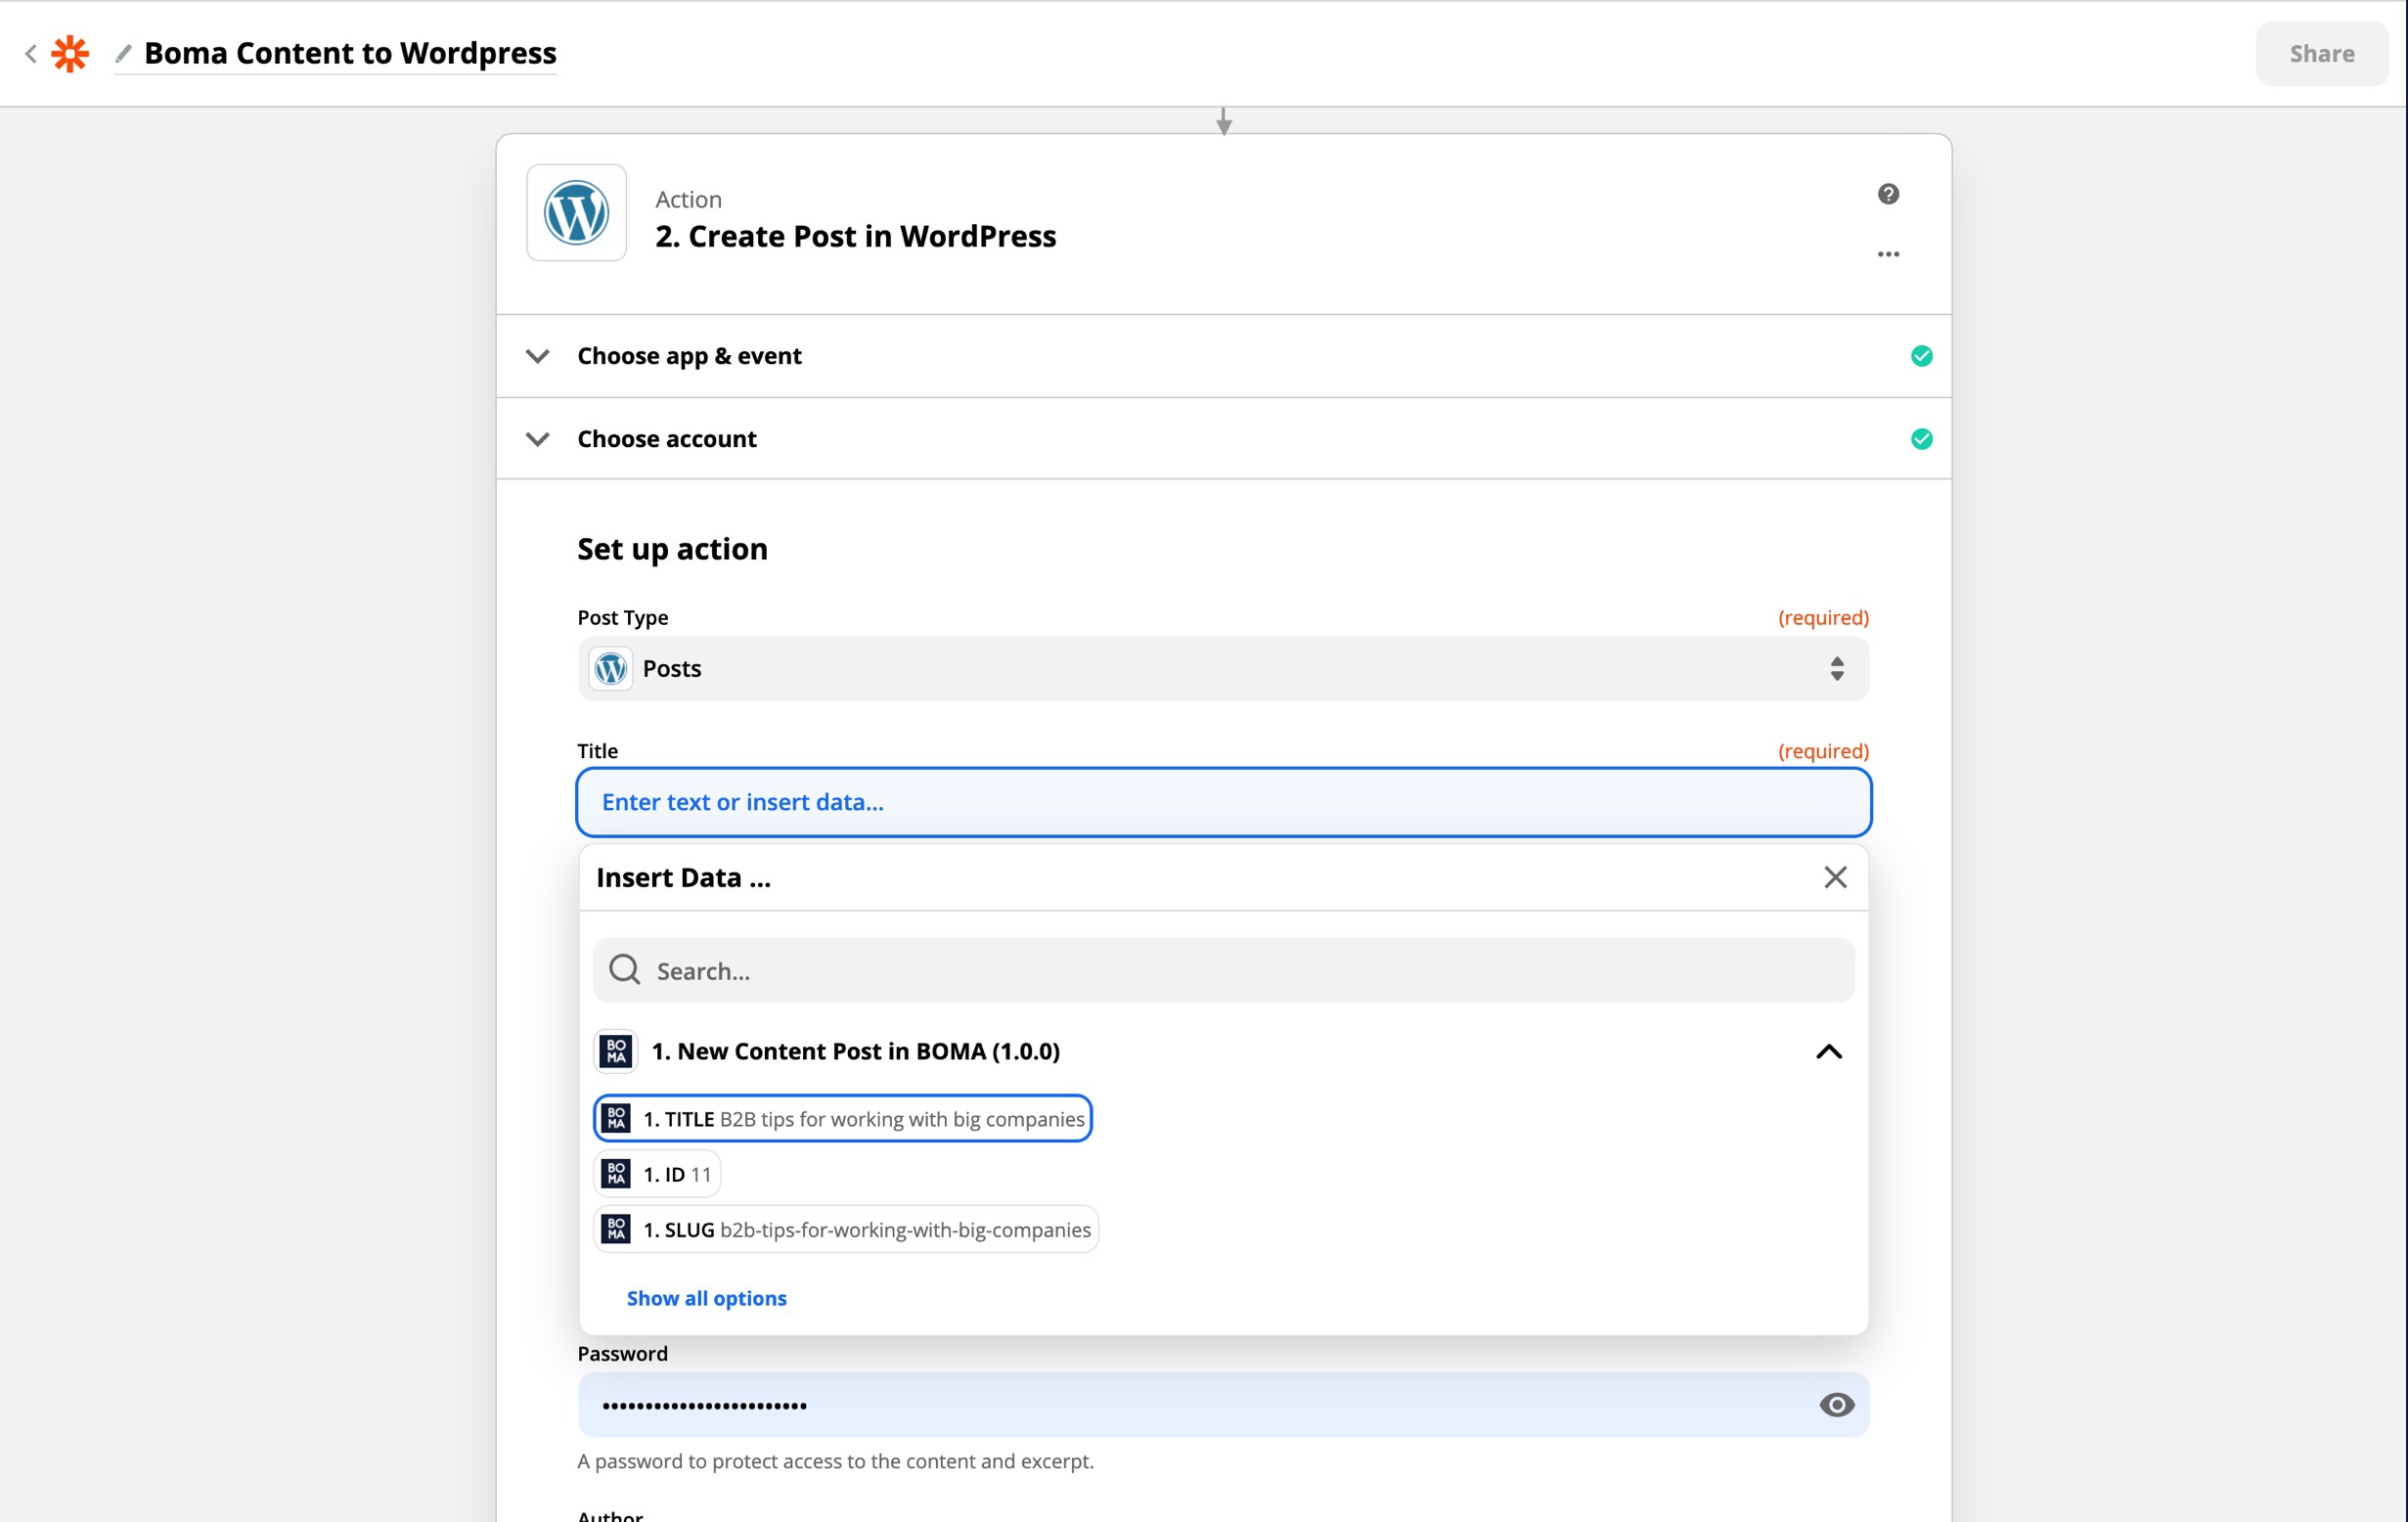
In the following Set up action step, choose Posts from the Post Type menu.

Now you need to map the information from BOMA to specific fields in the WordPress post. For this demo we’ll connect the fields for the WordPress Title, Content, Excerpt and Status fields. The remainder of the fields are optional and do not necessarily map to any content in the BOMA post.
• In the Title dropdown, choose the Title field from the BOMA post.
• In the Content dropdown, choose the Content field from the BOMA post. (You may need to click Show all options in the menu
• In the Excerpt field, choose the Summary content from the BOMA post. (You may need to click Show all options in the menu)
• The Status field should be changed to the status you would like the post to be in when it's created by the Zap. We recommend setting this to Draft so you can review the post in the WordPress Admin before you publish it manually. If you are confident in how the Zapier workflow is working you can change this field to Published to have the post published automatically.
Once you have completed this section click CONTINUE
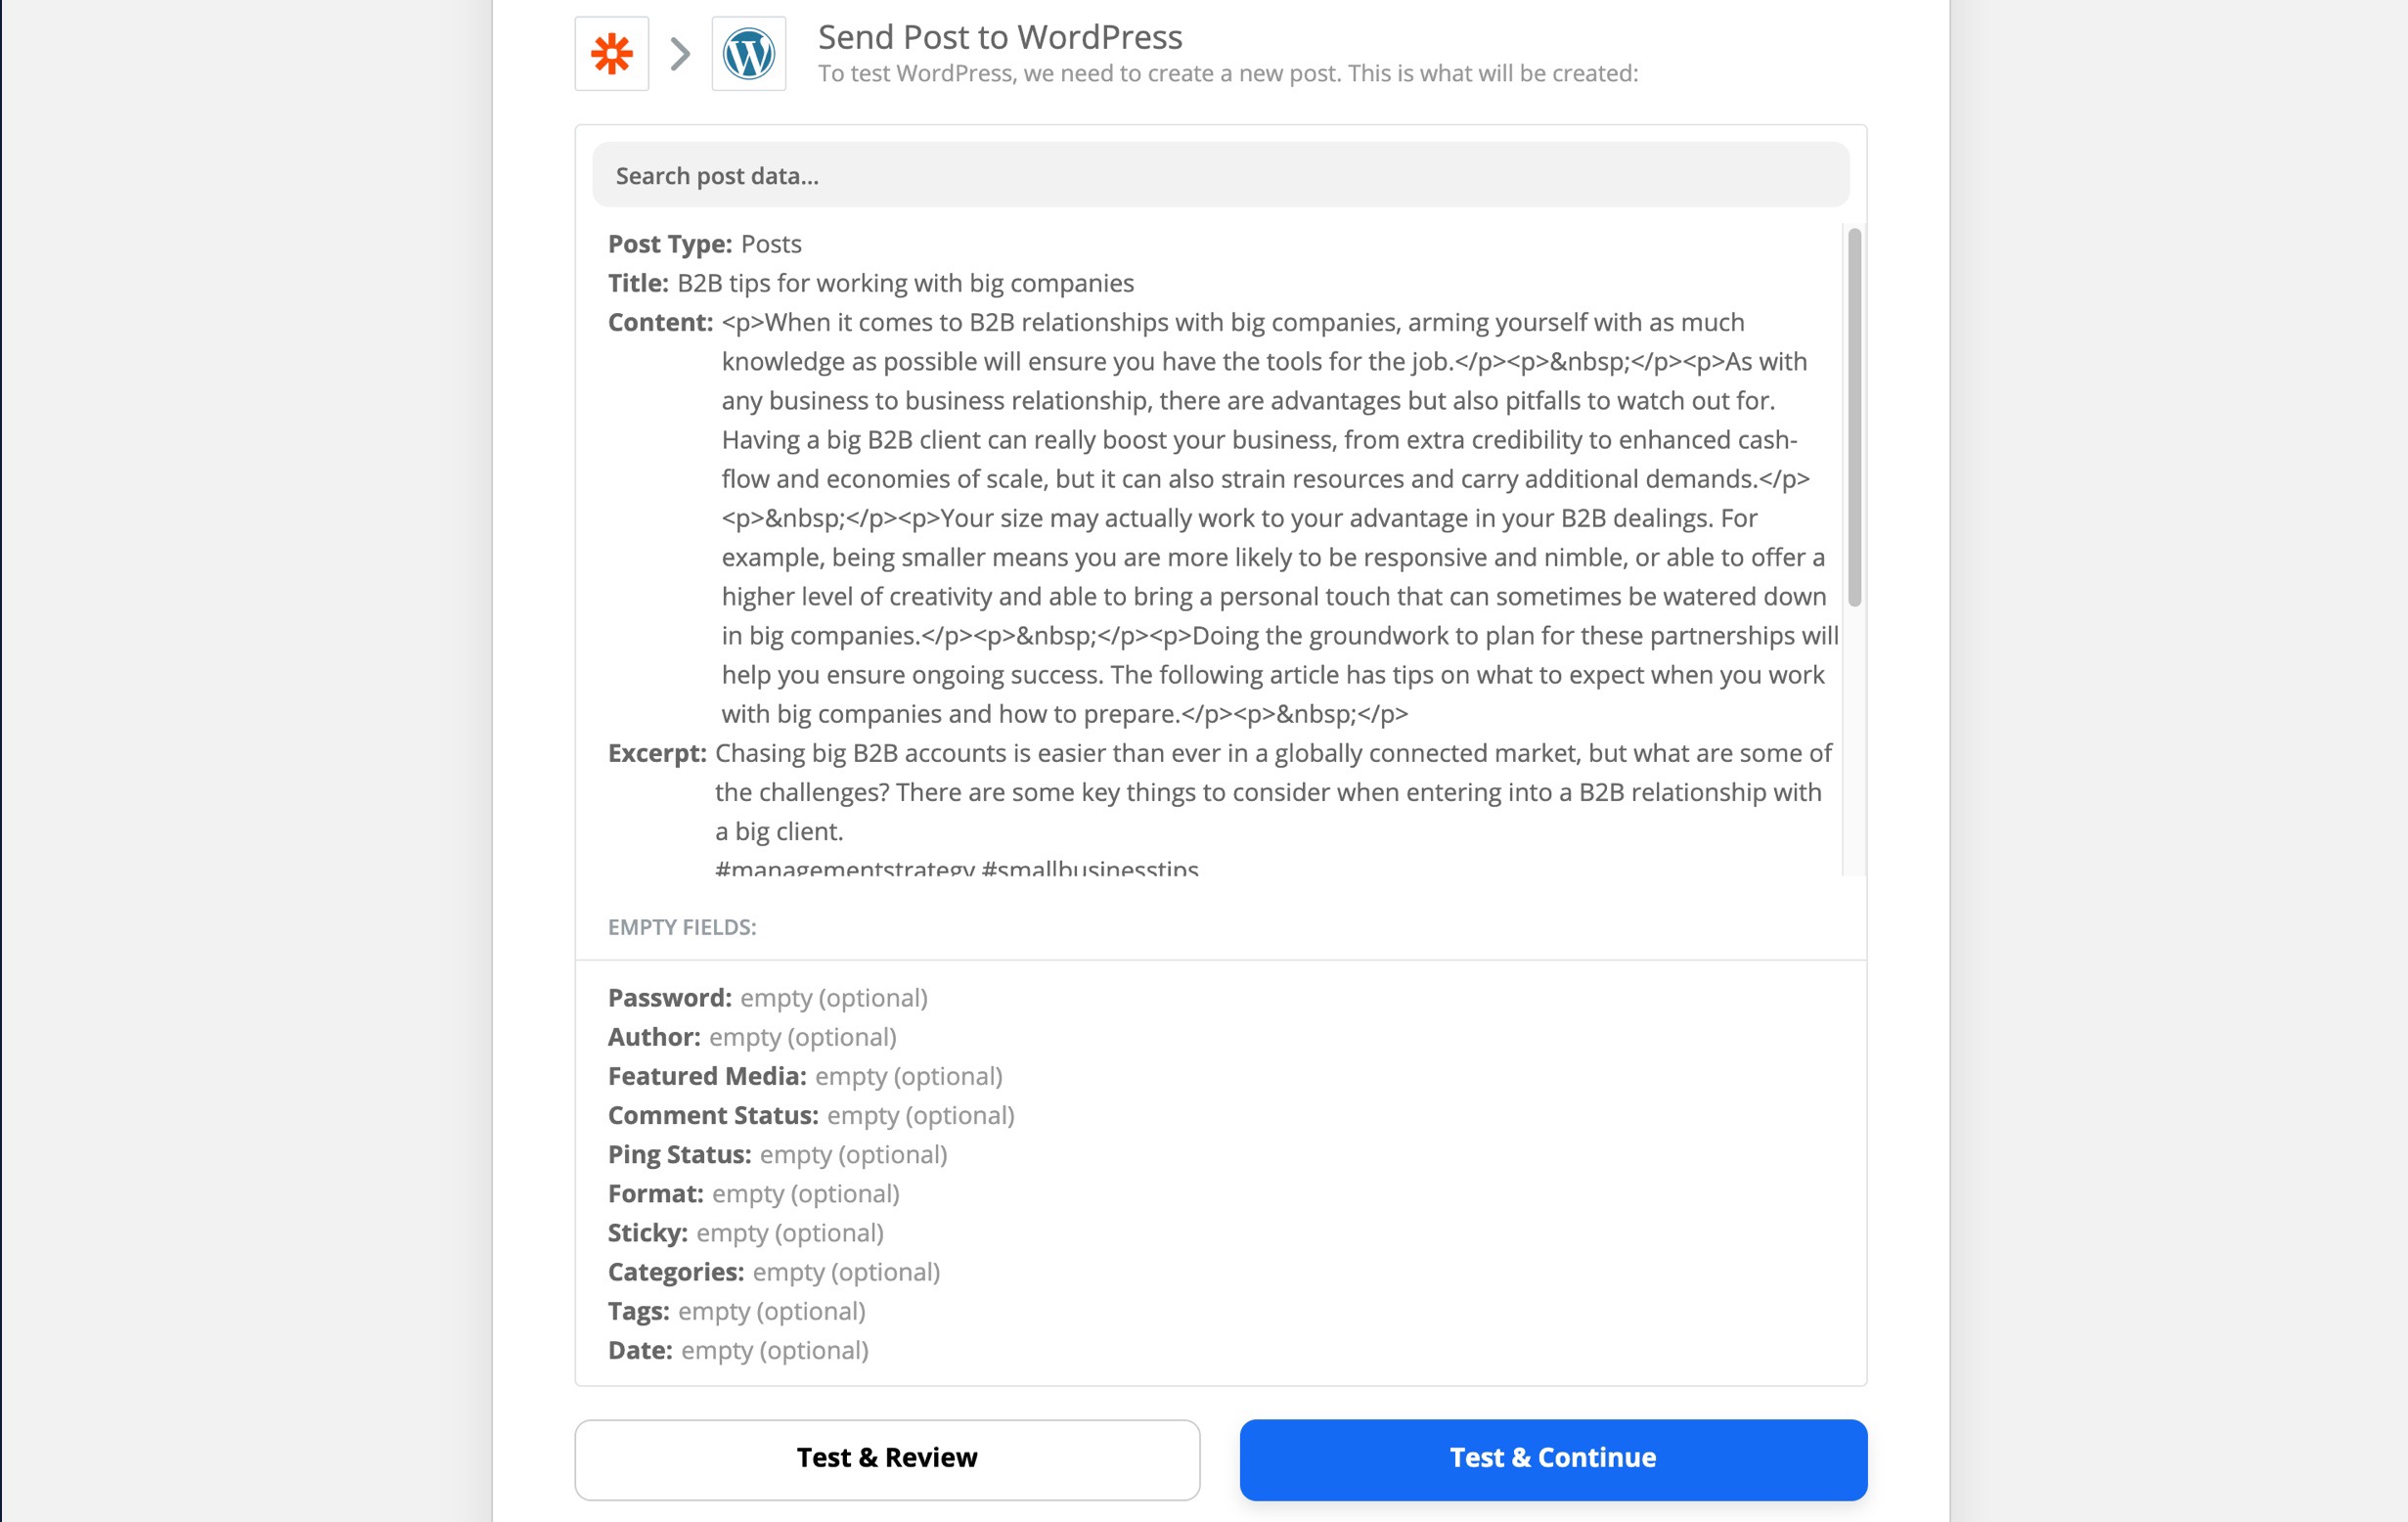
On the next page, click Test & Review. This will test the integration with WordPress and create the draft Post, so now is a good time to check the WordPress admin for the new Draft post.
Once you've confirmed this, you can click Turn on Zap to turn the Zap on.
Now the Zap is running, which means it’s waiting for new content to be pushed from BOMA. When it finds a piece of posted content, it will send it to your WordPress account as a draft post.
You can test the workflow from end to end by going back to BOMA and delivering another post. Note that may be up to a 15 minute delay for Zapier to perform the task once you post from BOMA.
Further Reading:
Lead Form to sending email (email delayed by one day)
Lead Form to sending email – email sending on specific time and day
Do you integrate with Hubspot?