
If you wish to send an email to someone who has filled out your lead form, but delay that email until a specific day and time before it sends, you can do so with a delayed action Zap.
Lets start with sending your lead form to Zapier. Navigate to the Lead forms menu, and click on the lead form you would like to connect to Zapier. Once completed, click on the settings submenu, and then click the check box "Send contacts to Zapier."
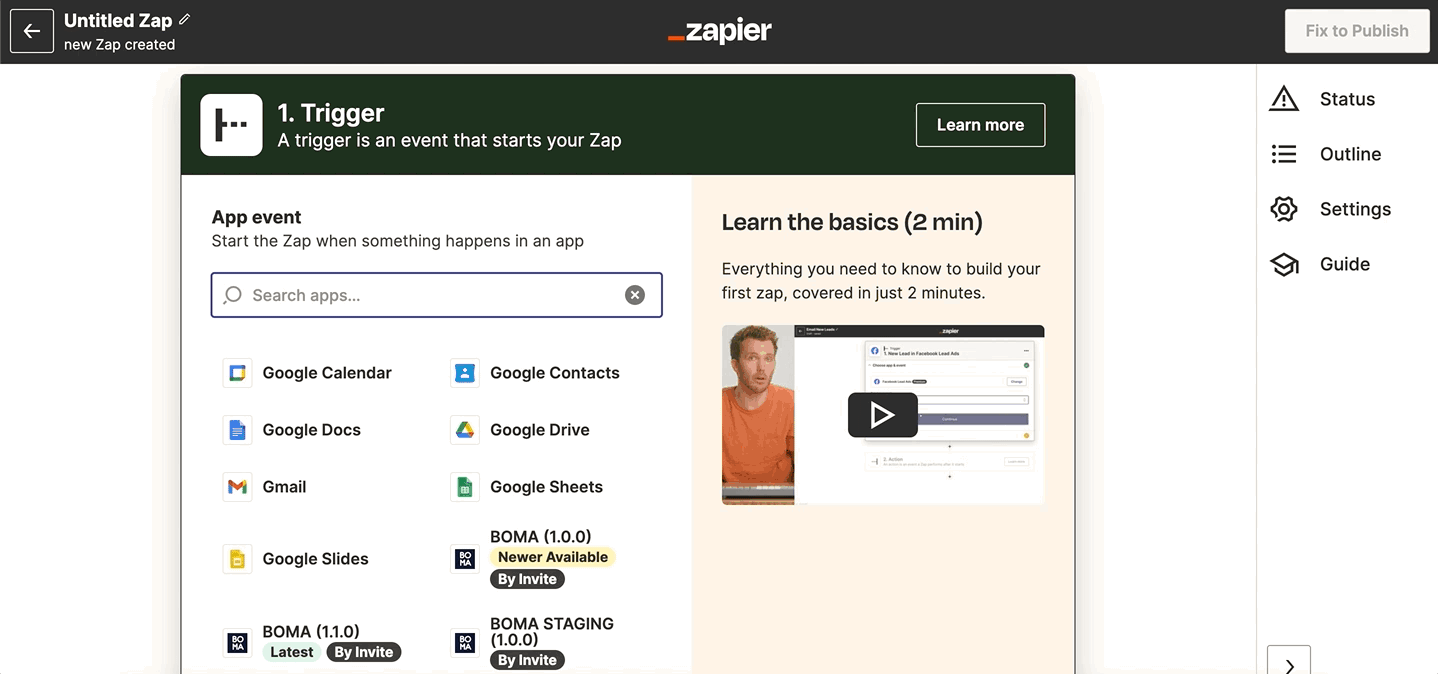
Now in Zapier, start creating the Zap. Give it a name, for example “Lead form send delayed email 1 day”
For the Trigger, select BOMA (1.1.0).
For the trigger event, Choose “Fetch Contacts From BOMA”
You’ll have to sign into your BOMA account.
Once completed, click on test and continue.
To add an Action field, Click the delay button " + " at the bottom trigger box. After, select the delay option, in the bottom right of the Action Box.
To Delay for 1 day:
-
In the Choose app & event section, click the Action Event dropdown menu and select Delay Until.
-
Click Continue.
-
In the Time Delayed Until (value) field, enter the time and date the Zap should wait for before it moves on to the next step. You can enter a specific time and date, but you can also enter text such as “next Tuesday at 9AM”. For help on Time Formats, read: https://zapier.com/help/create/basics/different-field-types-in-zaps#step-1
-
Click on the How should we handle dates in the past? question and choose an appropriate option, eg “continue if it’s up to one day”.
Click Test and Continue when you are ready.
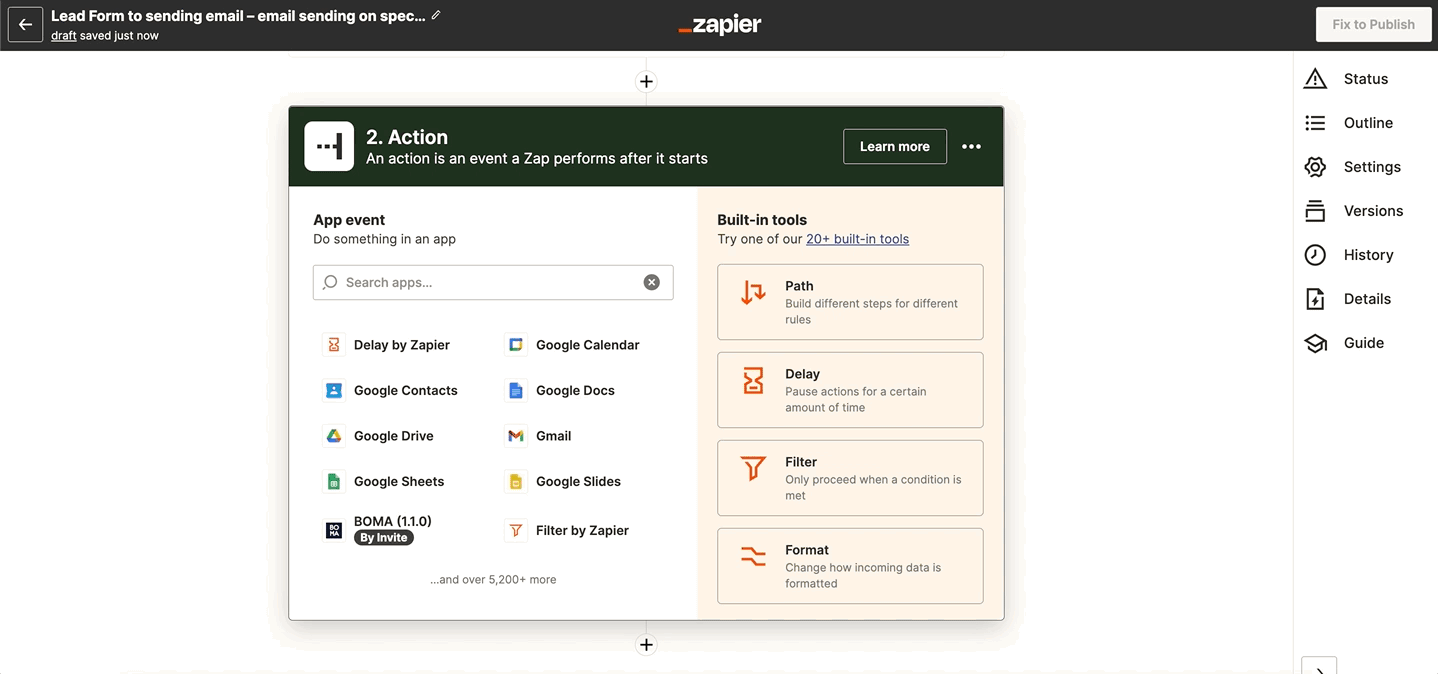
Next, we want to send an email to our new prospect on the specific day that has been entered. You will need to set up the email action. Start by clicking the " + " button.
For the trigger event, choose the app you wish to use, eg. Gmail, or Outlook.
You will have to sign into the email domain, to connect the application ( if you have not already done so).
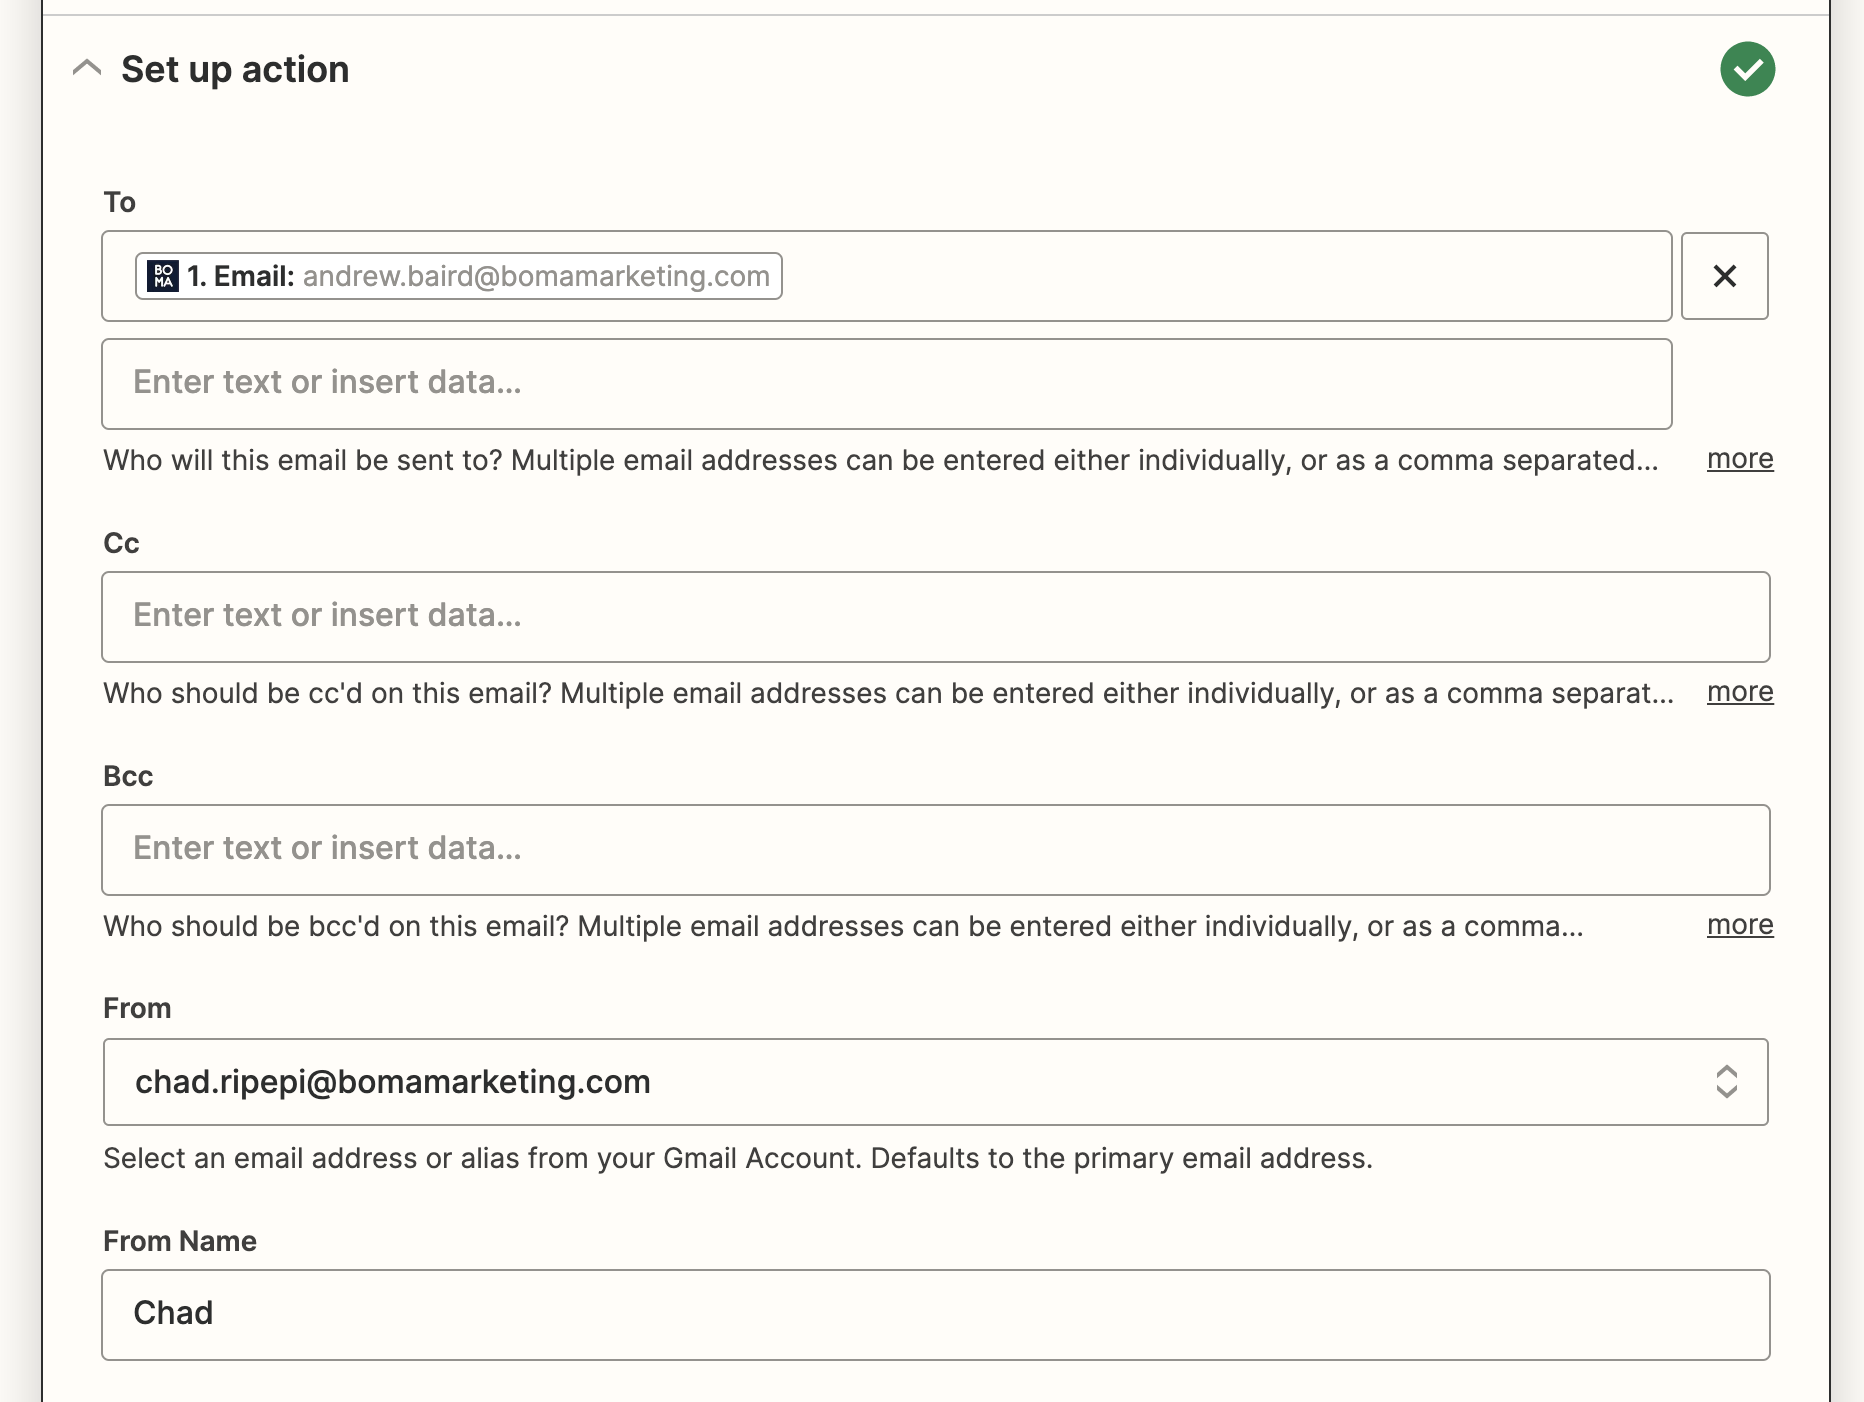
You will now need to fill out the Action form and required fields.
This includes choosing the "To" field. You can click into the field, and then select the "Fetch Contacts from BOMA" option, which will allow you to select fields associated with the contact, for example Email, First name, Last name etc.
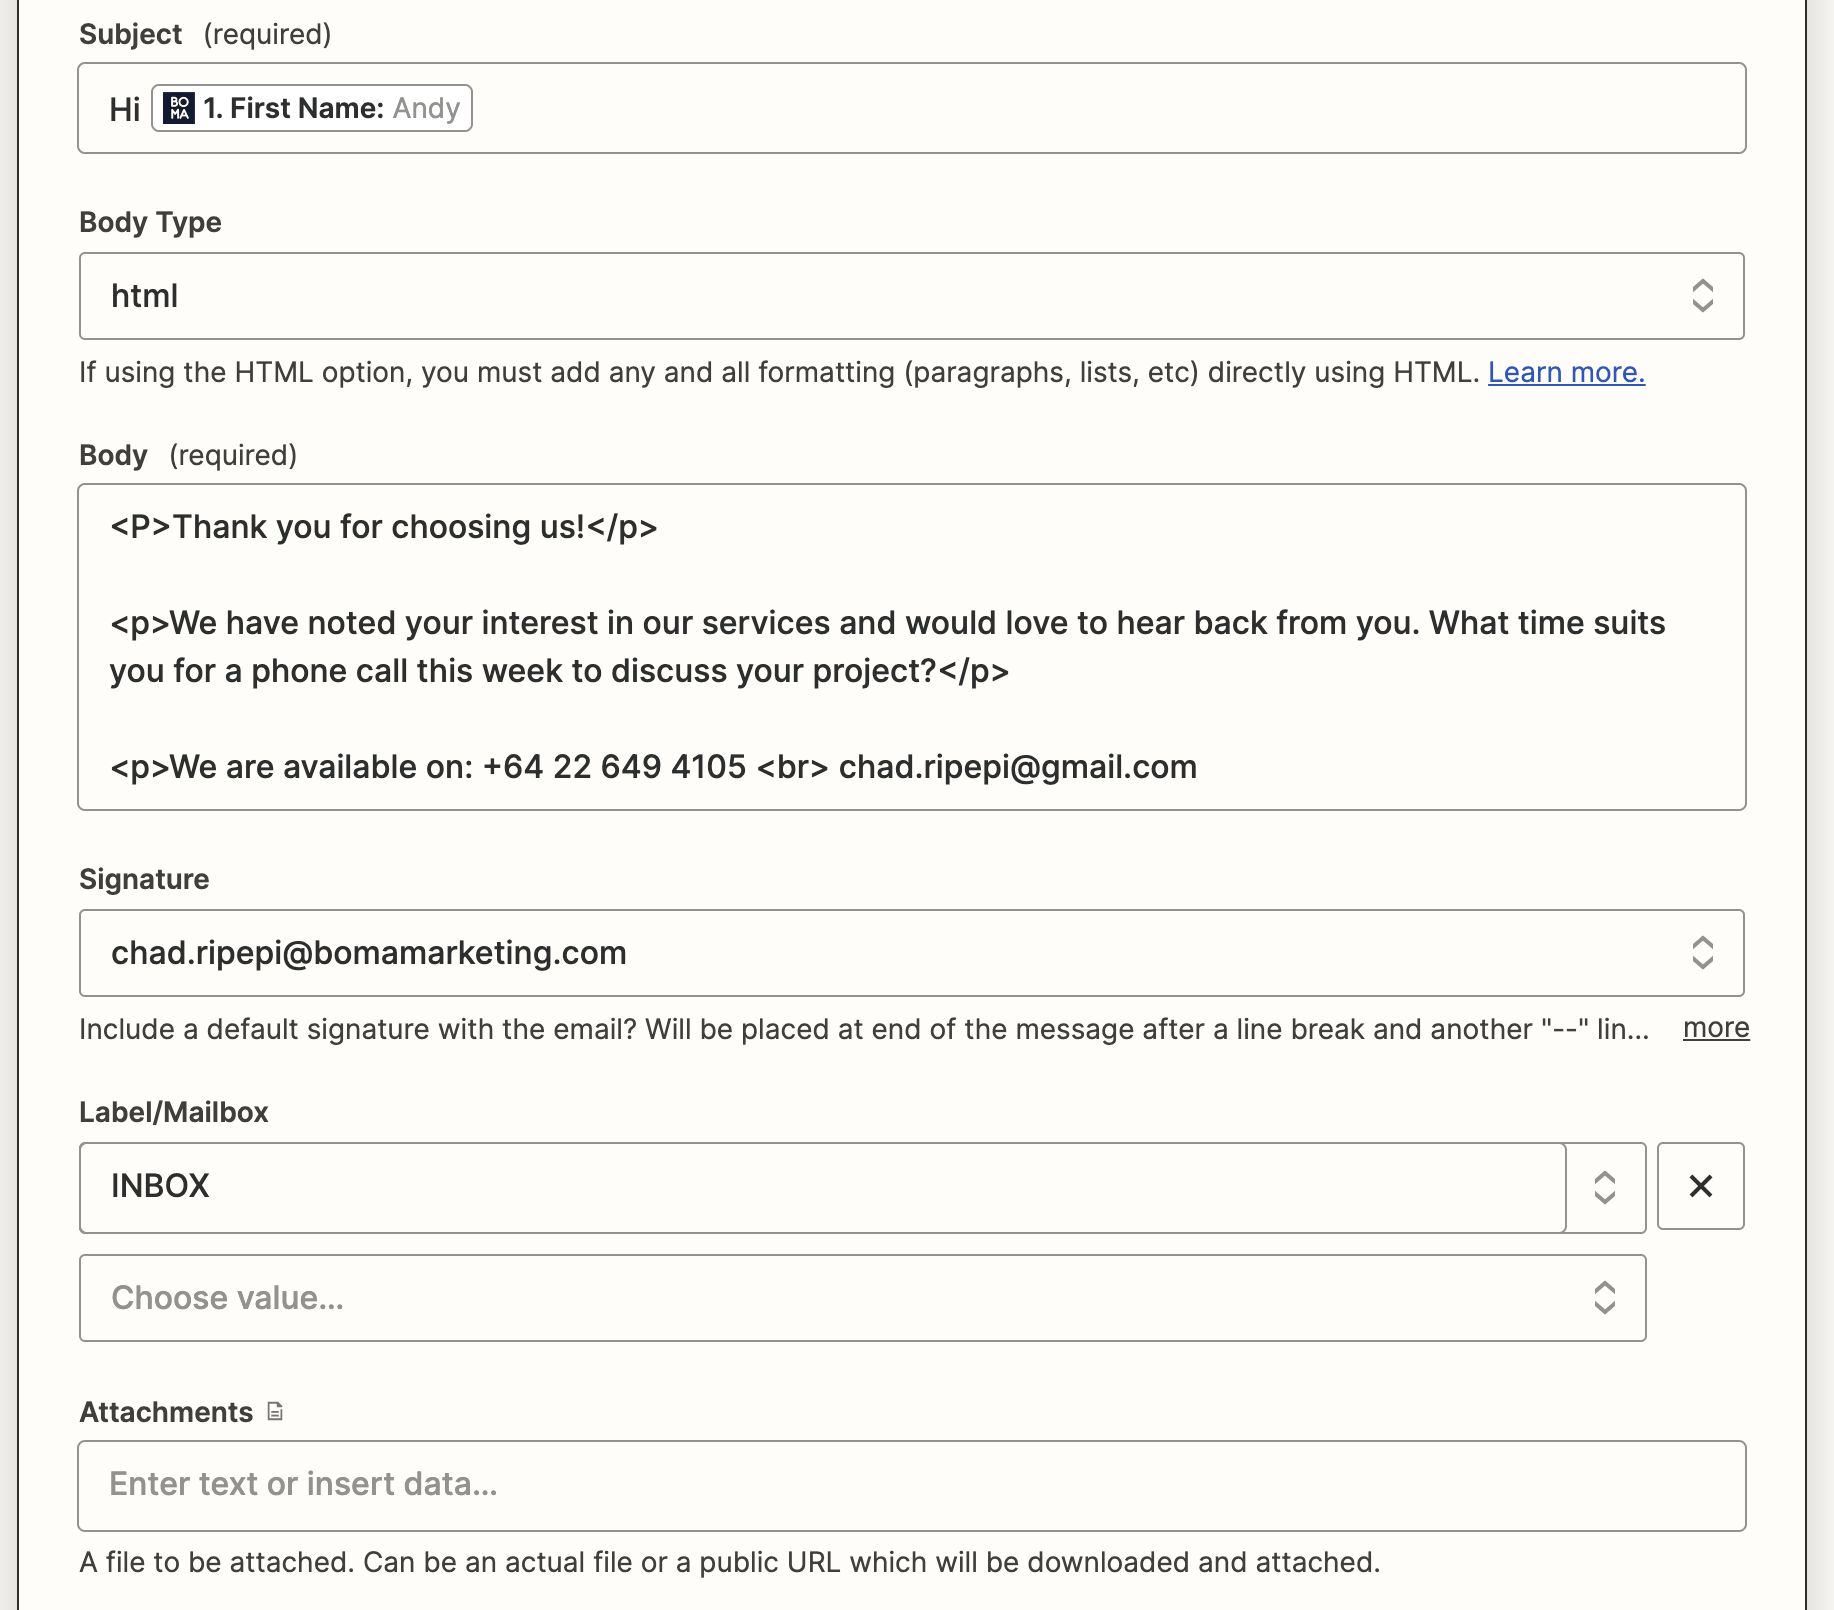
You can paste in your email body text in plain or HTML format. If you choose HTML, you will need to include all formatting using HTML, for example:
<P>Thank you for choosing us!</p>
<p>We have noted your interest in our services and would love to hear back from you. What time suits you for a phone call this week to discuss your project?</p>
<p>We are available on: NUMBER<br>email@email.com</p>
Once all fields have been completed, you will see a Test action appear.
Test and Review your action, or simply skip and publish the Zap.
It should look like something like this:
Feel free to reach out to support@bomamarketing.com for more information.
Further Reading:
Lead Form to sending email (email delayed by one day)
Connecting Zapier and Posting to WordPress
Do you integrate with Hubspot?