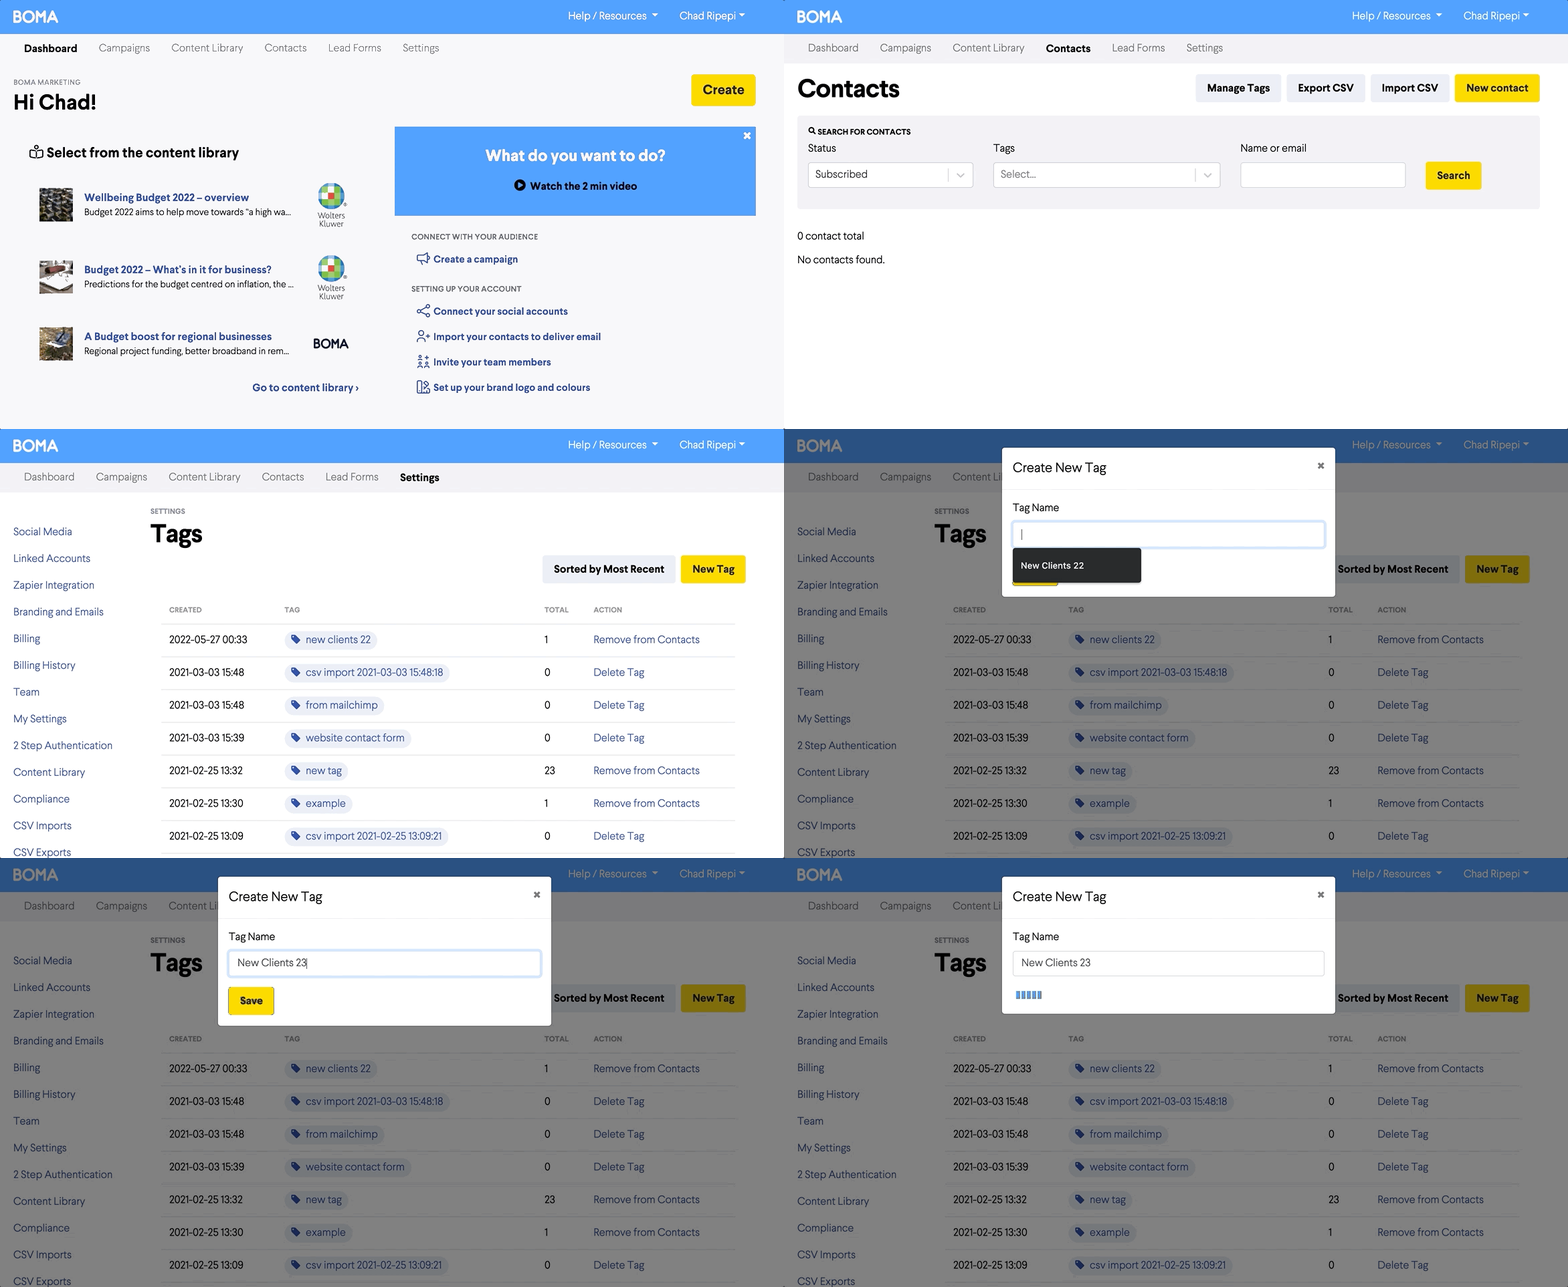
How do I create tags and assign them to my contacts in BOMA?
A Tag is a label attached to a contact or group of contacts that helps you to identify them.
Tagging contacts in your database is useful, as it allows you to segment them and send relevant email campaigns. For example, you could create a tag for an industry sector, location, customer or client type. You can have as many groups and tags as you need.
You can also use tags to identify their status such as 'new lead' vs 'client'.

There are 3 ways to add tags:
-
Add a tag to an individual contact one at a time
-
Click on Contacts and select the contact you want to edit.
-
Add the tag by selecting from the drop down menu or create a new one.
-
Click Save and return to contacts.
2. Apply tags in bulk in the Contact list page
-
Go to the Contact list (you can filter this list by doing a search first if you like)
-
Select contacts using the tick box on the left hand side - you can also click the top box to select all the contacts on a page.
-
Choose Add Tag from the dropdown.
-
Choose tag/s you want to apply or create a new one.
-
Click Add Tag button to add the tags to the selected contacts.
3. A apply tags when importing a list of email contacts
When importing contacts via CSV, you can apply a tag (or tags) to all contacts in that file. So if you have a list of contacts from Auckland you can import that file with a tag of 'Auckland'. You could so the same with another CSV file with the tag of 'VIP'.
If a contact is in both lists they will get both tags - but will only be in your database once. We use the email address as the identifier for a contact so they won't be duplicated.
These tags are applied when you import the file, they are not in the CSV file itself. You can also choose whether you want tags applied to all contacts in the import, or only those contacts that are new in your database.
Further Reading:
How do I select an email audience?
Social ads: getting value from 'interests' targeting