In this article, we will look at what you need to do to set up your account to a point where you can start to send emails and social media campaigns.
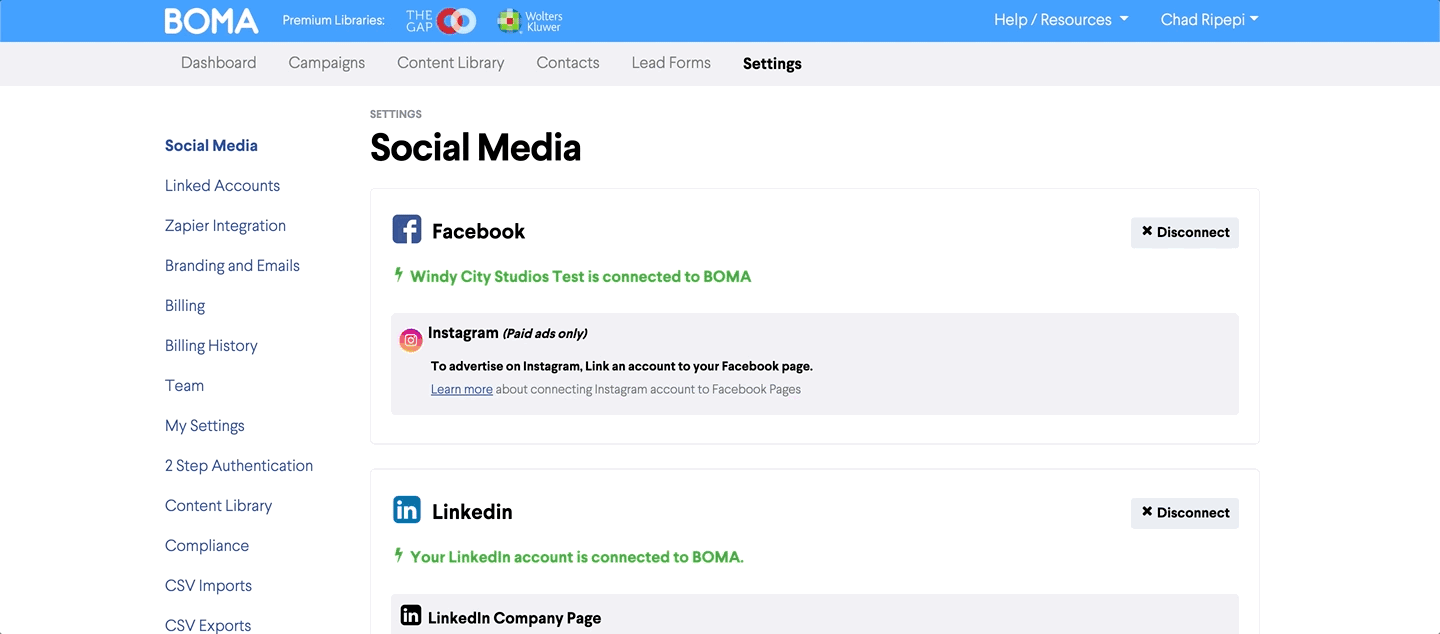
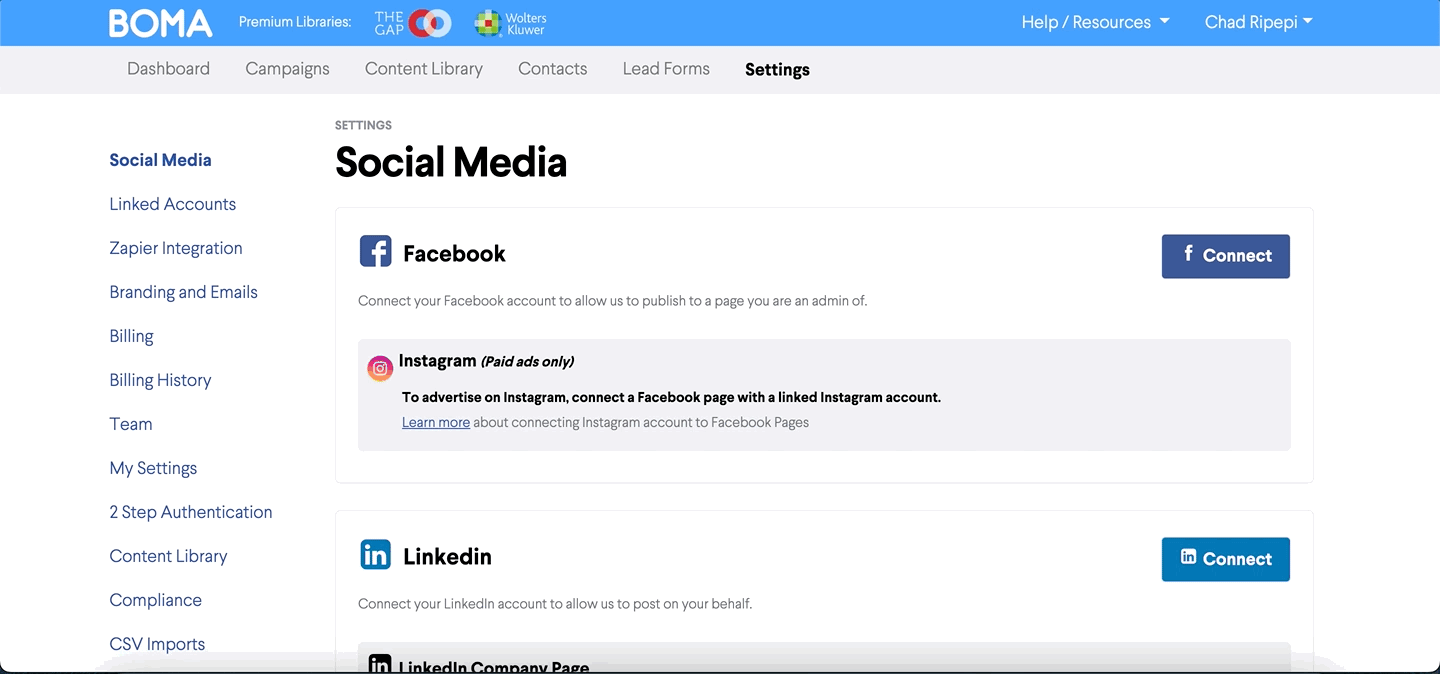
Firstly, navigate to the 'Settings' tab. Once clicked, you will automatically land on the 'Social media' submenu. Here you will be able to connect your different social accounts. BOMA allows connections to Facebook, Linkedin/Linkedin Business, and X (Twitter).
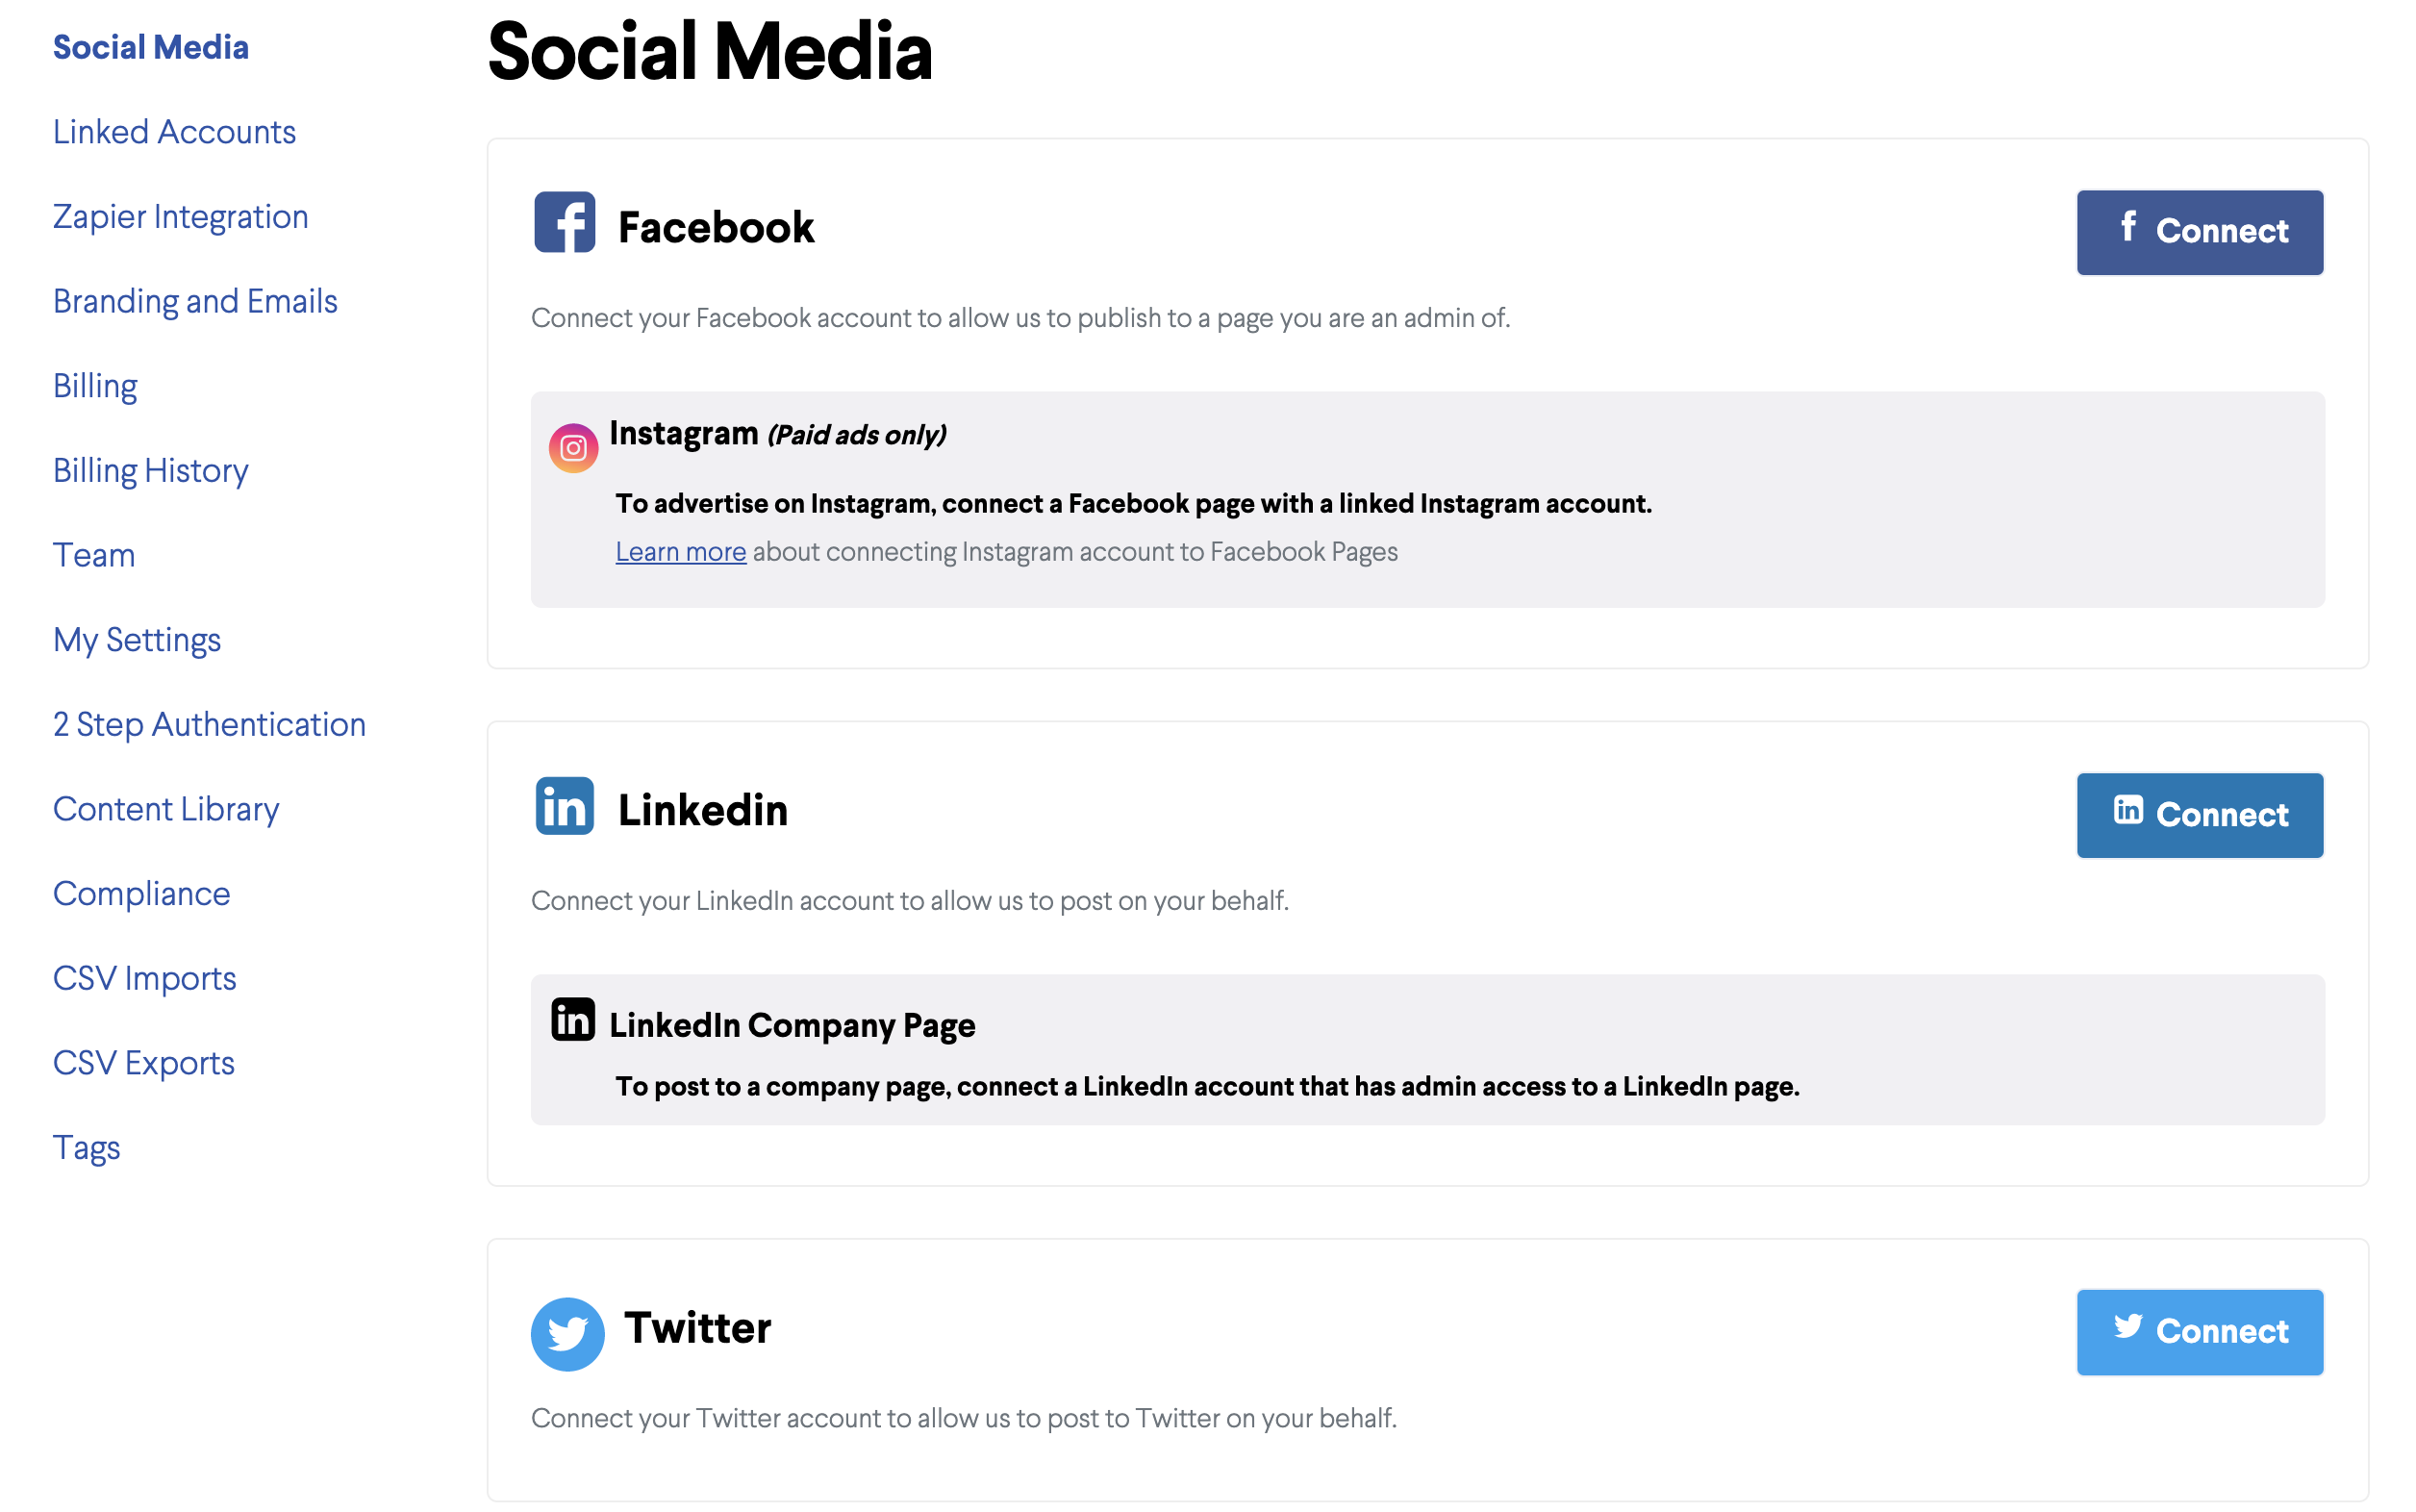
Click on the connect button to set up your social accounts.
For you Facebook, you will need to use your personal login details to connect. You will then be prompted to select your Facebook group. This is not the case for LinkedIn and Twitter.
Once you have connected your social accounts, click on the 'Branding and Emails' submenu tab. Here you will be able to upload your brand logo, and also change the colours associated with links and buttons.
If you have a Xero HQ account, you will be able to import contacts from your account. Click the 'Linked Accounts' submenu, and you will then be able to connect your account by logging into Xero HQ.

Next click on the Team submenu tab. In here you will be able to add your wider team to your BOMA Account. You can add up to 2 system users at no extra charge.
If you have more than 5 team members that need to be added, please get in touch with our support team, or use the chat box on the bottom right of your screen.
After entering the details of the team member(s), you will then need to choose the type of access they should have. The admin user type has the ability to see anything within the system, and also make changes to your account. The standard user can do everything, expect they are restricted from viewing or updating any billing information, adding additional users, or exporting CSVs.
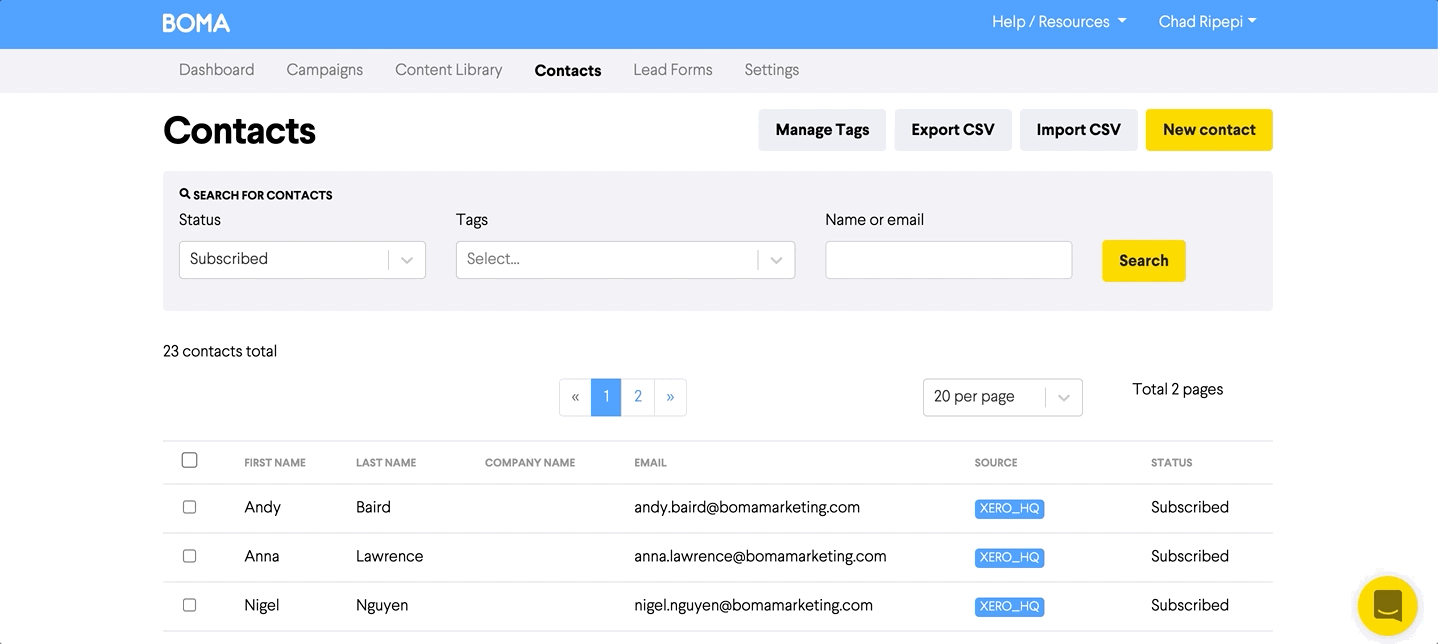
Lastly, let's look at importing contacts. For this, navigate to the 'Contacts' tab. In here click on the 'Import CSV' button. You can click and drag the file into the upload box, or simply click on the box to upload. Once it has been loaded, you can then choose to add a tag to the contacts that are pending import. This is good because you may want to segment this batch of contacts. Once you have added a tag (or not) you can then click on 'Import'. Once completed, you will be sent an email confirming the results of the import. This is just to let you know if there were any errors with the upload, and will give reasons for them.
If you have any further questions, please feel free to contact support on support@bomamarketing.com.