We have a partner library with The Gap, who already have content based around business advisory. They also have templates that can be used to promote your webinar or workshop. For more information please visit this link.
Firstly, click on create, and then select Email. give the campaign a name, and then click on start.
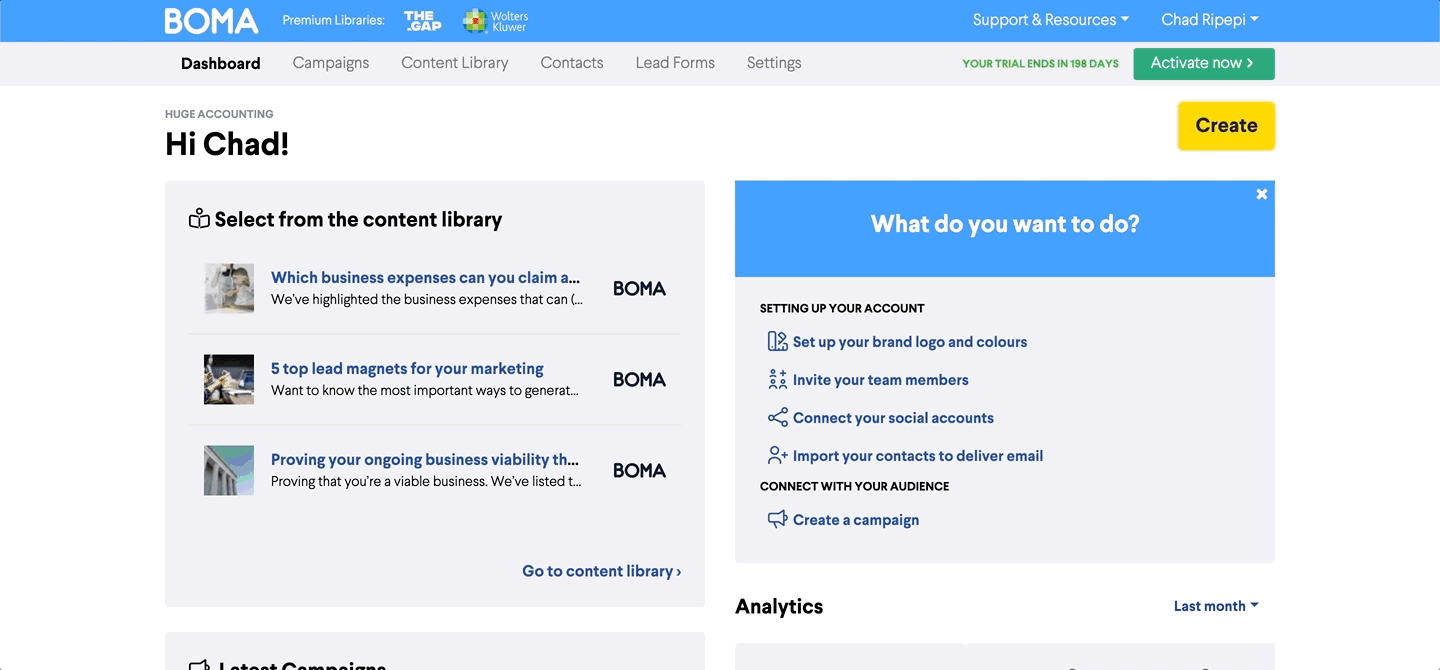
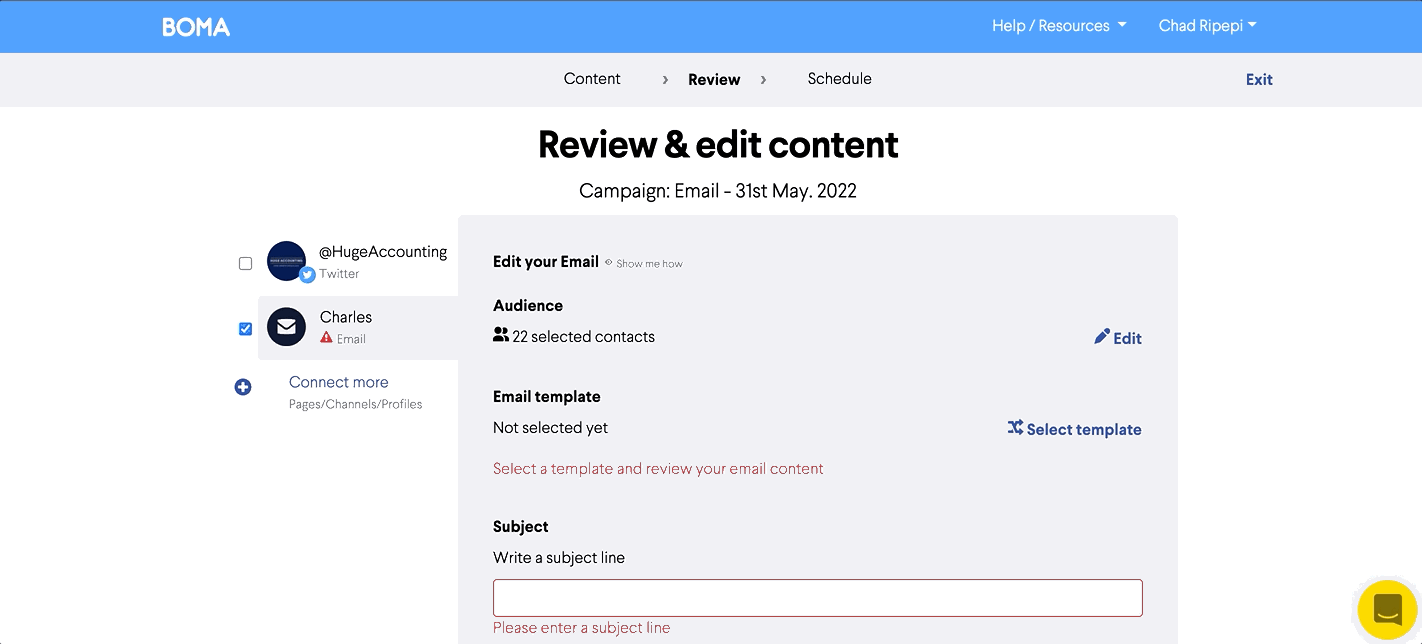
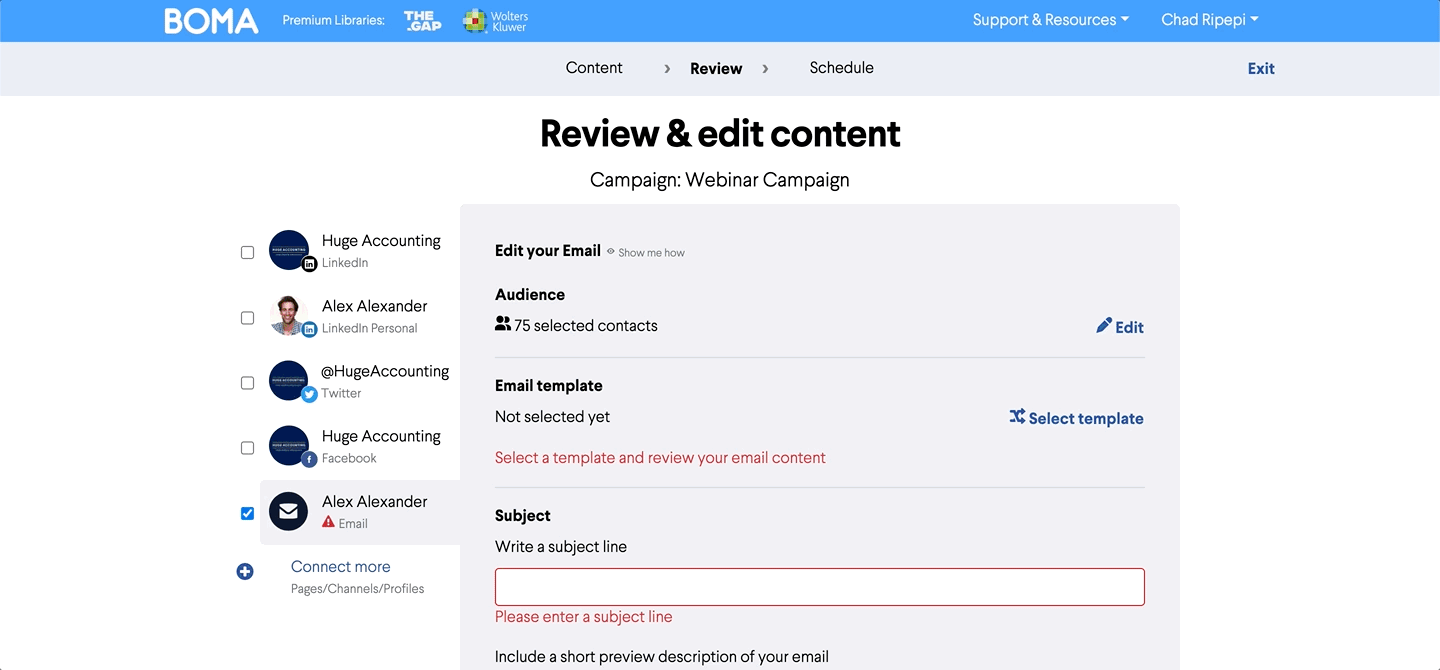
Next you will need to to select your contacts for the email. Click on Edit under the audience section.
Use tags to define the contacts you want to include or exclude.
Excluding tags is a useful way to segment your audience. For example you could choose to exclude contacts who are already clients when sending out a business development marketing email.
To add a tag to an individual contact follow these steps:
1. Click on Contacts in the menu, then select the contact you want to edit.
2. Add the tag by selecting from the drop down menu or create a new one e.g 'contact type' or 'location'.
3. Click Save and Close and return to contacts.
You can also select these contacts manually by clicking the tick box next to each contact, and then click on Save and Close.
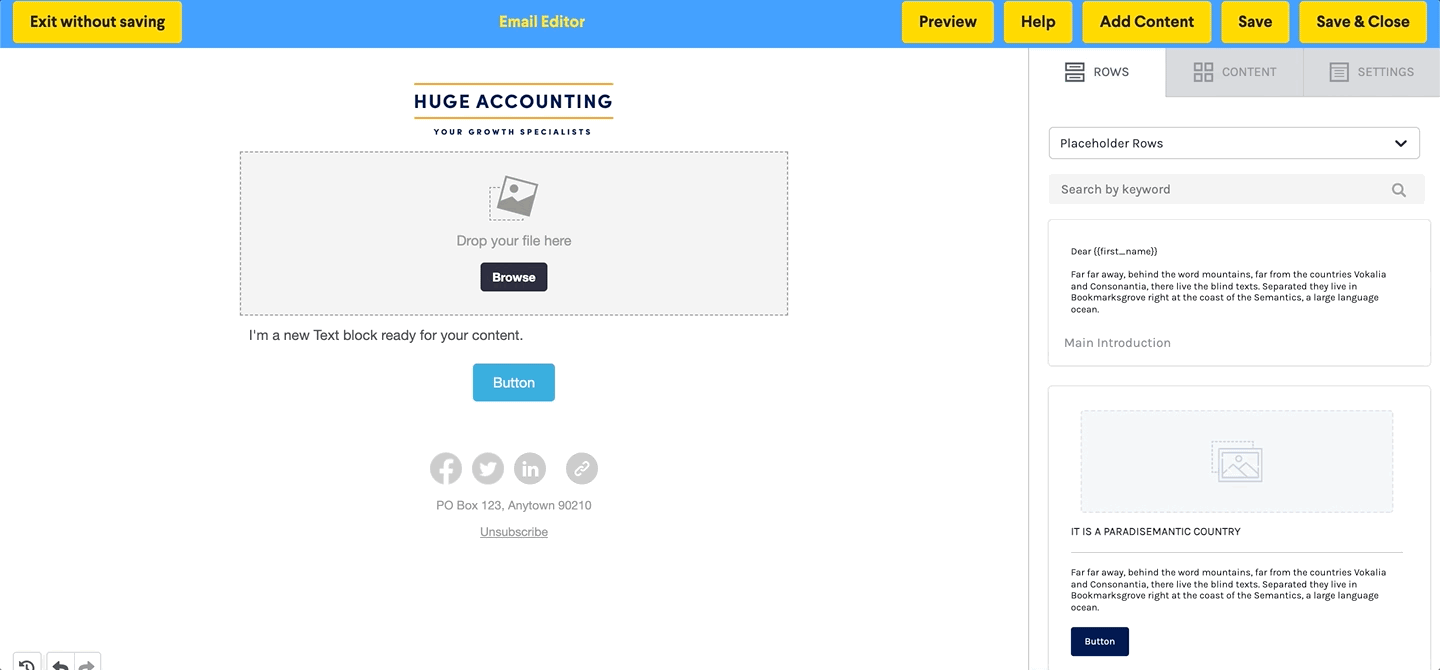
Next we will look at the email. Click on Select Template -> Branded Templates -> Branded Empty.
Once you are taken to the email editor, you can then start to structure your email. Click on the Content tab, and then click and drag the elements you would like to add to the email.
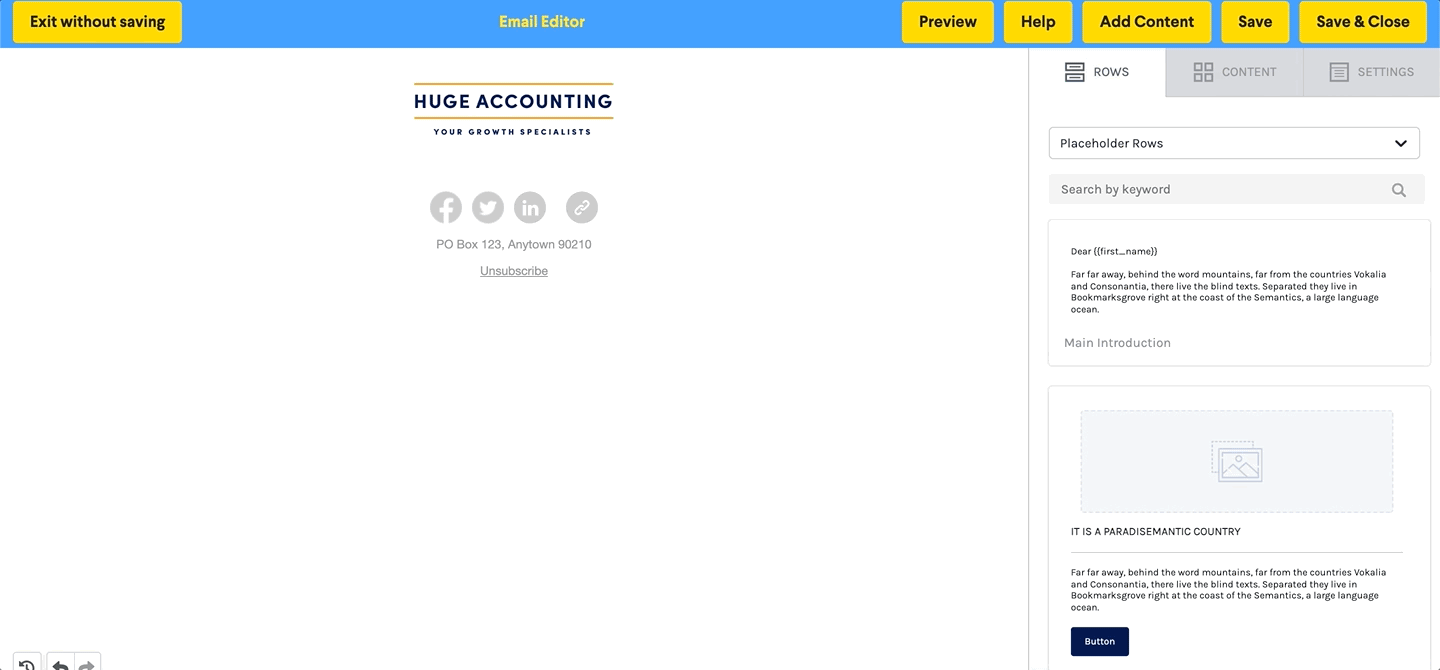
Image - If you click on the browse button, you will be able to select an image for your email. You can either upload your own image, import an image from an external source, search for an image by key word, or use an image you have previously used. Once the image has been imported into the file manager, you can click on insert.
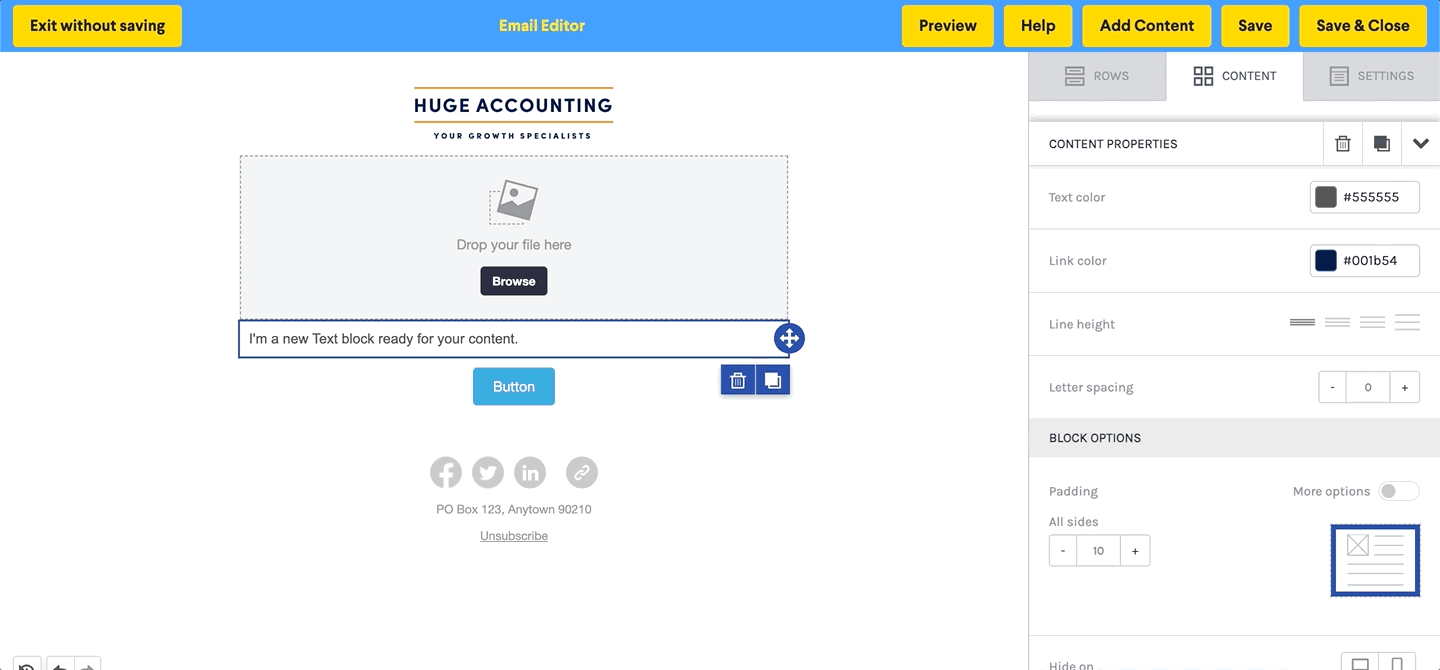
Text - This is where you want to outline what this webinar is about. Simply outline the webinar that you are hosting, the day and time of the webinar, and any additional information that would be relevant to share.

Call to Action Button - You can link a registration link to the call to action button. First, click on the button, and then relabel it. Once done, you can then paste the registration link in the side panel.
Once you have set up the email, you can click on preview to see what the email will look like for the end reader. Ultimately if you are happy with the setup, you can click on Save and Close.
Lastly, you will need to deal with the subject line, and preview description of the email. Choose something that will be attractive and relevant to the webinar, so that the recipient feels compelled to open the email.
You can then schedule the delivery.
For more information feel free to reach out to support@bomamarketing.com.
Further Reading: