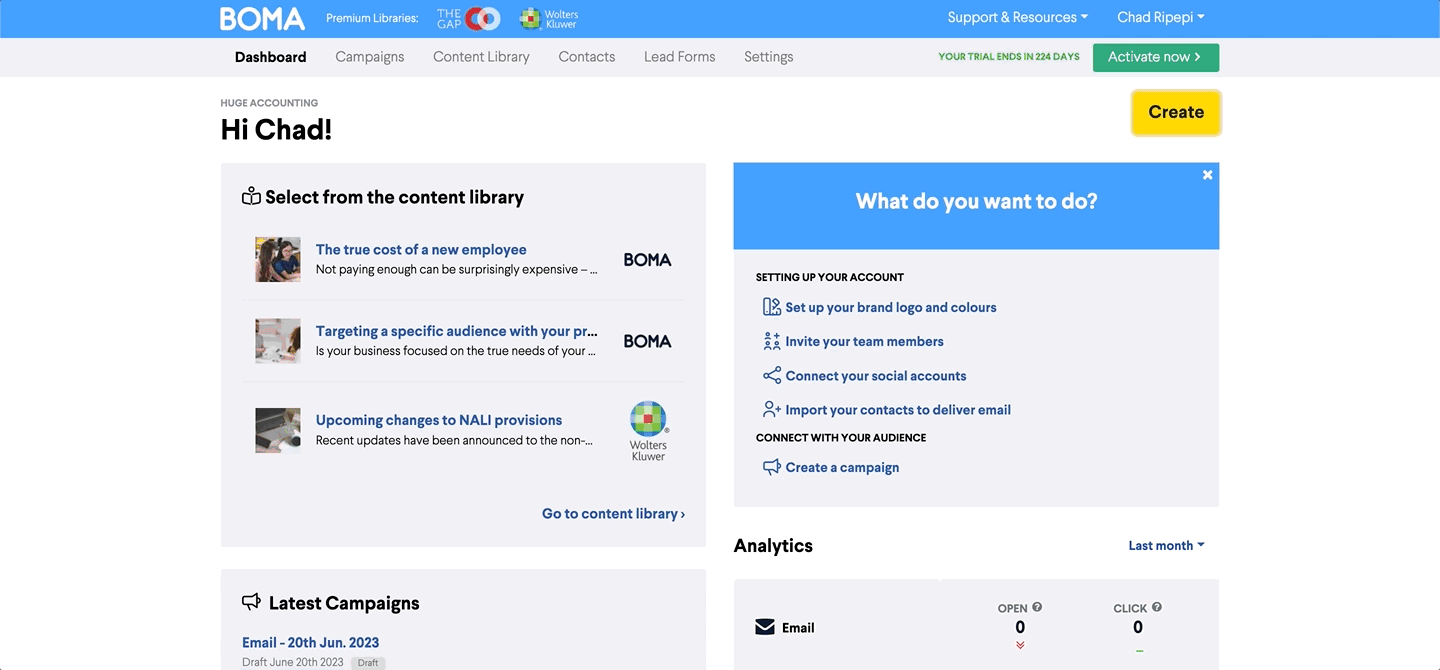
First, click on the create button on the dashboard, and then click email. Once you have given the campaign a name, you can click on start.
You will then need to select the audience that you would like to send this email newsletter to. You can click here, to view an article that will explain how you can do this.
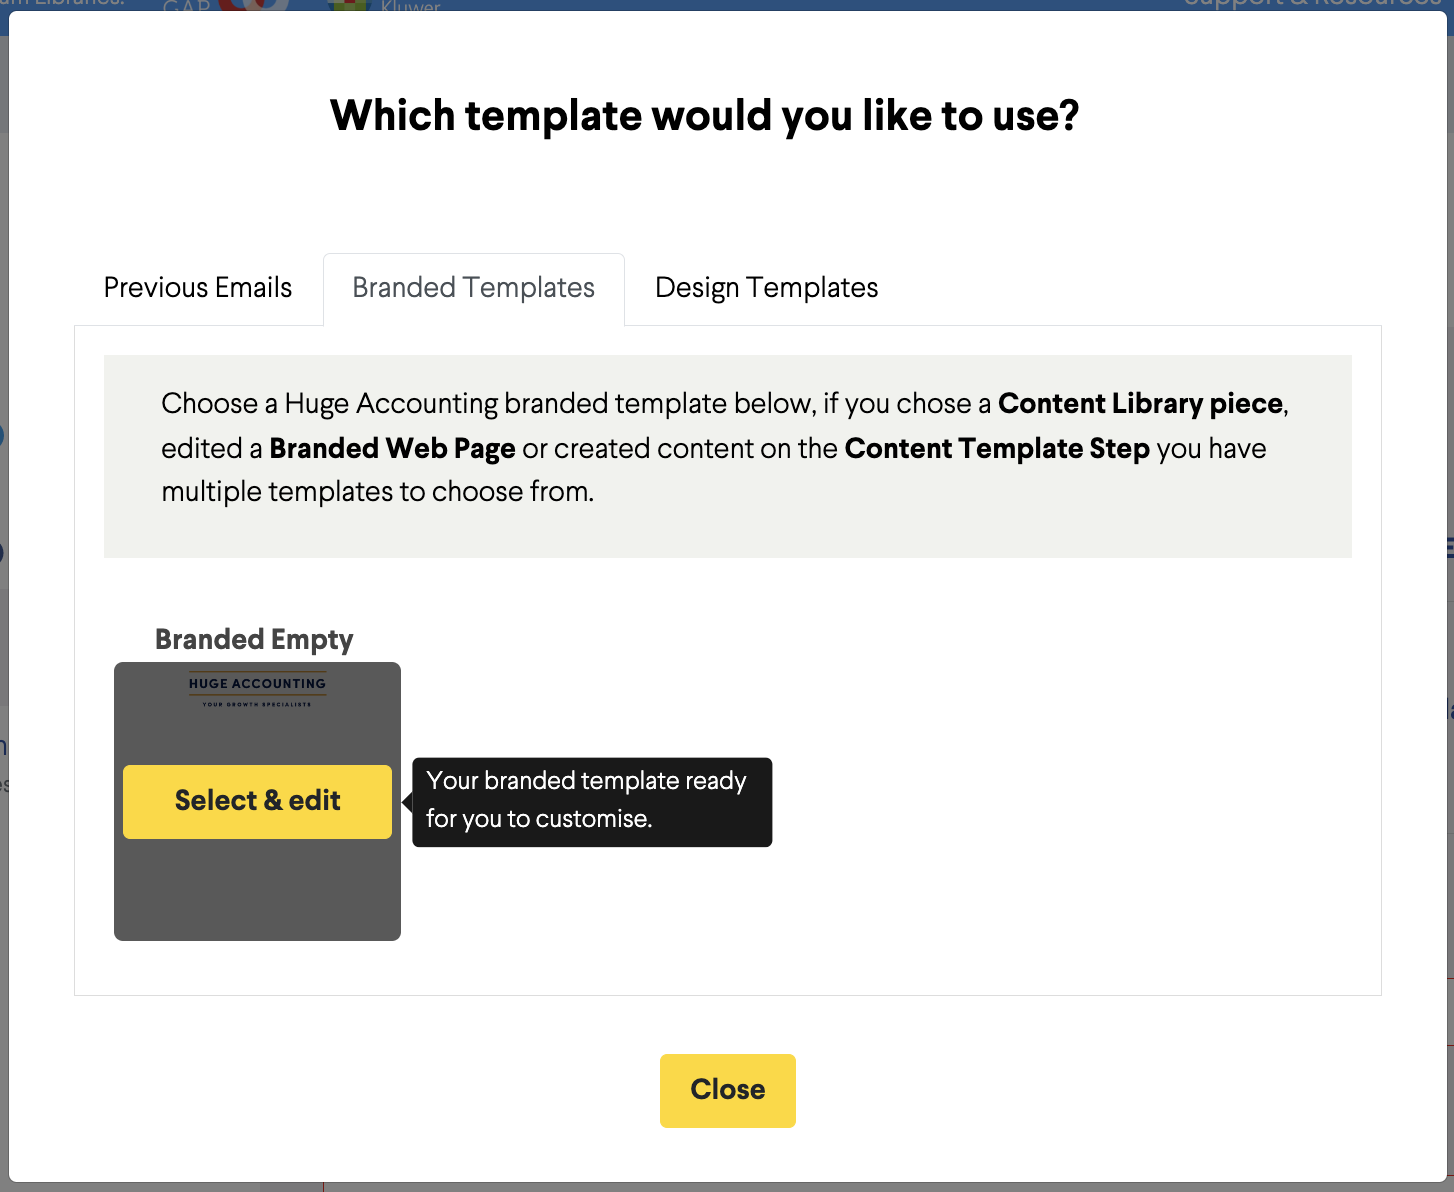
Next, click on Select template -> Branded Templates and then click Select and Edit on the Branded Empty format.
Adding the introduction
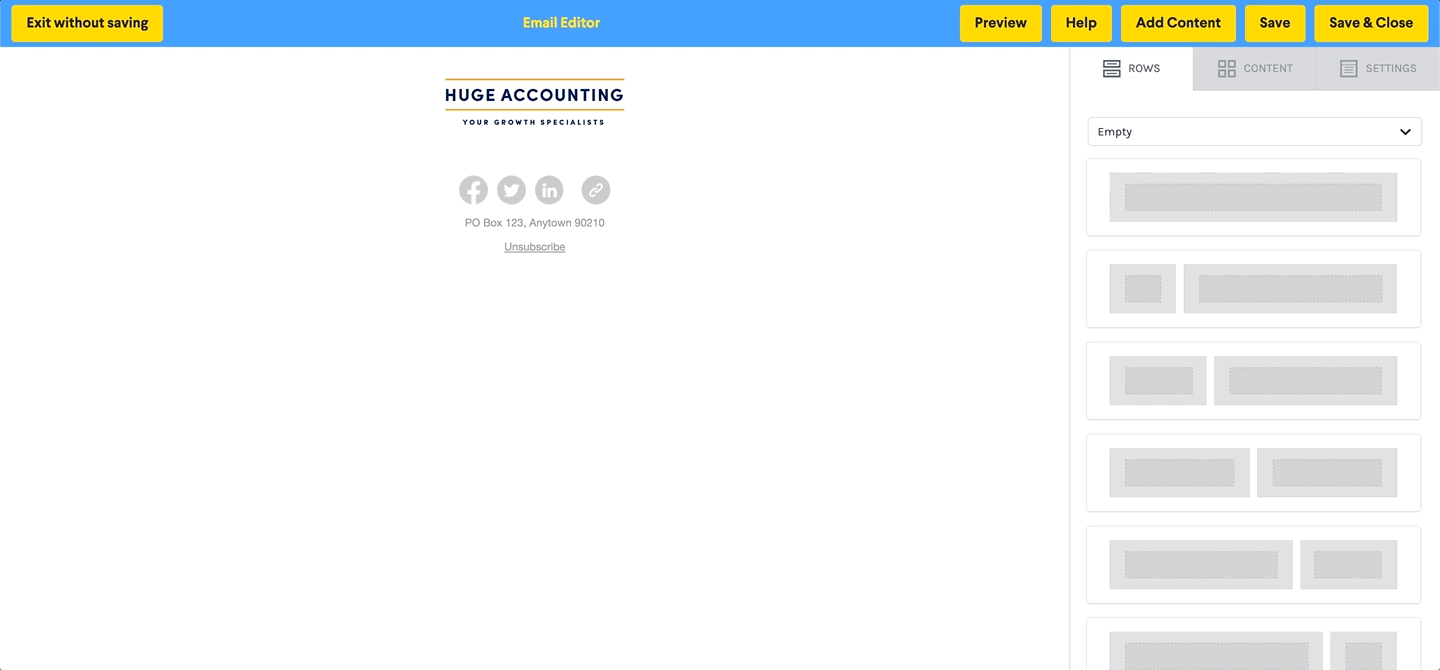
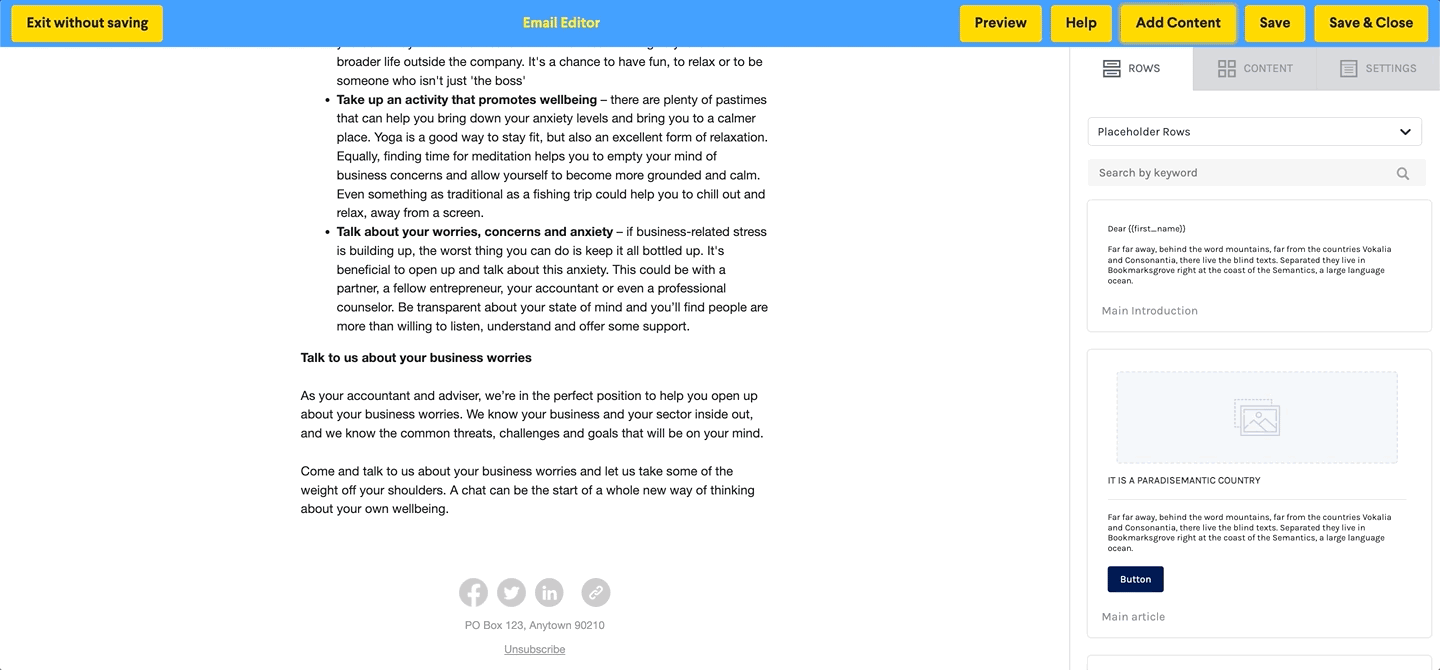
Click on the rows tab, click the drop down menu, and select Placeholder Rows. From here click and drag the placeholder row Main Introduction into the email area.
You will then need to change the text below the greeting.
Adding a news section to the email
-
Adding a blog post to your news section
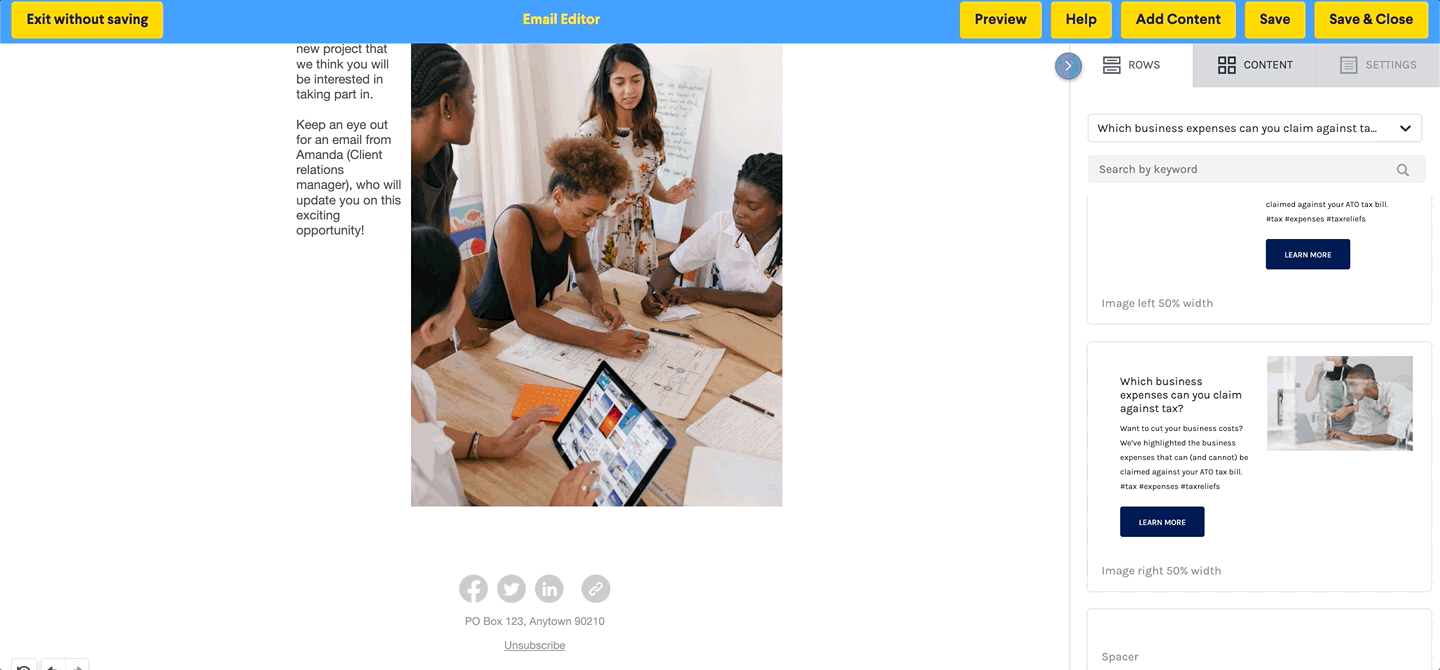
Click on Add Content, and then select A Website URL. From here, paste the copied blog post URL into the text box that appears, and click on Accept. You can then click and drag the desired format into the email area.
-
Adding a content library article to your news section
Click on Add Content, and then select A Content Library Article. From here, select an article from the content library, and then click on Select. You can then click and drag the desired format into the email area.
Adding a Services section
Click on the rows tab, click the drop down menu, and select Placeholder Rows. From here select the type of placeholder row you would like to structure around the services that you offer.

You can then re-label the service by clicking into the text area under the image and add your own text.
Next, change the image to reflect the service that your offer. To do so, click on the default image, and then in the side panel select Change image. From here select an image by uploading your own, import from an external source, or search for an image by key word. You can also select an image you have used previously.
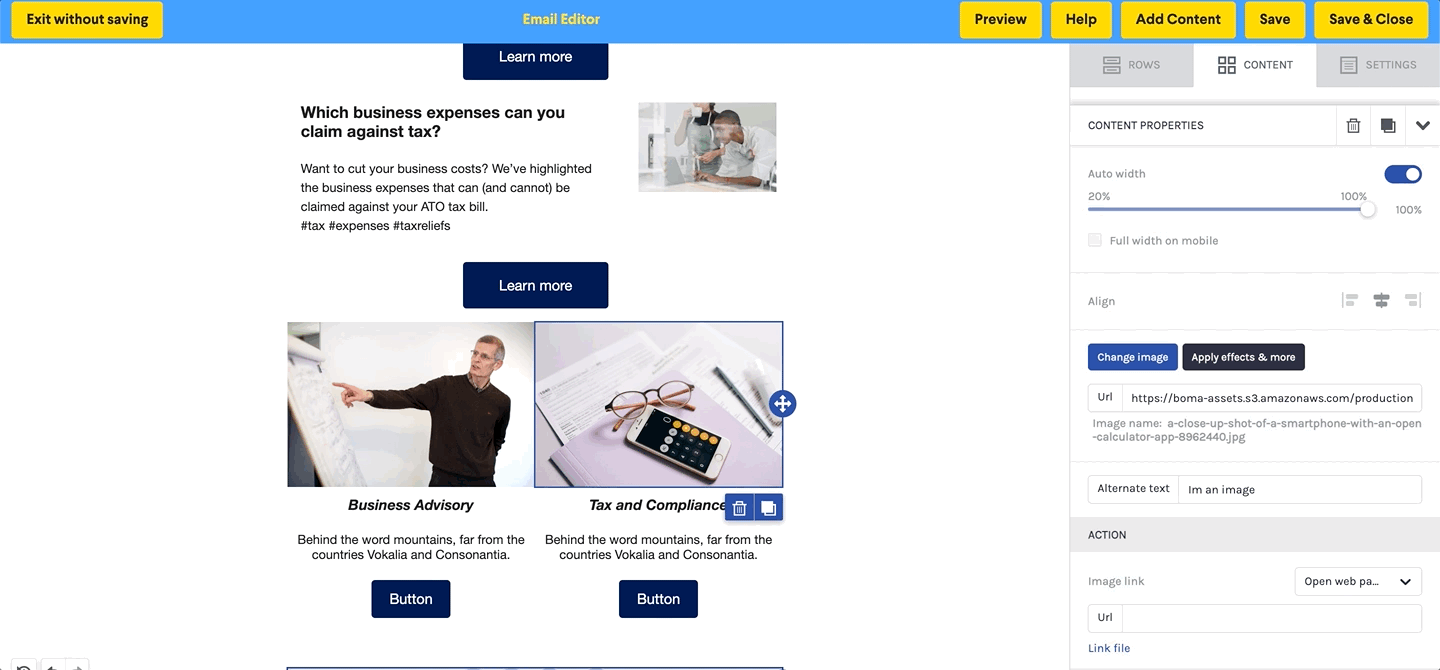
You can then change the description of the service by clicking into the the text area, and either type of paste the text. Lastly, If you click on the button, you can then re-label it, and then on the right side panel, you will be able to modify the button to either open a webpage, send an email, send a text or call.
Adding Dividers
Click on the Content tab and drag the divider in-between each section of the email. This will seperate each area so that the email is easy to follow.
For more information, feel free to reach out to support@bomamarketing.com.
Further Reading:
How to create a detailed newsletter
How to create a newsletter with an introduction, news section, and services section.