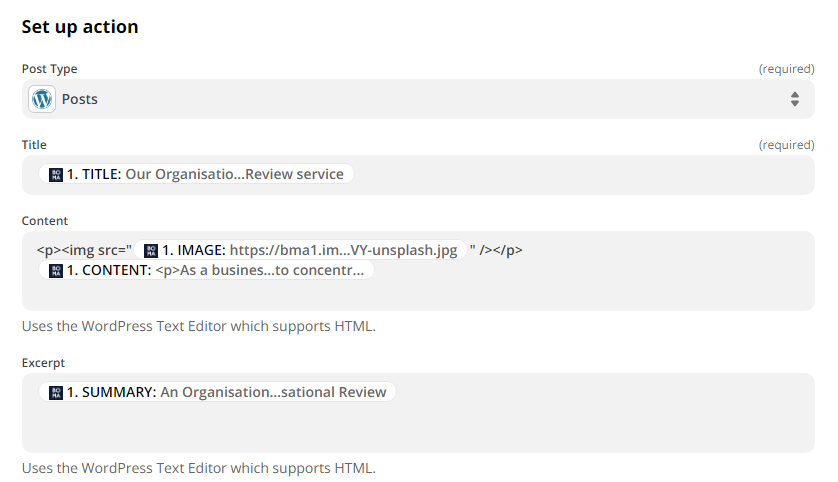
Set up action in Zapier
-
You can include the image at the start (or the end) of the Content section.
-
Inject this html into the Content field, either before or after the Content field (depending on whether you want the image at the start or the end of the article). When you inject the html you replace the IMAGEGOESHERE with the IMAGE field:
<p><img src="IMAGEGOESHERE" /></p>
-
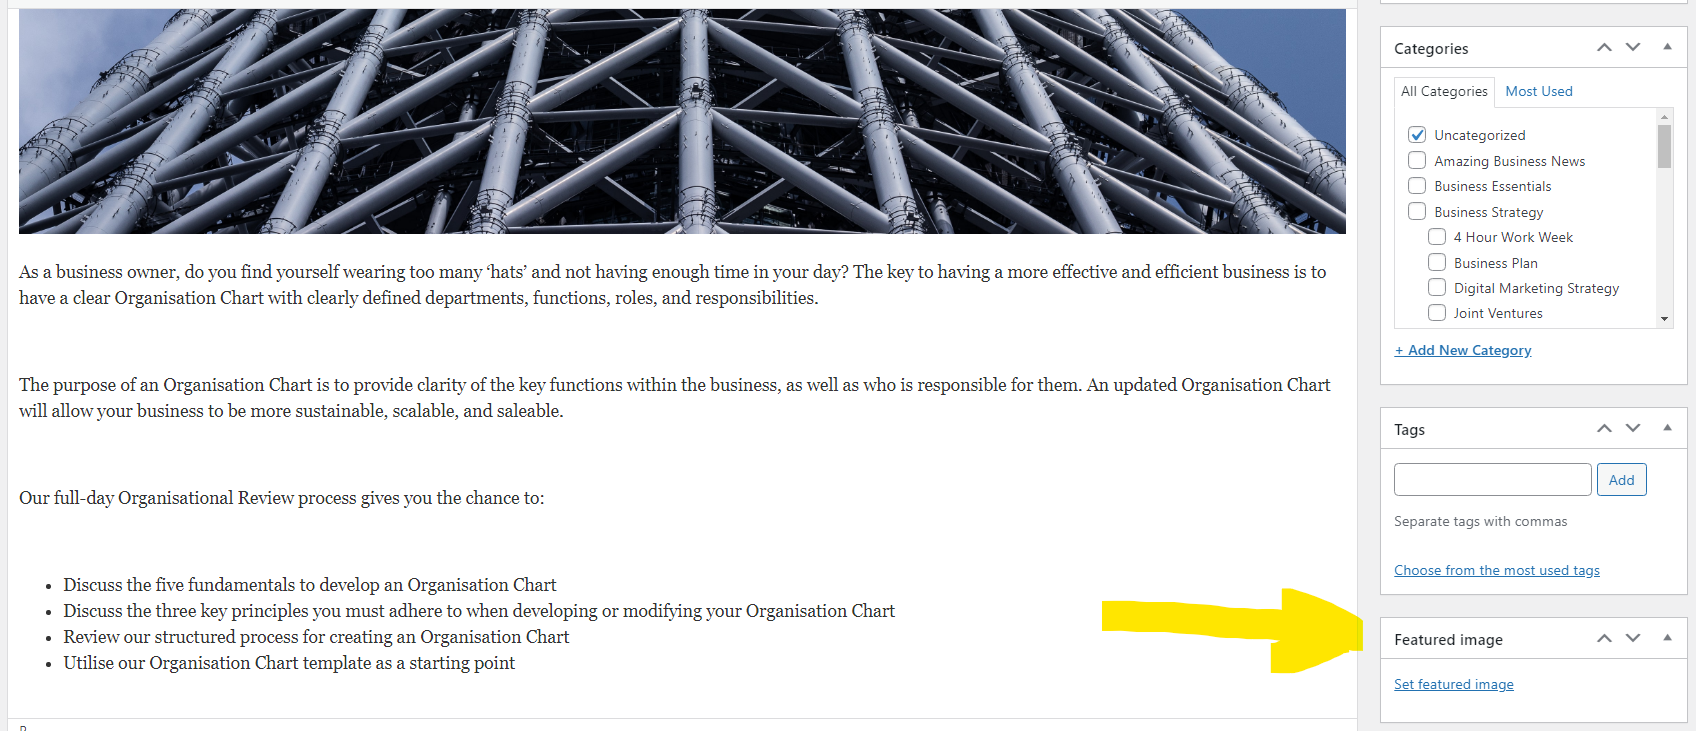
In the example image below you can see that the image has been injected at the start of the content piece and how it appears.
Update the image to a "featured image" in WordPress
The image in WordPress will need to become a featured image to display correctly on Social Media, this is how it can be done by manually editing the post.
-
As the image is now in the post you can open it in a new window and then upload it to be the featured image, as shown in the image below.
Further Reading:
Lead Form to sending email (email delayed by one day)
Lead Form to sending email – email sending on specific time and day
Connecting Zapier and Posting to WordPress